
Many years ago, as a boy struggling under the weight of a heavy pack, I stopped to rest by a mountain lake. Nearby, on a trail that switchbacked up the side of the mountain, a rider on a white horse appeared. Behind him stood a line of perfectly matched pack mules, all bays. Where was he going? What sort of camp would there be, with what sort of company? I felt the same excitement, tinged with envy, that I feel when I watch a sailing yacht head out to sea.
Now a packer, I recall the scene with admiration for the man on the white horse. Traveling alone with an entire pack string is a daunting task requiring a level of competency in the art and science of packing that few of us will gain. However, if your aim is to extend your trail-riding range by adding a packhorse or two, don’t be intimidated. The skills necessary for recreational packing are relatively easy to acquire.
In the last issue, we discussed weight-carrying ability of horses and the problems with the single-horse packing systems now so popular. Yes, you can load onto your horse yourself, your saddle, and enough gear to camp overnight. But you can only pack into areas where food and water are available for your horse, and then only if you’re extremely careful of every ounce. Distribution is key; excessive weight behind the saddle is pure poison for your horse.
But if you contemplate a better camp or a longer stay, if you must pack feed, or if you travel in marginal weather and must add additional clothing and perhaps a tent stove, the weight will soon total far beyond your saddle horse’s capability. Now it’s time to learn to pack. And, although many modern, simplified systems are available, I encourage learning traditional methods. The extra time spent will pay dividends when you must pack an awkward load.
The Sawbuck Packsaddle
The simplest packing system consists of a sawbuck (also known as crossbuck) packsaddle and a set of panniers (often called “panyards” in the West). The sawbuck consists of wooden bars connected by a pair of crossed wooden braces. It’s typically rigged with two cinches, a simple breast strap, and a breeching (often pronounced “britchin'”) that fits over the packhorse’s rump with a horizontal strap under his tail.
Since packed weight is “dead weight” – it doesn’t move in a way to help the horse, as any good rider does – the breeching is essential for holding the load back as the packhorse descends steep slopes. As with all packsaddles, you’ll use a special pad that’s larger than your saddle pad, extending farther down on each side to protect the packhorse from the cargo he carries.
Panniers are bags or boxes that hold your equipment and hang on each side of the saddle by adjustable loops. Typically, they also have a strap that extends underneath the packhorse’s belly connecting the two panniers so they don’t flop around. Soft panniers are made from canvas or nylon cloth. When using soft panniers, load soft items on the inside toward the packhorse and heavier items down low.
The hard type of pannier is made from plastic, fiberglass, or plywood. Even though hard panniers are often curved to conform to the packhorse’s sides, I like to use hard panniers on the Decker saddle, described in a bit (rather than on a sawbuck), as the Decker offers better protection.
Packing with panniers is relatively simple. First, the two must be balanced. To achieve balance, use a light packer’s scale that sticks at the maximum weight setting. You don’t need a helper to read the scale. You just hook the pannier, lift until it clears the ground, then read the scale before resetting it.
If you don’t have a scale, pick up the loaded pannier with both arms, lift it in a full curl, then lift the other one, noting any difference in weight. You can come quite close that way.
On the trail, if one pannier lists lower than the other or seems to pull the top of the sawbucks slightly one way, shift a few items from the heavier to the lighter, or even put a rock in the lighter side. It’s better for the horse to carry a little more weight overall than to proceed unbalanced.
If you need to haul more than your panniers will hold, particularly lighter, bulky items, you can learn to add a top pack covered with a tarp and secured with one of a version of the “diamond hitch.” Although you can learn to tie a diamond by following the directions in a packing book (see page 77), it’s far better to take a packing clinic where this method is taught and have an instructor walk you through the process.
The Decker Packsaddle
The Decker packsaddle is better and more versatile than the sawbuck. Developed in western Montana and northern Idaho for packing awkward items of equipment into mining areas and ore back out, the Decker features two wooden bars, similar to the sawbuck’s, but connected with two iron D-rings.
Over the saddle is a padded canvas or nylon cover called a half-breed. Mounted in the half-breed horizontally on each side is a wooden board that distributes the weight and further prevents odd-shaped items from gouging the packhorse’s sides.
The Decker is stronger than the sawbuck. By rasping the wooden bars, both saddle types can be adjusted somewhat to fit the packhorse, but the Decker offers further adjustment, because its iron D-rings can be heated and bent for a narrower or wider fit.
The Decker’s biggest advantage is the protection it offers the packhorse. Both saddles use a pack pad underneath, but the Decker offers much additional protection. For this reason, I prefer the Decker for packing hard panniers, which can be quite unyielding against the packhorse’s sides.
Decker saddles can be used with panniers, just as sawbucks can. To avoid having to unbuckle the straps and thread them through the D-rings when you attach the panniers, you can buy Decker hooks that allow you to simply hoist the pannier and hook it to the D-rings. However, most Decker packers prefer mantying, which is perhaps the most versatile packing system of all.
Packaging Resources
- Horses, Hitches and Rocky Trails, by Joe Back (Johnson Books, www.johnsonbooks.com).
- Horse Packing in Pictures, by Francis W. Davis (Charles Scribner’s Sons, www.timbermountain.com/bookstore.html).
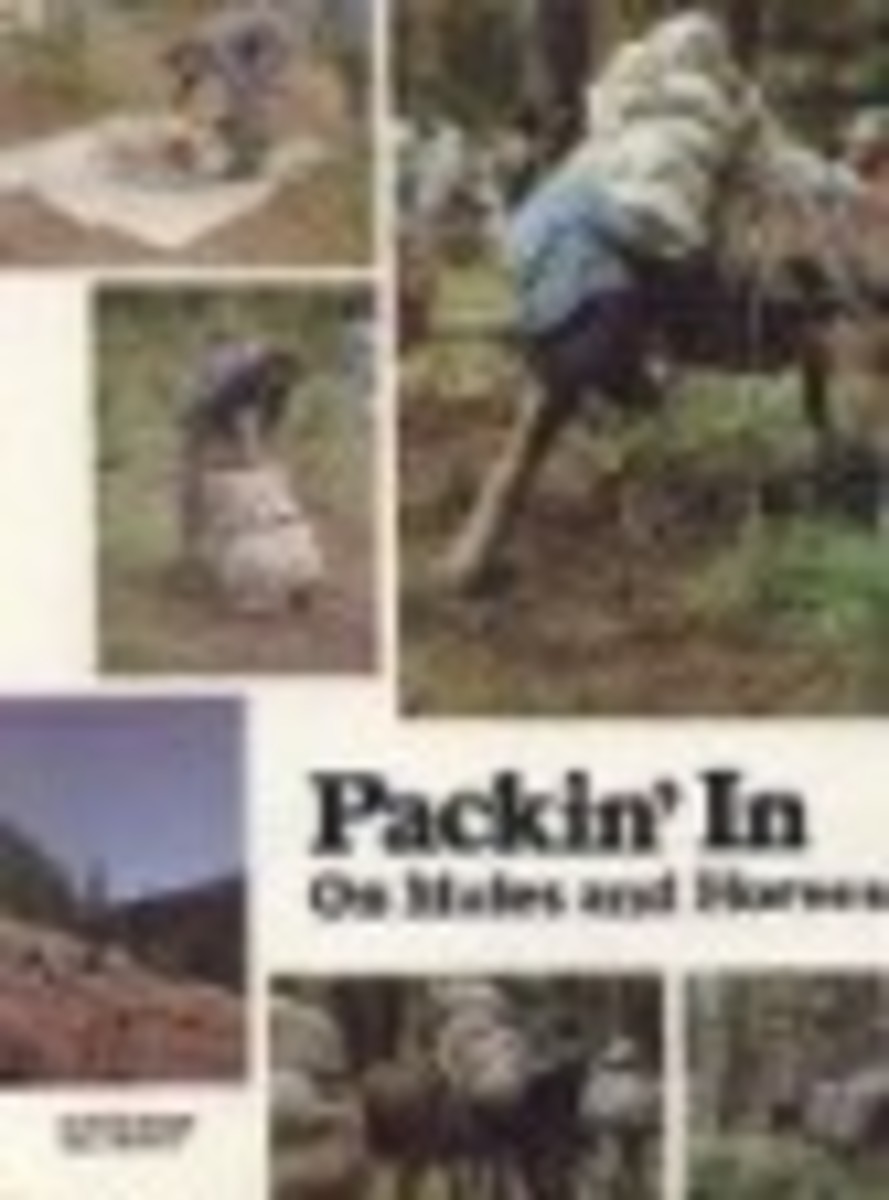
- Packin’ In on Mules and Horses, by Smoke Elser and Bill Brown (Mountain Press Publishing Company, www.mountain-press.com).
- Treading Lightly with Pack Animals: A Guide to Low-Impact Travel in the Backcountry, by Dan Aadland (Mountain Press Publishing Company, www.mountain-press.com).
Knot-tying how-to: Tollesbury Sailing Club,
www.tollesburysc.co.uk/knots/knots_gallery.htm.
The Manty
The word “manty” comes from the Spanish for “blanket.” The manty is a canvas tarp measuring about seven-by-eight feet. “Mantying” refers to converting this tarp, along with a three-eighths-inch-diameter rope about 35 feet long, into a neat bundle that can enclose all sorts of odd-shaped items and then be attached to the Decker saddle with a simple basket hitch. “Manty” refers both to the tarp and to the completed bundle.
It may sound complicated, but mantying is quickly learned. Here are the basics:
- Lay the tarp on the round and place the load on it diagonally.
- Fold up the triangle of material at the bottom; you’ll fold each side toward the center, and fold the top as a rain flap.
- Use the manty rope to encircle the bundle vertically, the eye splice in one end draping down at the top front.
- Insert the other end of the rope through the eye splice, and cinch it tightly around the bundle.
- Tie two or three horizontal loops around the manty as a series of half hitches, pulling out the slack tightly each time. Mantying allows packing all sorts of miscellaneous camp items into a secure, watertight pack. As with acquiring many packing skills, no text or series of pictures is as effective as an instructor or experienced friend who takes you through the steps.
Note that you won’t use the rope with which you’ve tied the manty to secure it to the packhorse. For that, you’ll use a sling rope on the Decker saddle tied with a basket hitch, also extremely simple to learn. Basically, the rope passes horizontally across the manty about one-third of the way down from the top, then underneath, finally coming up vertically and tied off to the horizontal section.
Because manties can usually be built large enough to load a horse to capacity, a top pack isn’t normally necessary. A further advantage is that the two manties don’t have to be exactly the same weight (though that’s still desirable). Should one prove slightly heavier, it can be slung a little higher, which moves it in toward the packhorse’s center of gravity and compensates for the difference in weight.
Manty tarps themselves have all sorts of uses in camp, from ground cloths to saddle covers. By installing grommets on their corners, you can use them for additional applications, such as hanging one as a fly over the cooking area.
Packhorse Training
Any gentle, well-trained horse that’s been ponied during his training should adapt quite readily to the packsaddle, but choose a horse with gaits similar to your riding horse, and do some advance preparation.
To your horse, the packsaddle should feel similar to the riding saddle with one major exception: The feel of the breeching under his tail, which may produce a reaction. To accustom your horse to the breeching, stand to his side, gently place the breeching over his rump, and carefully lift his tail over the strap.
Longe your horse with the packsaddle in place to fully accustom him to the breeching, then pony him with light loads to finish the job. Your packhorse may react to the sound and feel of the packs as they scrape on trees, but most horses quickly learn to give trees a wide berth.
When you use more than one pack animal, you’ll fasten the lead rope of each additional packhorse to the “pigtail” of the packhorse in front of him. The pigtail is just a short rope with a loop spliced into it that projects back from each packsaddle. Most packers use a “breakaway” link between the lead rope and the pigtail. I like one-quarter-inch diameter sisal rope for this purpose.
Should your packhorse go off an edge or walk on the wrong side of a tree, the breakaway link will let go, possibly preventing injury to him or to the others. A too-weak link, however, will cause a different sort of trouble: the slightly balky animal will hesitate at each obstacle and break loose.
Horses need to learn the sensation of leading another by the pigtail on the saddle, so it’s wise to prepare them with rehearsal rides before heading out on a major trip.
Hitting the Trail
Adding one or more packhorses complicates your trail-riding technique considerably. First, it’s essential that your saddle horse have a truly finished neck rein. He should never require a second hand on the reins for guidance. (For training help, see “The Essential Neck Rein,” On-Trail Training, May/June ’05.)
Second, you must adjust to a slower pace than you may be used to, particularly over rough ground. Not only are you limited to the speed of the slowest animal, but also the whiplash effect takes over if you don’t maintain a steady pace. You must travel very slowly through or over obstacles, then continue the slower pace until the last animal has passed that point.
Be extremely careful. There’s far more that can go wrong than when you’re looking after only your own saddle horse. Never tie the lead rope of the packhorse to your saddle in any way. Over dangerous areas on the trail, hold the lead rope in your free hand. In more secure situations, you might take a single dally (wrap) around the horn, but no more than that. In case something goes very wrong, it’s better the rope pull free.
Avoid packing alone. Once you become extremely experienced, you may wish to pack in a camp by yourself or shuttle supplies to friends. But early in the game, make sure you have a helper. A person riding behind the pack animals can watch them carefully for any problems with the packs. He or she should learn to look at the top of the D-rings or sawbucks to make sure they’re staying centered on each animal. The way the packs themselves are riding is far less important. As long as the D-rings or sawbucks remain centered, and rock equally left and right as the animal moves under the pack, the saddles are balanced.
Before long grades or treacherous areas, stop, and check packs and cinches. You don’t want to make adjustments on ledge trails. Take it easy, be watchful, and remember the old adage about a stitch in time saving nine.
Packing Resources
To start your packhorse lessons, first, master just a few important knots, an easier task than learning to program a VCR. Particularly crucial are the square knot (for joining two lines together), half hitches (both single and double), and the bowline (the only safe knot for leading a horse by a rope around his neck or for pulling him out of a bog by encircling his chest, because it won’t tighten or slip). Instructional books will help (see page 77), and so will our On-Trail Training article in the next issue, which will tackle several important backcountry skills.
If you can afford it, improve your packing skills by taking a mountain trip with an experienced outfitter who enjoys packing assistance from his clients. I (and many others) offer packing clinics, as do such organizations as Back Country Horsemen of America (888/893-5161; www.backcountryhorse.com).
Heading up a mountain trail, with your packhorse carrying everything you need for an extended stay, is one of the great feelings of independence left on earth. Be careful, be light on the land, and be attuned to the comfort of your animals. Happy packing!
Dan Aadland (http://my.montana.net/draa) raises mountain bred Tennessee Walking Horses and gaited mules on his ranch in Montana. His most recent books are The Best of All Seasons, The Complete Trail Horse, and 101 Trail Riding Tips. Sketches from the Ranch: A Montana Memoir is now available in a new Bison Books edition.


