My 7-year-old Paint Horse gelding trailers well and does well on the trail, except for when I tie him. When I tie him to my trailer, he dances and pulls back so much, it’s hard to tack up. When I stop for a lunch break and tie him, he does the same thing. I’m worried he’ll hurt himself. What can I do to correct this negative behavior?
Joyce Levin
Lexington, Kentucky
Joyce, you’re right: Your gelding is definitely behaving in a negative and even dangerous manner when tied. Horses can kill themselves pulling back while tied. He might be behaving this way because he fears being trapped. Or, he’s simply impatient. In any case, you can teach him to be less fearful and more patient. There are several methods used to teach a horse to stand tied; here, I’ll explain my method.
Step-by-Step Technique
This method involves spending the time to gently and patiently teach your gelding to stand tied. You’ll need a nylon halter, a 10-to-12-foot lead rope, a 25-foot lead rope, and an enclosed pen with good footing and strong, secure steel panels.
Step 1. Perform walk/whoa. Outfit your gelding with a lead rope and nylon halter. Walk your gelding, then ask for the stop. To do so, stop, gently pull back on the lead rope, and say “whoa.” Ask him to stand for a minute or two. Repeat this step until he’s relaxed and stands still while stopped.
When he can stand relaxed for one or two minutes, increase the time period in small increments, until he stands for 10 to 15 minutes. Reward him for his good behavior by telling him that he did well, and give him a soft pat on the shoulder.
Step 2. Position your gelding in the pen. Remove the lead rope, and snap on a 25-foot lead. Walk your gelding to the enclosed arena and point his nose toward a steel panel so that he’s standing about two to three feet away from it. Run the lead rope right to left around the panel’s vertical center post at a point higher than his eyes when he’s at rest. Leave three feet of slack, and position the lead rope’s loose end to the left.†Don’t tie your gelding.
Step 3. Perform a slack-rope exercise. This exercise will show your gelding that when he pulls back on the lead rope, he can’t get away, and that he’ll be most comfortable when he’s relaxed. To start, stand on your gelding’s left side, even with his rib cage. Hold some of the lead rope, and allow the rest to drop on the ground behind you. Allow him to dance and pull back. As he does so, allow some of the lead rope to†slide through your left hand. After he’s pulled back a few feet and is starting to calm down, apply pressure to the lead rope and say “whoa” to stop him.
When your gelding stands still, allow him to relax, and praise him. Then put pressure on the lead rope and slowly pull him back to where he was originally standing, two to three feet from the panel. Repeat this exercise until he stops dancing and pulling back. Then you can graduate to trailer tying.
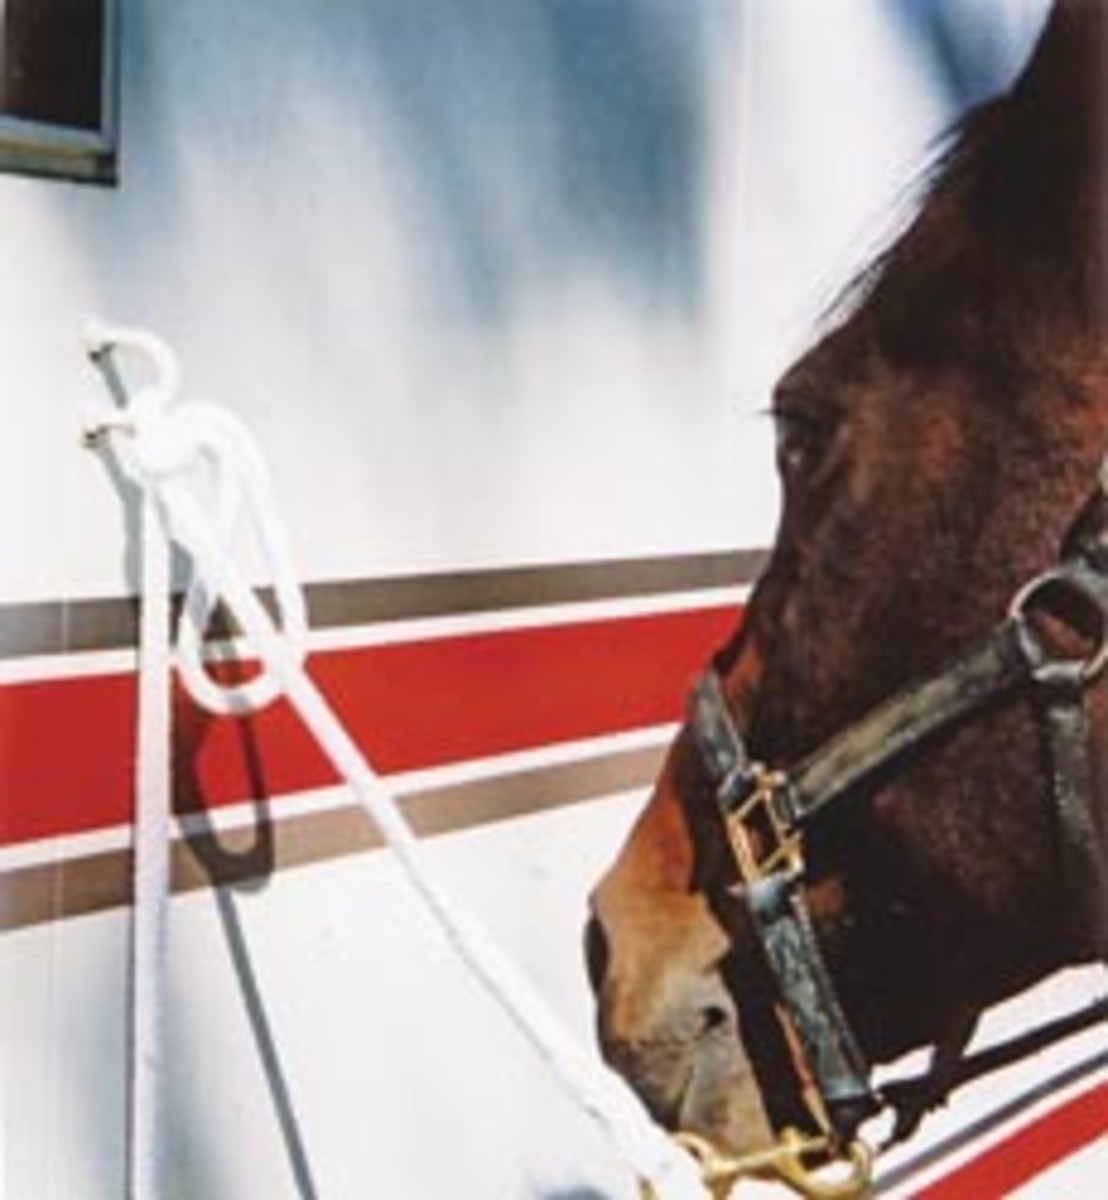
Step 4. Tie your gelding to your trailer. Snap on the short lead rope, and get ready to tie your gelding to your trailer. Position your trailer on level ground, and make sure it’s very secure. Tie your gelding to your trailer’s tie-out ring, with his nose about two feet from the ring. This will prevent too much slack in the rope that could catch his leg. Tie using a slip knot. (Tip: You can also use a breakaway halter, if you’d like.) With a slip knot, you can easily free your gelding if a dangerous problem comes up.
Step 5. Perform a tie-and-release exercise. Stay close to your tied gelding, and watch him closely. If he becomes upset, untie him, allow him to relax, praise him, then retie him. When he seems quite relaxed, start to walk off, but watch him to see how he does. Keep your eyes on him at all times. If he becomes upset, release him, let him relax, and retie him, as you did before. Gradually move farther away, but never leave him totally alone, where you can’t see him.
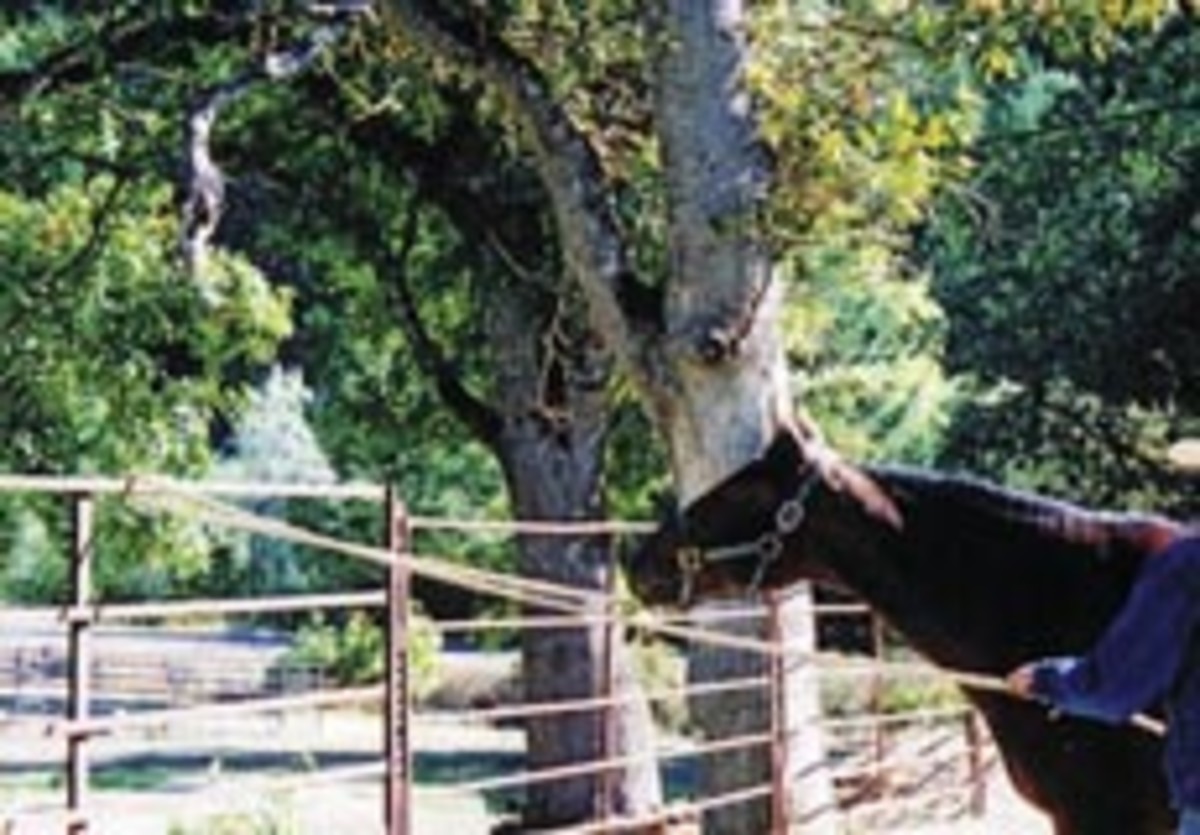
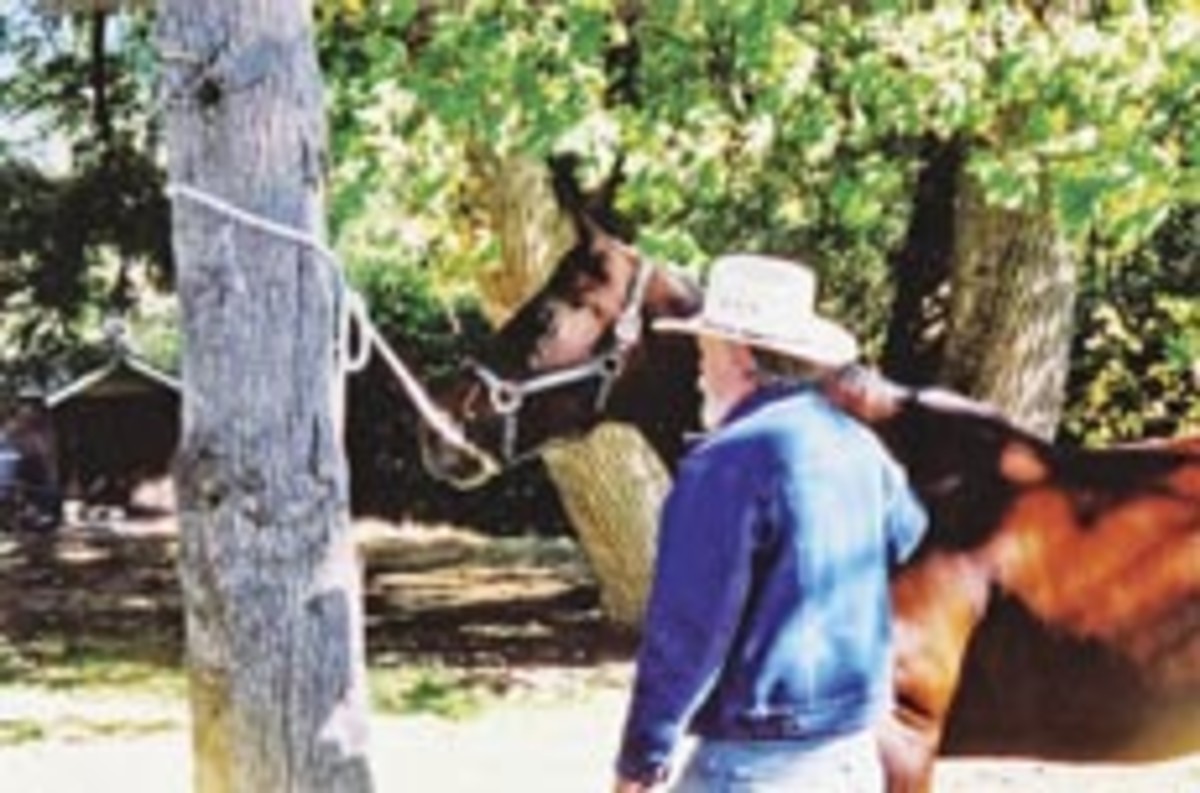
Step 6. Tie your gelding on a trail ride. When your gelding ties well to your trailer at home, he should also tie well on the trail. On the trail, tie him to a strong, secure object in the same manner you tied him in Step 4. Use a Bolin knot. (For directions, type “Bolin knot” into your favorite search engine, or ask a knowledgeable horseperson to help you.) Or, use any secure knot that you feel comfortable with, except a slip knot, which could come loose. (Tip: Carry a sharp pocket knife with you in case you need to cut the rope to free your gelding, should he become upset and put himself at risk of an injury.)
Trainer J.F. Sheppard (www.horsecreekoutfitters.com) practices Responsible Horsemanship. He’s certified under top Paint Horse trainer William T. Lawrence. You can reach the Oregon resident at flyingeagle@ccountry.com.


