
In the market for a new trail saddle? When embarking on the journey of purchasing a new trail saddle, one finds themselves at the intersection of comfort, durability, and functionality. If you’ll be spending long hours on the trail in this saddle, finding one that fits you and your horse is of paramount importance. We’ve outlined factors that help you choose a quality saddle for your horse – regardless of your discipline. Now let’s look at how to make sure that saddle fits you and is a quality buy.
[TIPS TO FIT THAT SADDLE TO YOUR HORSE]
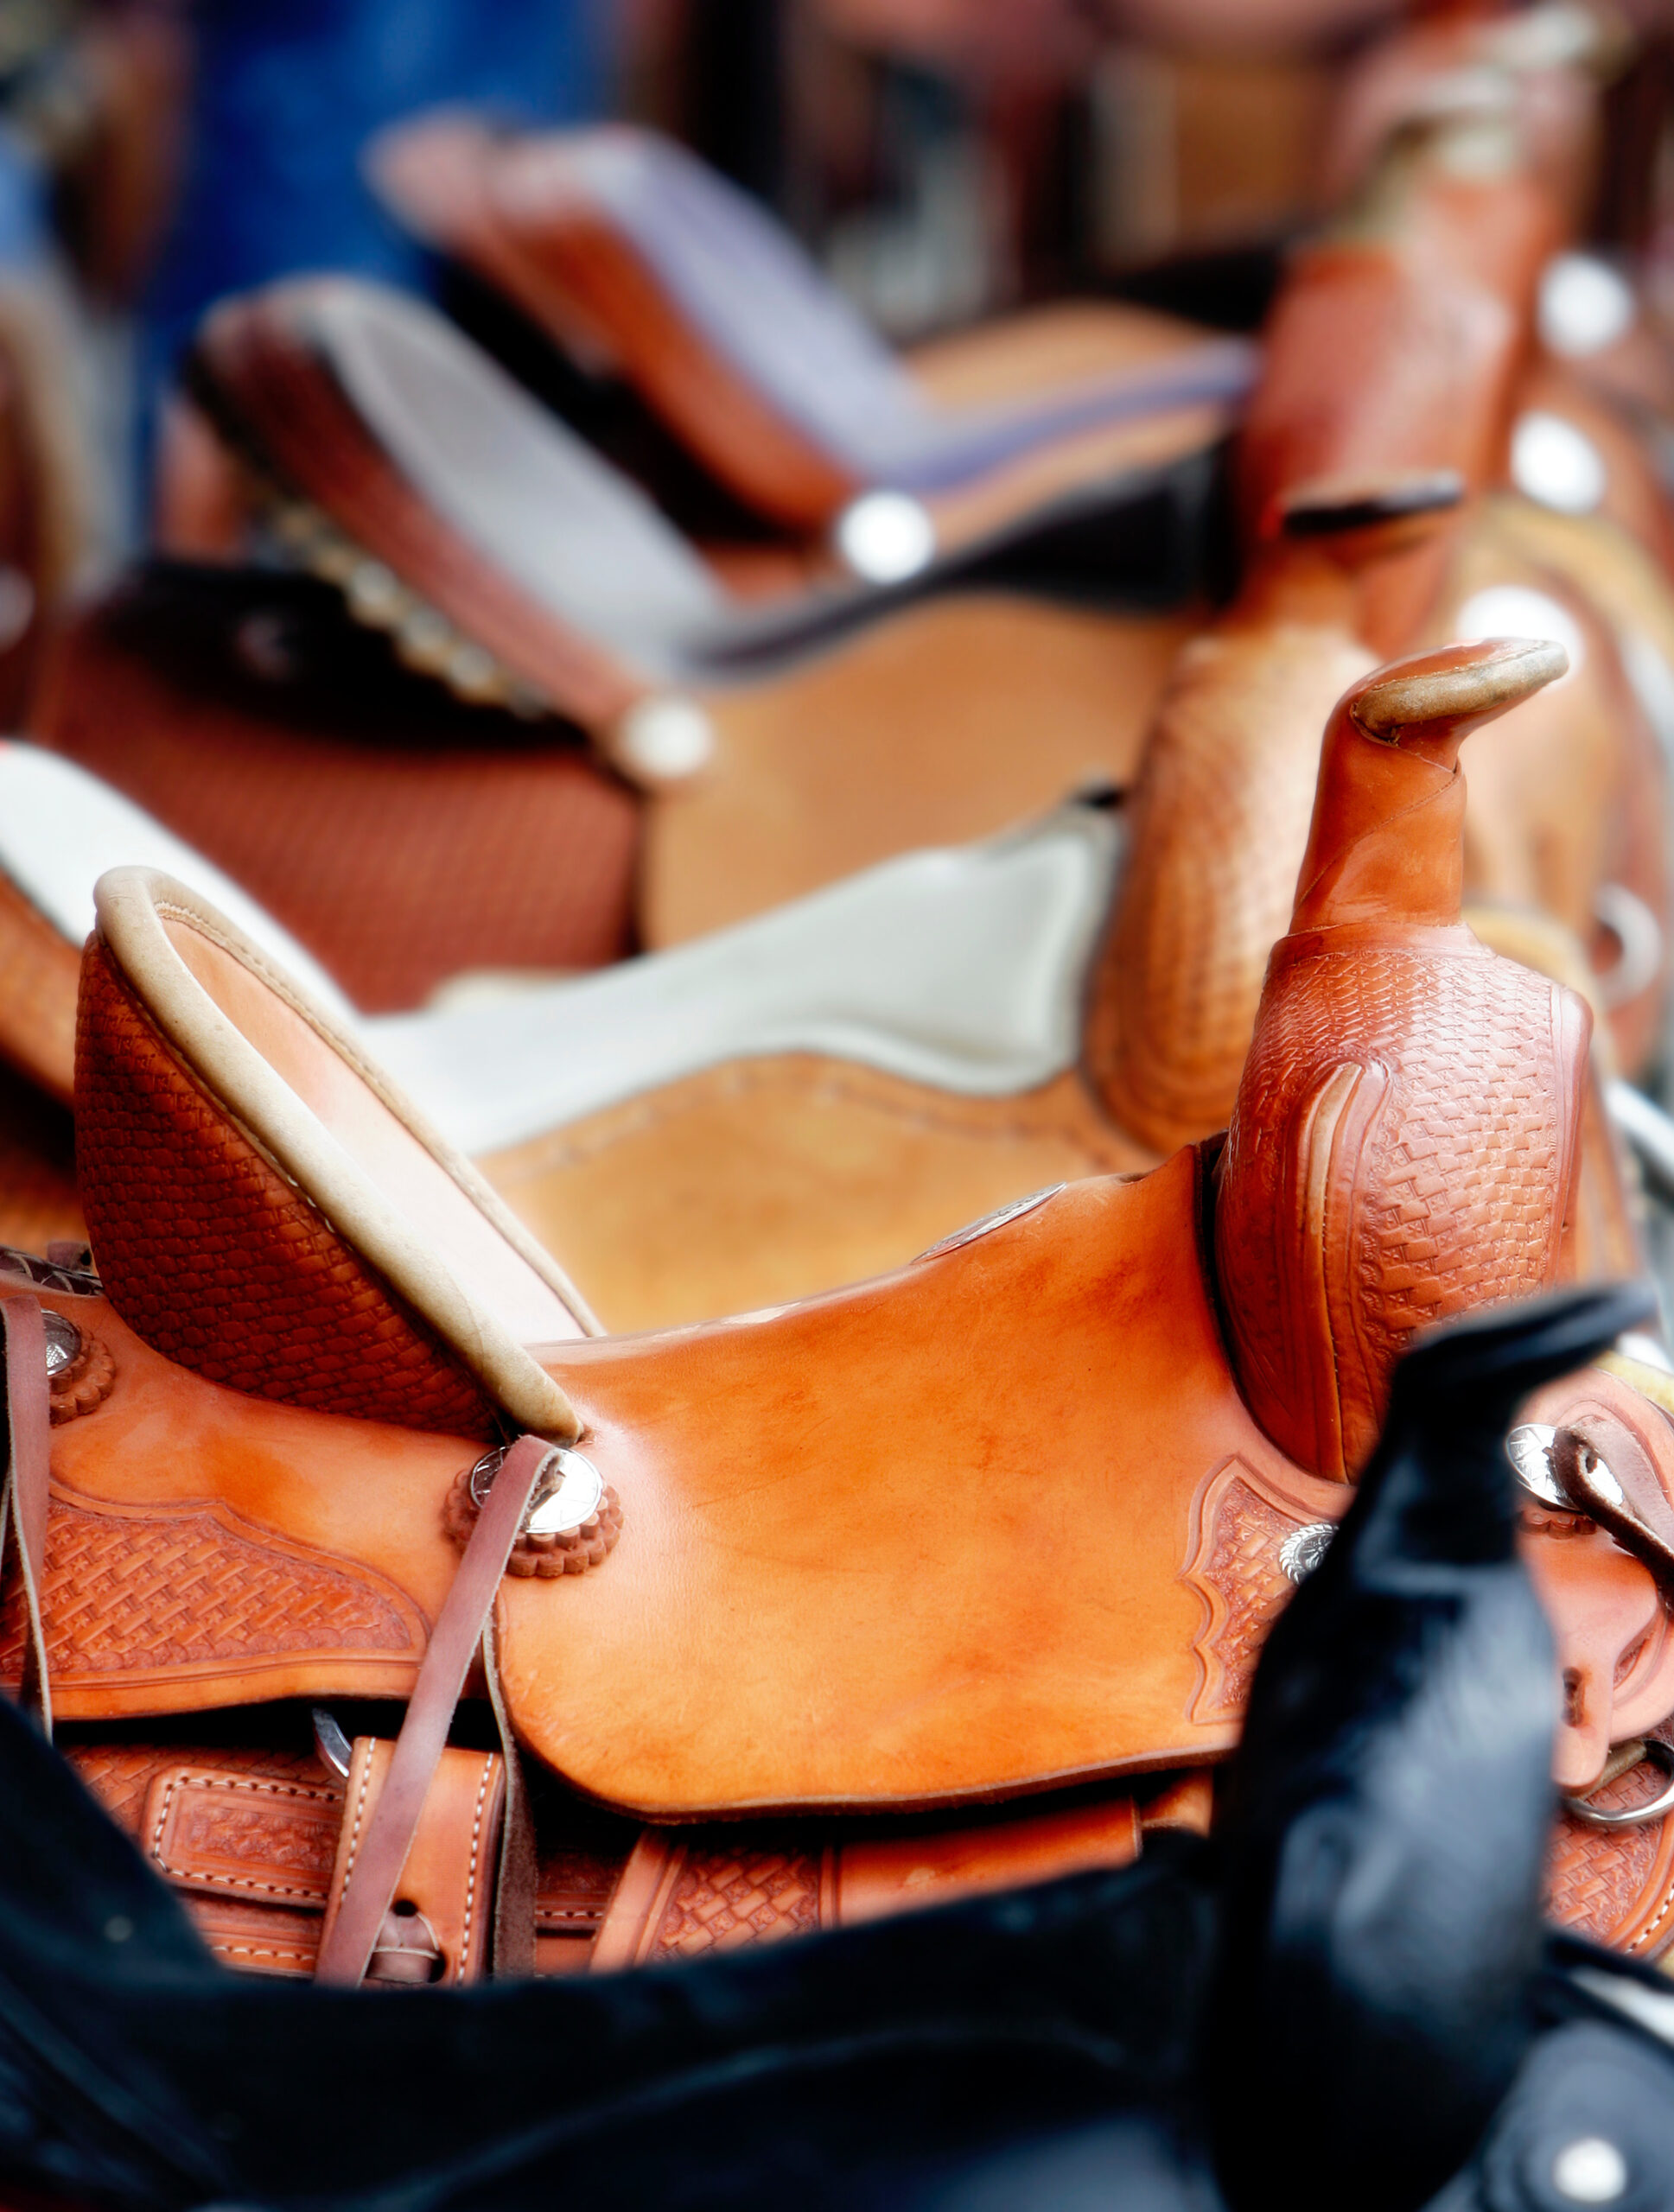
Leather Quality
Top quality leather may cost more than poor leather, but when well cared for, it’ll look better than poor-quality leather, and hold up better to use.
- Check feel. Quality leather should feel smooth and supple, but never spongy. Bend the saddle fenders, side jockeys, and skirt. Small cracks on the top (grain) side indicate dry rot or overly dry leather; avoid buying the saddle.
- Check strength. The leather’s hair follicles should be close together, there should be no wrinkles. Open or coarse grain (wide between the follicles) and small wrinkles indicate belly leather, which is weaker and less durable than leather from the animal’s sides and back.
- Check finish. Make sure the leather’s edges are skived (the sharp edges removed), burnished (slicked down), and sealed with edge coating. A well-made saddle always has nicely finished edges, rather than rough, fibrous ones.
Tree Construction
The tree is a saddle’s “skeleton”–if it’s broken or of poor quality, the saddle is worthless. Here’s how to check it over.
- Check tree damage/breakage. Point the front of the saddle toward you. Grasp the pommel (or fork, the part that sits over your horse’s withers) with one hand, and the cantle (back of the seat) with the other. Pull the cantle toward the fork. If the tree flexes under this pressure, move on. Then face the front of the saddle away from you. Hold the cantle in one hand and force the pommel back (toward you and the cantle) with the other. Again, there should be no movement.
- Check tree material. Look under the side jockey to see what the tree is made from. (You may not be able to do this on some English-style saddles). Rawhide-covered wood trees are stronger and more durable than injected, molded-plastic ones. Fiberglass-covered wood trees are not only strong, but the fiberglass coating waterproofs the wood.
- Check the bars. Place the saddle on a saddle stand, or flat on the floor. Bend over the side and grasp the bars (the tree’s long side panels that run parallel to your horse’s spine) one at a time. Then, try to flex them in and out. Do the same thing on each side just below the cantle. Feel for movement and look for wrinkles in the leather, which could indicate a broken pommel or cantle.
Stitching and Buckles
These hold the saddle’s parts together, so it’s important to check them for wear and tear.
- Do a sight check. Watch for rivets that pull through the leather, and for any stitching that’s worn through. Tip: Thoroughly inspect saddles that are dyed a dark color, which can hide stitching flaws.
- Check rigging. Examine the saddle’s rigging (the hardware–such as D-rings–and straps that attach the cinch or girth to the saddle). All leather should be soft and supple. Adjustment holes should be clean and tight. Hardware should be made from stainless steel, solid brass, or chrome-plated brass, for durability. Avoid rusted steel or corroded aluminum hardware.
- Shopping tip: Take a small magnet with you. It won’t stick to brass or chrome, but it will adhere to steel. It also won’t stick to aluminum, but you can learn to recognize this metal by its pale-gray color and the fact that it corrodes instead of rusts.
Seat Size
You won’t be comfortable–or safe–in a trail saddle if the seat is too big or too small for you. Here how to check size.
- Position the saddle. Place the saddle on a saddle stand with a good saddle pad. Be sure it’s level, as it’d be on your horse’s back. That is, the front of the saddle shouldn’t sit lower or perch up higher than it would on your horse.
- Check comfort. Hop onto the saddle and place your feet in a natural riding position. Have a shopping buddy or the salesclerk stand on one side and draw an imaginary vertical line down from your shoulder, through your hip and ankle. The seat should allow you to comfortably keep your hip under your heel and shouldn’t tip your upper body forward or back. You should be able to stand in the stirrups without falling forward or backward. If you have a problem in any of these areas, then the seat is too big, too small, or out of balance.
Twist
The design of a saddle’s twist, the narrowest portion of the seat just behind the fork or pommel where your legs hang down, is critical to your comfort.
- You be the judge. Twist width preference is highly individual, so while you’re trying out the saddle on the saddle stand, imagine how it’d feel on the trail. Twist width and contour needs to be wide enough that that your pelvic bone isn’t rubbed raw on a long ride but shouldn’t leave you feeling as though you’re doing the splits. (Note: Some custom saddles are designed with a piece of felt just under the seat’s leather, shaped to give you the feeling of a narrower twist on a wide-treed saddle, for long-distance comfort.
Stirrups
Finally, check the saddle stirrups and fenders.
- Check stirrup design. Look for wide, flat stirrup bottoms, which offer balance and support, and alleviate nerve pressure in your feet. If the saddle you’d like to buy doesn’t offer suitable stirrups, replace them after purchase.
- Check stirrup-leather length. If the saddle features English-style stirrup leathers, make sure they’re long enough for you. If they’re too long, you’ll be able to punch new holes to shorten them, but if they’re too short, you’ll need to buy new ones. (Tip: Replace used stirrup leathers that have had multiple holes punched in them; these leathers will be weak and may break under stress.)
- Check fender length. Adjust the stirrups to riding length to make sure the saddle’s fenders are the right length for you. If so, you’ll be able to adjust them up and down without obstruction.
Saddle Pad Shopping
Your saddle pad is a tool to help with your saddle. Western saddles were originally designed with rider comfort in mind as riders rode for long hours, while they wanted the horses to be comfortable that wasn’t necessarily why the saddle was designed. Therefore, the saddle pad itself is a unit with the saddle, rather than two separate units.
- Consider length. Your pad should not be too long, or too short, but just right. There should be about 2-3 inches of pad behind your saddle. If your pad is too short, you run the risk of your saddle rubbing. If it’s too long, it can restrict movement, cause discomfort, or just be too bulky.
- Pick a material. The best pads to compensate for the saddle’s inability to form to the change in your horse’s back are natural fibers. The natural fibers are naturally springy and have a recoil ability. The natural fibers also have the ability to trap air to help dissipate pressures and have a natural sweat-wicking capability. As any horse has pressure points, natural fiber pads are also shown to distribute weight and pressures better than synthetic. Synthetic pads are usually easier to maintain and might be more affordable.
- Be mindful of body changes. Throughout the course of the year, depending on where you live, you may not be able to ride year-round, so naturally your horse’s back will change as his fitness level changes. Since many riders aren’t able to have a saddle for every season, it’s important to look at how you can support your horse’s back with the saddle you have—that fits him during most of the year—with a good saddle pad to make up for the lack of ability to change your saddle with the season.

Test Ride Your New Saddle
Many saddle shops might let you try out a saddle before purchasing, to see if it fits your horse. You might need to leave a deposit or credit card on file and be sure to take care of it while it’s in your possession! If you get a chance to test ride a saddle, here are some tips to see how well it fits you, and your equine friend.
Check for Balance
Once you’re on your horse, warm him up for about 20 minutes, then note whether the saddle stayed in place or shifted to a new position during this period. If the saddle moved from its original place, dismount and reposition it correctly, then ride again.
See if it continues to shift. If the saddle slides forward or backward, check to be sure the cinch is in the correct place. Should the saddle shift from side-to-side, the tree may be too narrow (a common problem with fairly wide, flat-withered horses).
If the saddle is slipping to one side, even though it’s even and level, it may be because of how you sit or ride. Many riders are uneven, or ride in a way that shifts the saddle to one side.
Is it Comfortable?
Now, continue to ride while you consider how well the saddle fits and suits you. At the halt, test your balance by slowly tipping forward and backward. Is there a place where sitting is effortless? If you can’t find this “sweet spot,” perhaps your saddle is the reason why.
Take your feet out of the stirrups. Do your legs hang in a different position than they did when your feet were in the stirrups? Do you have to reach your legs forward to find the stirrups? Consider how your legs feel in and out of the stirrups. Do your knees ache?
Without stirrups, ask your horse to walk. Is it difficult for you to maintain a level pelvis once you start to move? Does your back abnormally hollow or round?
Now, put your feet back in the stirrups and begin putting your horse through his paces. Ask your ground person to observe your leg position and balance. Is it difficult to keep your leg correctly positioned? Do you feel unstable or unsure of your balance, especially when working at speed? Consider if you will be comfortable riding in this saddle for an extended period of time.
Sweat Patterns

After working your horse thoroughly, dismount and take the saddle off to observe his sweat pattern. After your ride, your horse’s back should be evenly damp, with the exception on the spine. Dry spots on your horse’s saddle area after a ride indicate too much pressure in one area and create saddle-fit issues.
It’s important to note that not all dry spots are created equal. If the dry spot is smaller than your fist, it is a problem. Large dry spots might not be as large a concern and might be fixed with a proper fitting pad.
Checking out a potential new trail saddle thoroughly could save you headache – and backache – down the road.