
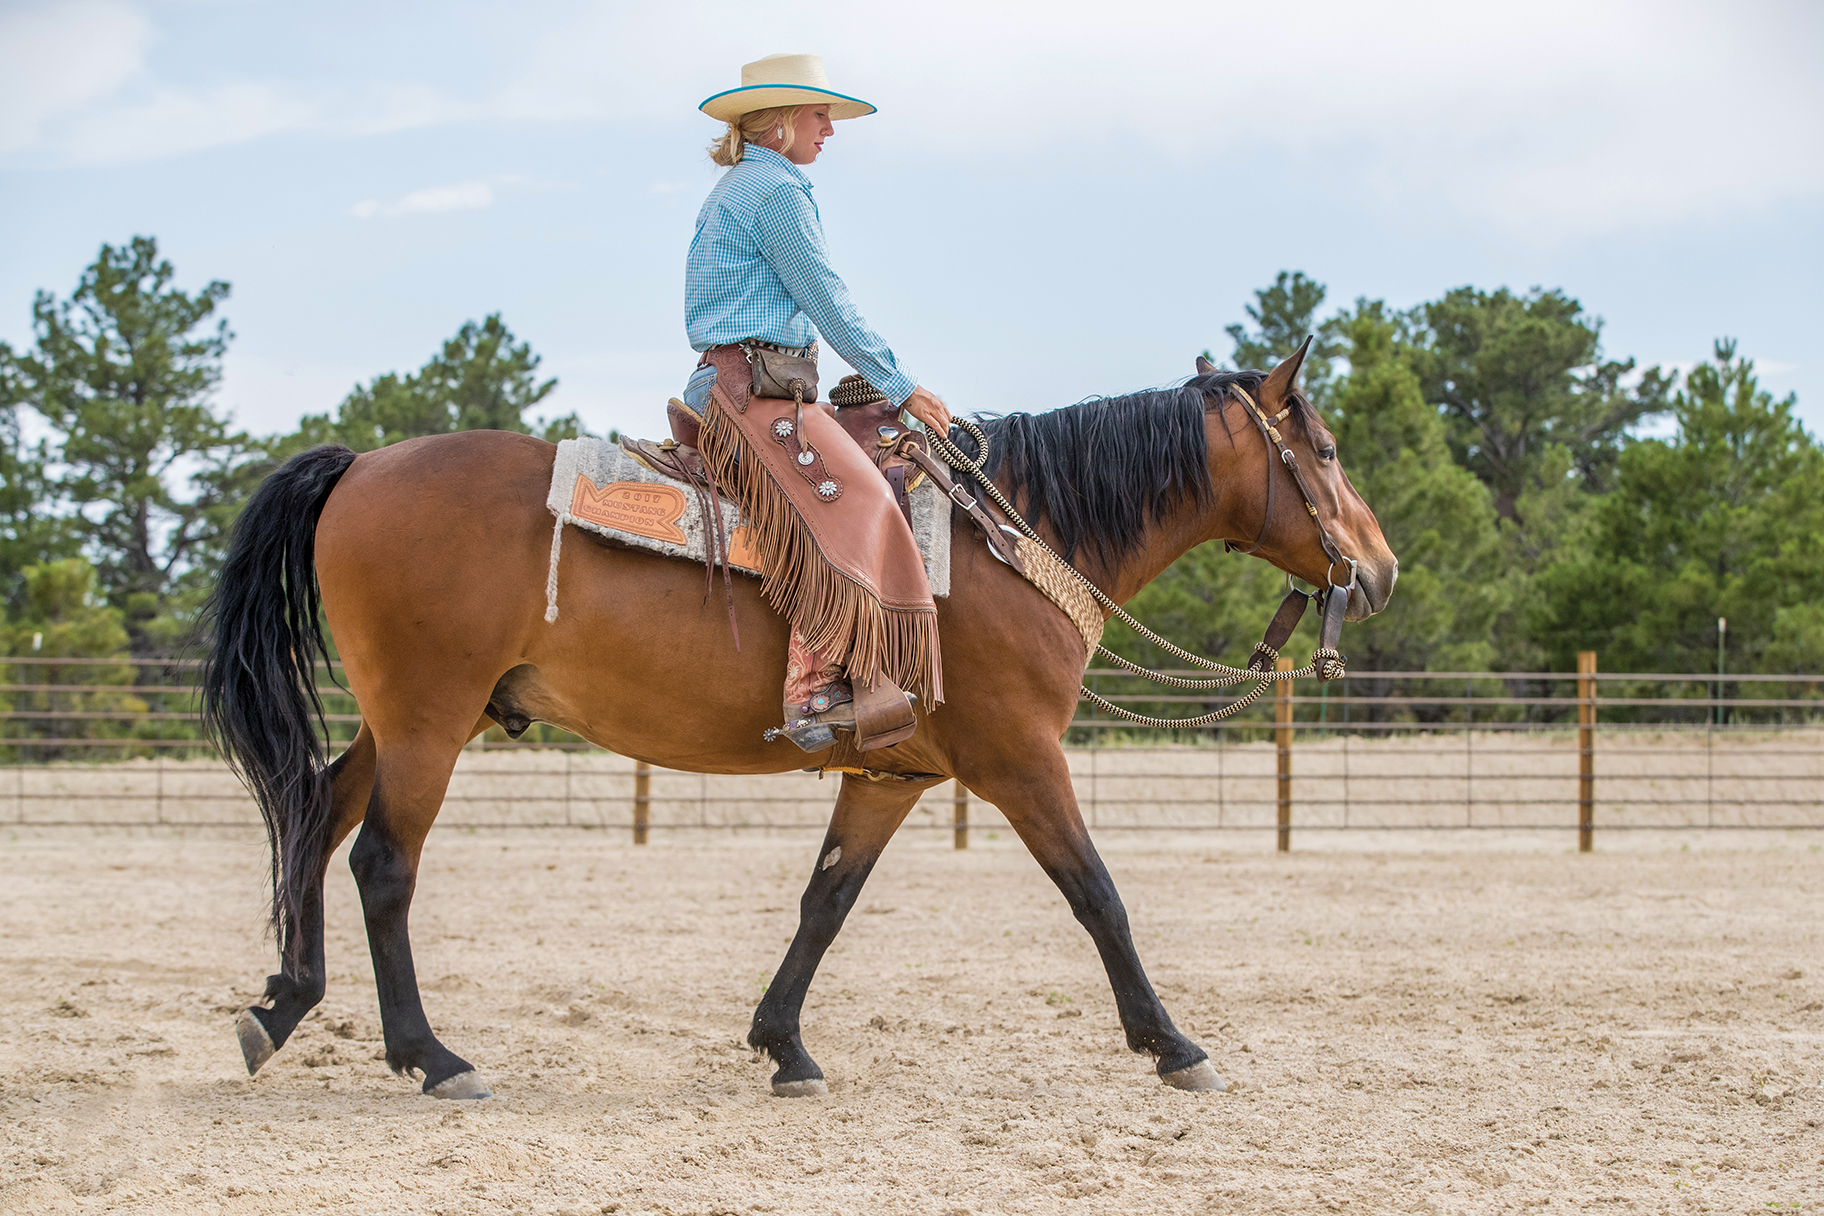
Riding bridleless looks impressive, particularly when you’re performing challenging maneuvers, but there are numerous other benefits to ditching the headgear. Enhanced communication with your horse is the most obvious one. Practically, being able to guide your horse without reins can be handy if your reins break or if you can’t use your hands because you’re ponying another horse, for example. Refining your cues for bridleless riding will help you in other areas, too, because your horse has to focus on your subtle cues. He has to pay attention so he doesn’t miss them.

Mallory Beinborn
I used to think the way to ride bridleless was to take everything off my horse and just go. I tried it first with my barrel horses, and that was…interesting. I’d recommend taking the process in baby steps to ensure that you and your horse understand each other before taking off your horse’s bridle altogether.
Here I’ll cover how to begin the bridleless training process, the progression of maneuvers I recommend, and finally removing the bridle altogether. As with any riding endeavor, be safe. If you know your horse doesn’t have the temperament for something like this, it might not be something that fits into your riding goals.
Ease Into It
Begin each bridleless lesson with the headgear you typically use on your horse that you’re comfortable with and he responds to. This allows you to safely assess his attitude on that day and determine if bridleless riding is a good task to attempt.
Mallory Beinborn
I’d caution that if you’re having any issue with your horse not being responsive in the bridle, move to a lighter bit rather than one with more contact. Your horse isn’t understanding your pressure, so move to something softer until he understands. Take him back to basics in a snaffle to remind him how to respond to cues. Once he’s had the refresher, return to the bit you usually choose.
It should go without saying that your first bridleless ride won’t be loping across a pasture without a care in the world.
Mallory Beinborn
Your first step is being able to ride at a controlled walk, trot, and lope on a loose rein without having to micromanage your horse’s speed. This step is really about him choosing to maintain a neutral speed out of relaxation and synchronization, rather than you constantly cueing him with your reins, legs, or body to slow down.
If your horse isn’t there yet, review your fundamental training to help him understand your cues. You can’t go bridleless without your horse thoroughly understanding leg and body cues. He needs to be able to respond to cues other than your reins.
Bolster the Back
If your horse only backs in response to a cue from your reins rather than your feet and seat, you need to reinforce your other cues to replace it when you go bridleless. Instead of pulling to get my horse to back more quickly, I set my hands and use my feet on my horse’s sides to get my horse to back with speed. Setting my hands doesn’t make the rein cue less important, but it gets my horse thinking that legs don’t mean only going forward. My legs are the gas pedal, but whether I’m in forward or reverse depends on my body. That is the key.

Mallory Beinborn
Once you have your horse listening to each of those cues, you’re ready to work toward backing while bridleless. Here are five steps to try before removing the bridle.
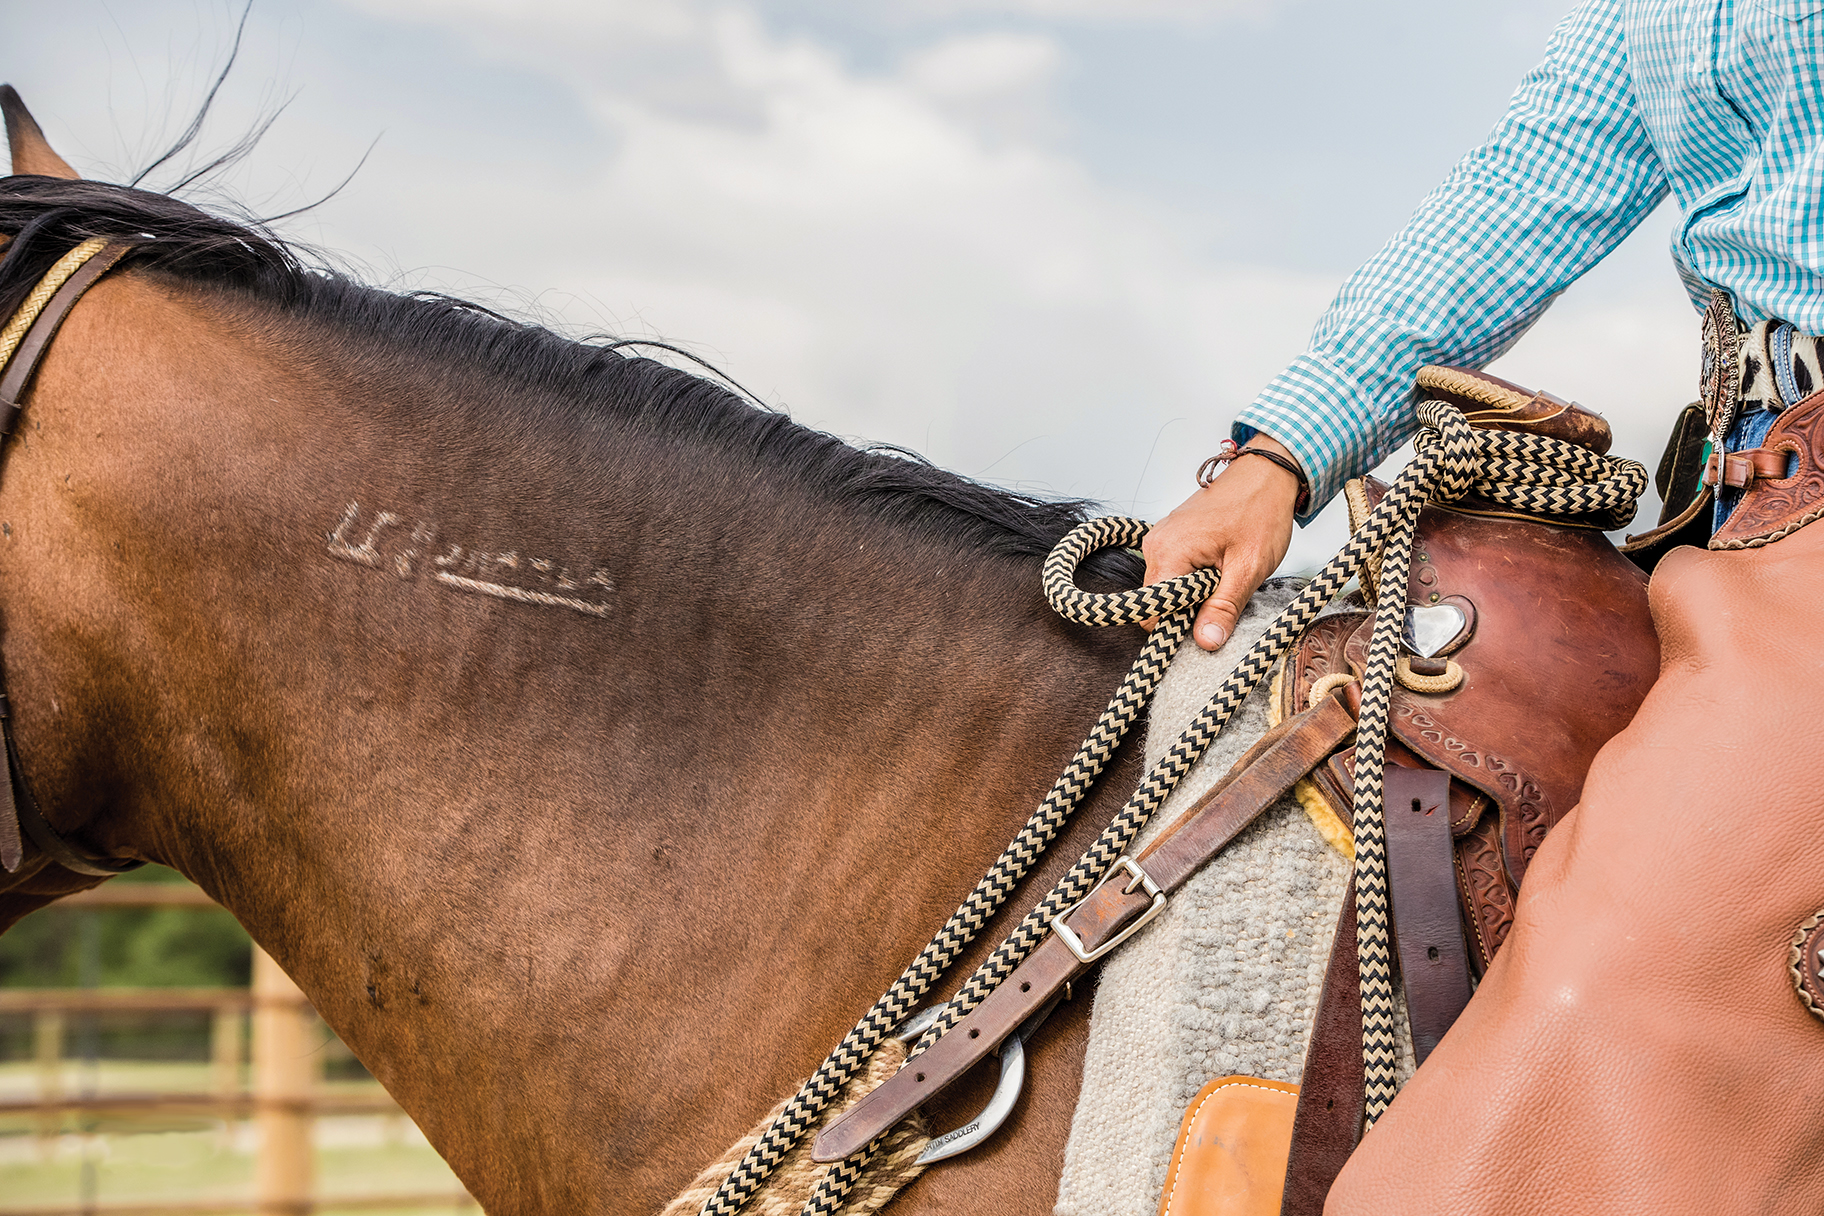
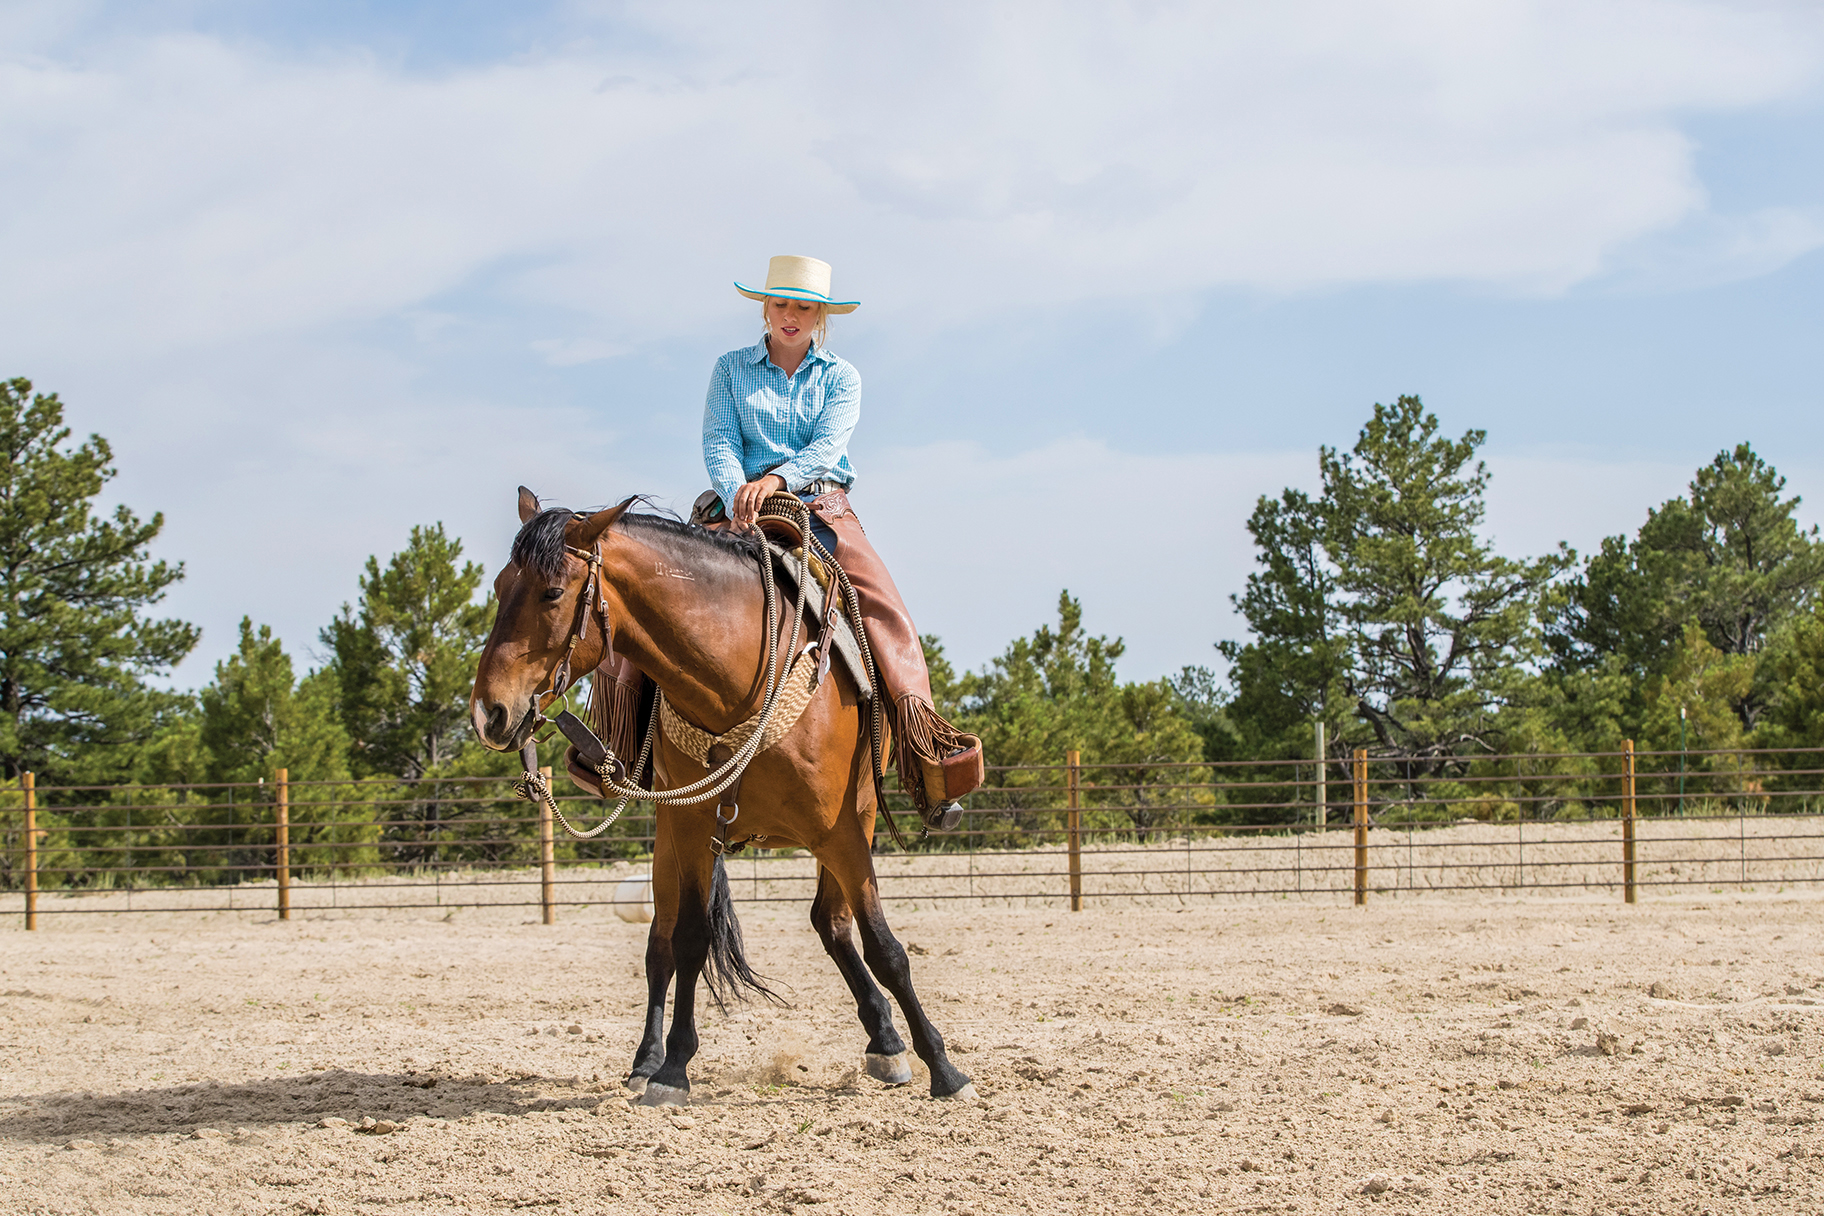
1. Begin by giving your horse a loose rein—place your rein hand on his neck, and grab a piece of mane or your saddle pad with that hand. You may not think you’re using your hand when you ride, but you probably are. This will help you be more aware of what you’re doing with your body.
2. Next, bring your legs farther forward so they’re in front of your girth. You’ll exaggerate this position at first, but you can move your legs back for a subtler cue later. With your legs away from your horse’s sides, wave both your legs in a fanning motion.
3. Introduce a verbal cue—I use a kissing sound, whether bridleless or with a bridle—to tell your horse to step backward.
4. Fan each leg against your horse’s shoulders, bumping with your calves. Bump one side of your horse, then the other, in a 1-2, 1-2 rhythm.
5. If he doesn’t back in response to these cues, add your reins to reinforce your cue to back. This way you’re using the new cue (waving your legs) with the old cue (your reins), if necessary. As soon as your horse responds, cease the cues. This is called delayed conditioning. The old cue acts as a translator for what the new unknown cue means.
Repeat this sequence until you don’t have to use your reins to show your horse the answer. Don’t release your leg cues until he’s backing up, otherwise he’ll be reinforced for the incorrect behavior and won’t learn the meaning of your legs.
Solidify the Stop
You probably ask your horse to stop with three cues: your reins, your voice, and/or your body. You can use them all together, but you want to be able to isolate each cue to achieve a stop and then recombine them for a more powerful response. When you go bridleless, you’ll have the individual cues and the combined message to ask for a stop.
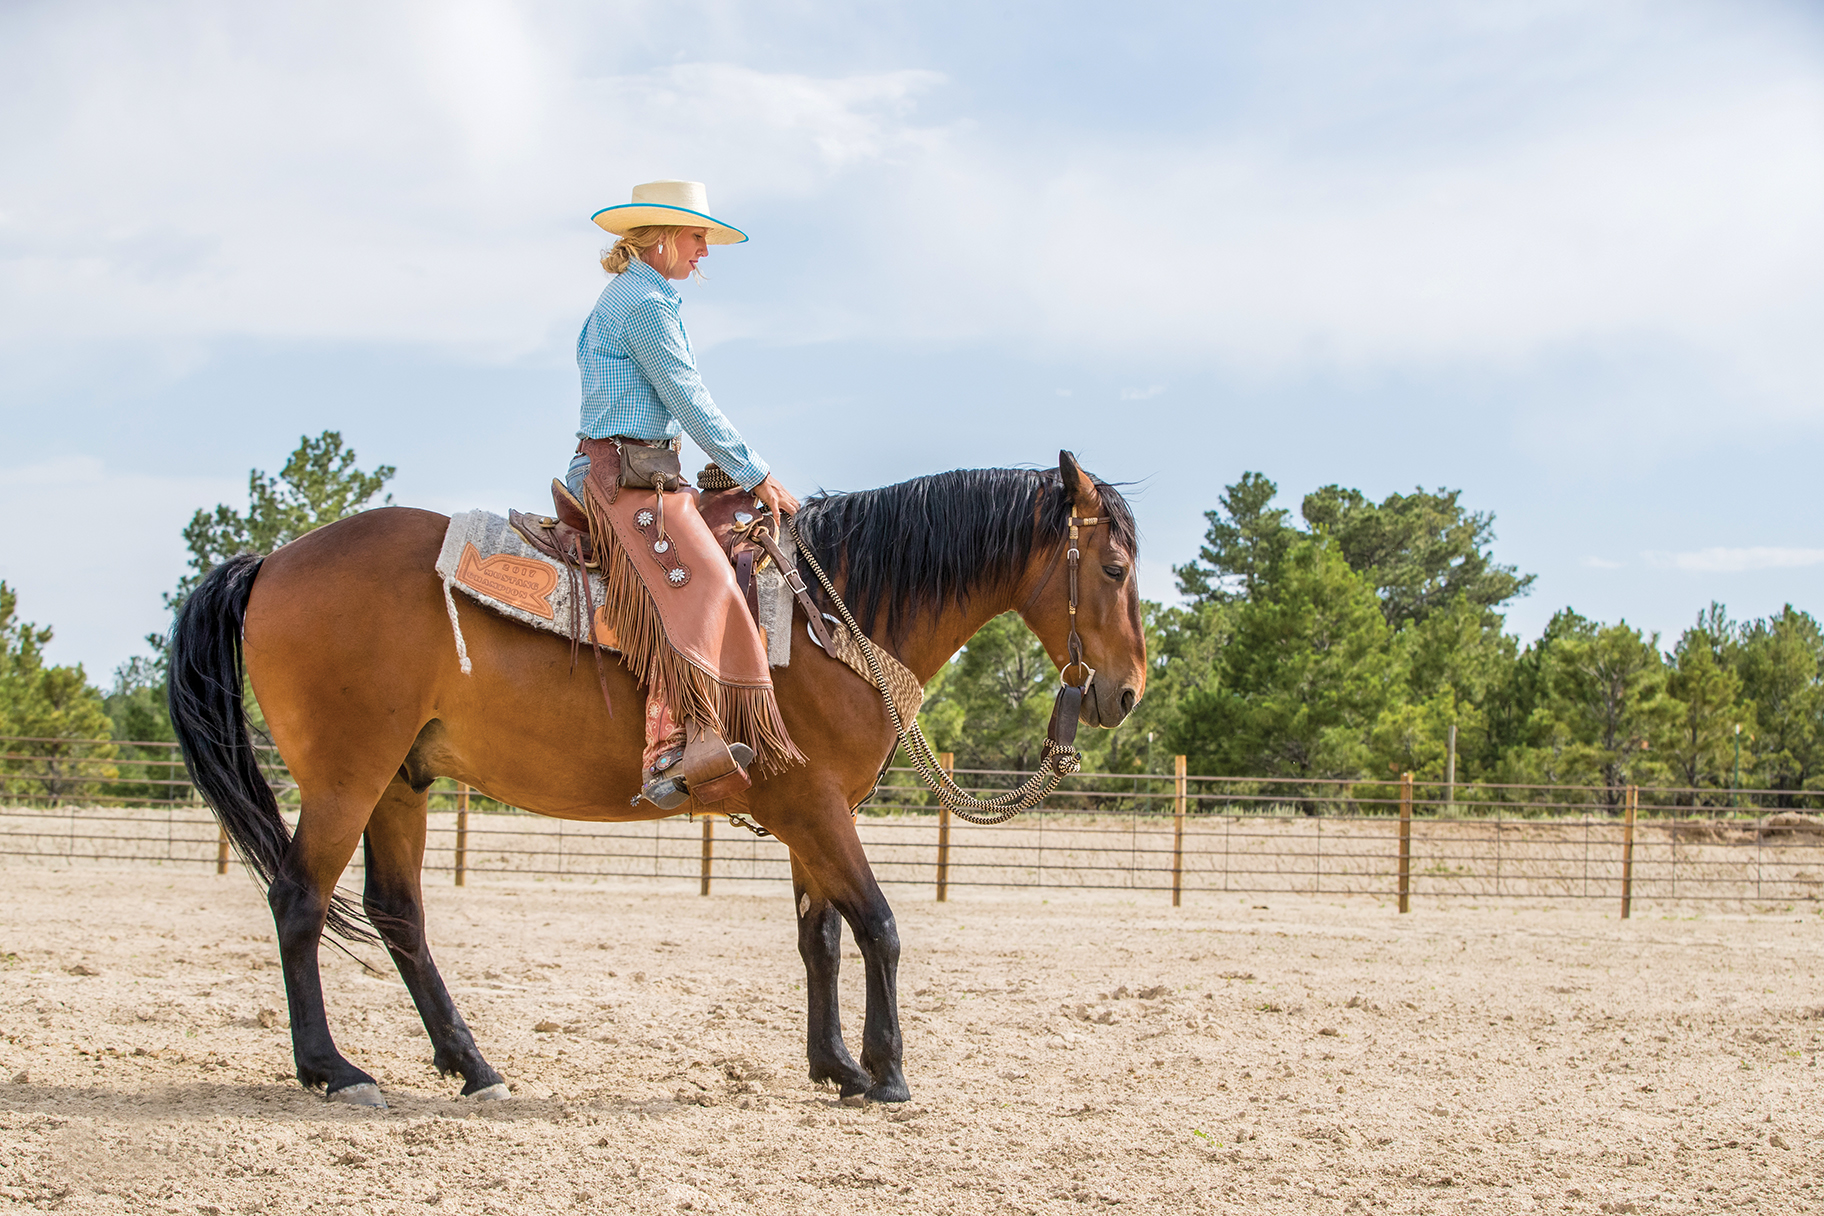
I work on strengthening my horse’s response to a verbal “whoa” before I work on his response to my body cues.
1. Starting at the lope, say the word “whoa” and give him time to respond—counting “one, Mississippi, two Mississippi.” If he doesn’t stop, go to your reins. It’s important to use the voice cue before the reins, otherwise your horse will only stop in response to your rein cues.

Mallory Beinborn
2. Using your reins and legs however you feel comfortable—neck rein or direct rein and outside leg—ask your horse to turn 180 degrees and walk in the opposite direction. Don’t worry about doing the rollback without rein cues; focus on getting him to respond to your voice command. Turning and steering without reins can come after your brakes are installed.
Mallory Beinborn
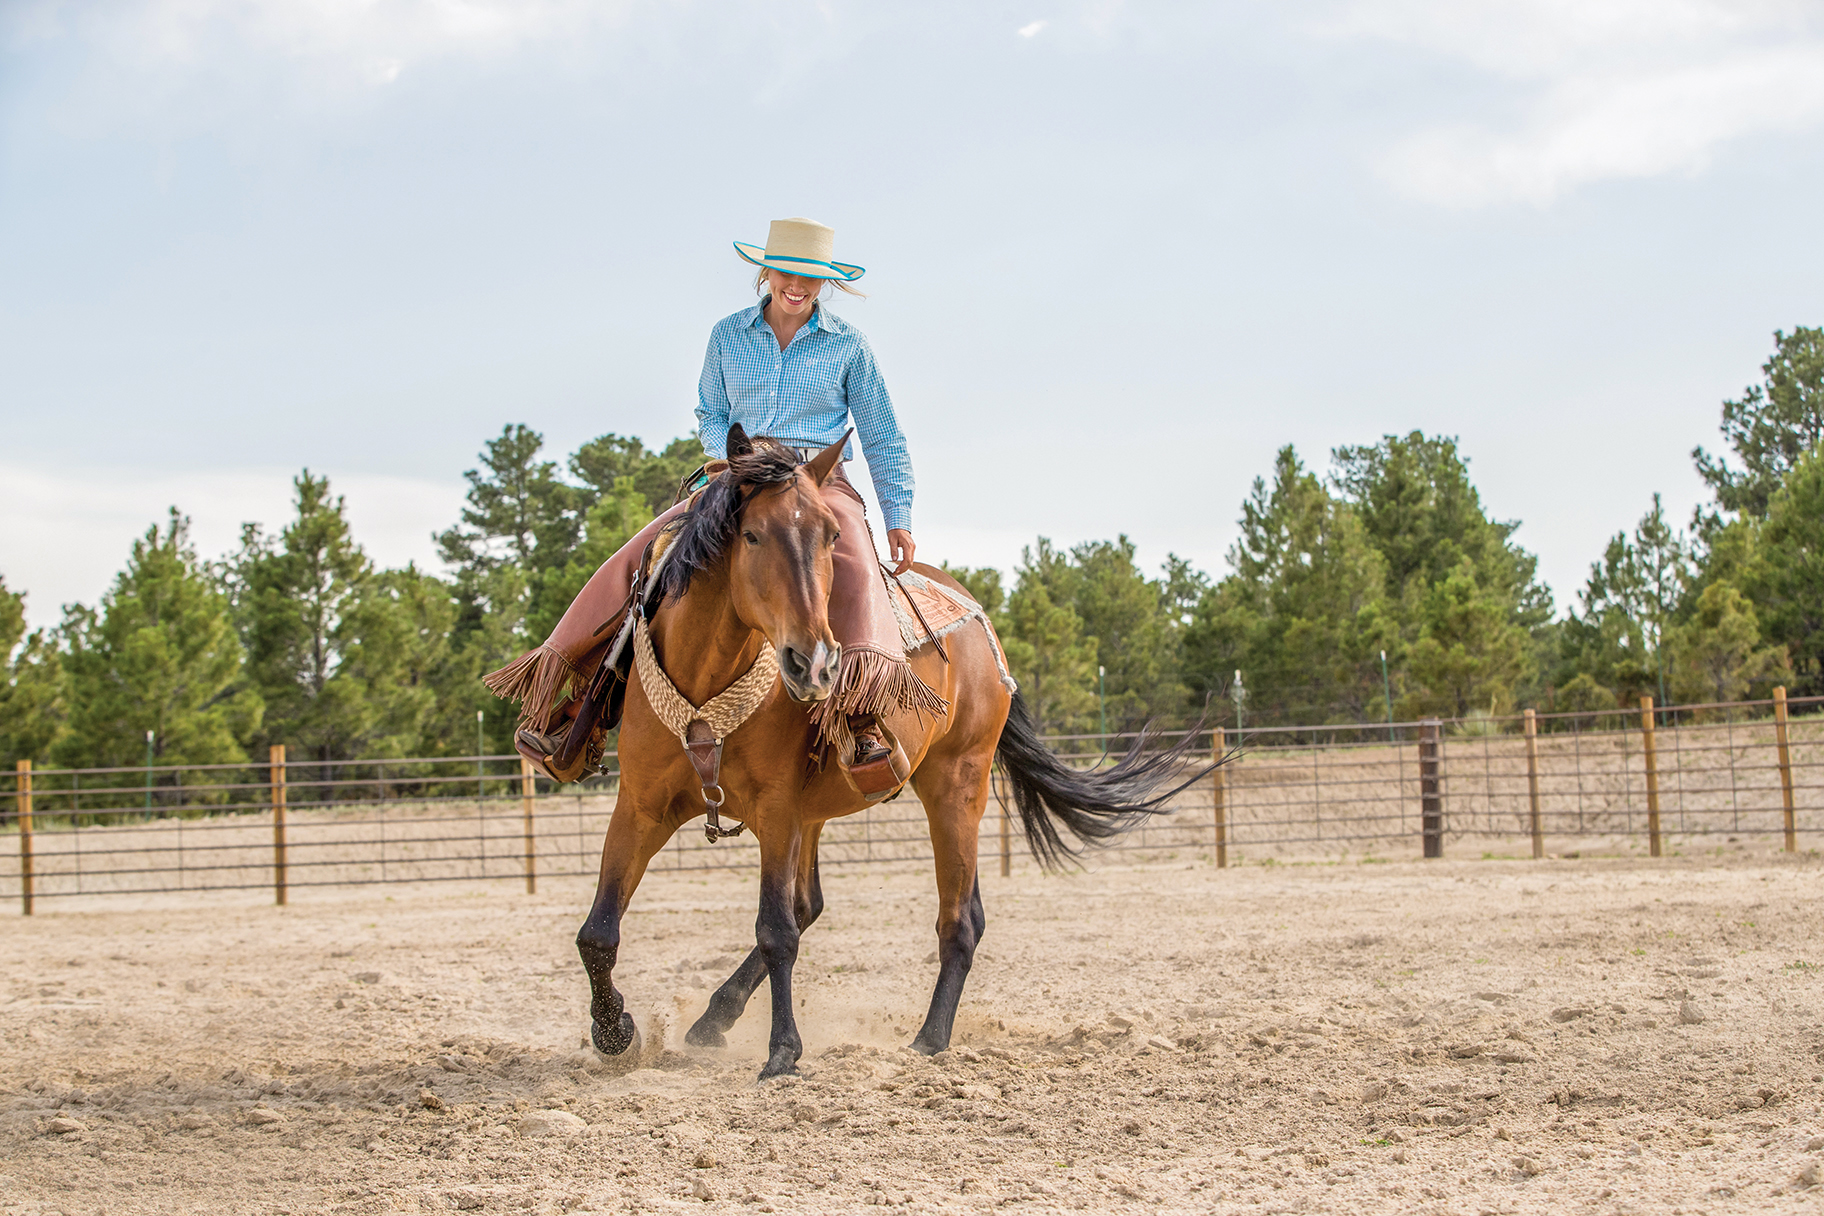
The rollback encourages him to use his rear end as well as lighten up his front end. It also resets him. Otherwise, he’ll remember going forward, stopping, and going forward again. The stop will be more impactful if you turn after you stop before going forward.
Once your horse responds well to the “whoa” cue, work on isolating the stop from your body cues.
3. Walk forward and insert your new cue, which is putting your legs forwards and rolling your pelvis so that you’re sitting down on your back pockets. If your horse doesn’t stop, wave your legs then increase pressure with your legs (usually bumping like you do when backing up) as you pick up on your reins to show him the answer. Remember: Reins are the old cue, the translator, and you want your cues to overlap. Don’t release the leg pressure then pick up on the reins because in that small amount of time, your horse was reinforced for not responding. Also, the new cue of your legs and their pressure must come before picking up on the reins, otherwise your horse will never learn to stop without the reins.
This exercise works well if you do it at the end of your training time, and you practice until your horse responds first to your voice cue. Then step off him, loosen the cinch, and call it a day. Your horse will quickly understand the value of stopping solely from your voice or body cue.
Mallory Beinborn
When he can respond to all these cues, in addition to the reins, you’ll have other ways to get him to stop—your body position and your voice. At that point, you can think about taking off your bridle, knowing you can get your horse stopped.
Setting Your Steering
You’ll start mastering steering in two ways. It might seem like the most difficult part of the process of going bridleless, but with practice and patience, you can do it!
1. Start on the ground with a dressage whip. Hold the whip at an angle, the handle over your horse’s nose and the tail of the whip pointed down toward his shoulder. Walk forward to stay in front of your horse and block forward energy so he has to turn. Wave, cluck, and begin tapping your horse’s shoulder with the whip until he steps over, effectively yielding his forehand. Do this until he crosses over clearly in the front end, without having to use pressure, in a 360-degree turn.
2. Once your horse moves away from that pressure, repeat it in the saddle at a standstill. Wave the whip, cluck (your verbal warning for lateral movement), and then tap the whip at the same angle as you asked for movement on the ground to get him to cross over in front.
3. After your horse moves off well in response to the dressage whip, transfer that cue to your leg. Wave your leg by his shoulder, cluck, then bump with your foot. Release when your horse moves laterally. If he doesn’t respond to the new cue from your foot, continue using that cue but also use the translator cue of the whip to show him what your foot means. Release when your horse turns, yielding his front end. Repeat at the walk, trot, and lope, turning both directions. The faster you wave, the sharper he should turn.

If your horse is more advanced and can neck rein, you can skip the ground steps and begin in the saddle. From a standstill, fan your leg on one side, cluck for a warning that pressure is coming, roll your spur or touch with your heel at the girth or shoulder area, then neck rein as you roll your spur or use your heel. Use your rein as the last resort, and be sure to keep your leg on your horse so there’s no gap between your leg cue and your rein cue.
Practice steering from a stop in both directions and then at various speeds. You can train your horse to understand that the pace at which you wave your leg determines the tightness of the turn. If I wave one leg from knee to heel slowly, my horse turns in a large circle. The faster I wave that leg, the smaller the circle, all the way down to a spin.
I don’t press my lower legs against my horse’s sides as I ride. The movement of my legs is the cue to steer. As my horse becomes more and more accustomed to these cues, he’ll begin to pick up on my intention.
Remember, the sequence of cues for steering is as follows: whisper- warn-pressure. Start with the lightest cues to encourage your horse to respond.
Horses communicate their intention to each other all the time. Whether it’s pinning his ears, swinging a hip, or swishing his tail, a horse will tell another horse to stay out of his space with a warning long before actually kicking. For a backup, my intention is waving both of my legs. For steering, it’s waving one leg.
Removing the Bridle
Consider the situation before taking off the bridle. If you’re new to going bridleless, choose a safe, enclosed space without distractions. Make sure you can stop your horse without using your reins. Testing your bridleless cues when the bridle is on when he spooks is great test for your horse to prove he’s ready to go without a bridle. He’s able to handle the cues and respond to them with the pressure of the outside world coming at him. Ride at a walk, trot, and canter; steer; and stop all without using your reins before removing the bridle.
You don’t have to ride this way all the time, but practice without your reins consistently to sharpen these skills. Going bridleless is a great test to see where you are in communicating with your horse.