
For avid trail riders, “the road less traveled” is usually the most appealing. It’s all about discovering what lies around the next bend and getting there on the back of a good horse.
Lynn Palm, a world champion Quarter Horse trainer who now teaches Palm Partnership Training, is a big believer in trail riding’s physical and mental benefits. In fact, the majority of training with her first world champion, Lecanto Raider, took place on the trail.
Here, she focuses on selecting and checking your trail-riding tack to optimize your and your horse’s safety and comfort.
Her equine partners are Rugged Painted Lark, a 9-year-old Paint stallion (Western tack) and Lark’s Painted Dinero, a 5-year-old Paint stallion (English tack).
Checkpoint 1: Saddle
For light training on the trail, Palm prefers a dressage saddle, but if she plans on doing a lot of cantering, she’ll opt for a hunt seat saddle so she can easily ride in two-point position, which helps the rider stay balanced and able to ride the canter for a longer period of time.
When it comes to pleasure trail riding, especially in hilly terrain, she likes a Western saddle because it has a larger seat and is more comfortable. In addition, the saddle horn can be helpful in keeping your balance when going up or down hills in steep terrain.
Saddle fit/placement. Whatever your choice, be sure your saddle fits your horse. If the tree is too narrow, the saddle can slip back, putting painful pressure on his lower back and loins. A host of physical problems can be caused by an improperly fitting saddle, including sore withers, back and loin muscles, muscle atrophy, lack of extension, uneven hoof wear, various lamenesses, and more. Consult with a saddle-fit expert if you have any doubts a particular saddle is a good fit for your horse.
Surprisingly, many riders unknowingly place their saddle too far forward on their horses’ backs. When this happens, your horse’s scapula (shoulder blade) actually hits the saddle tree as he strides out. To avoid pain, he compromises his stride; this unnatural, altered stride causes him to land harder than usual, putting more pressure on his feet, joints, and muscles.
Also, the under-panels of a too-far-forward saddle don’t come in contact with your horse’s back. Instead, your saddle bridges, meaning that it touches only his withers and lower back. This creates undue pressure on these areas, rather than distributing your weight uniformly.
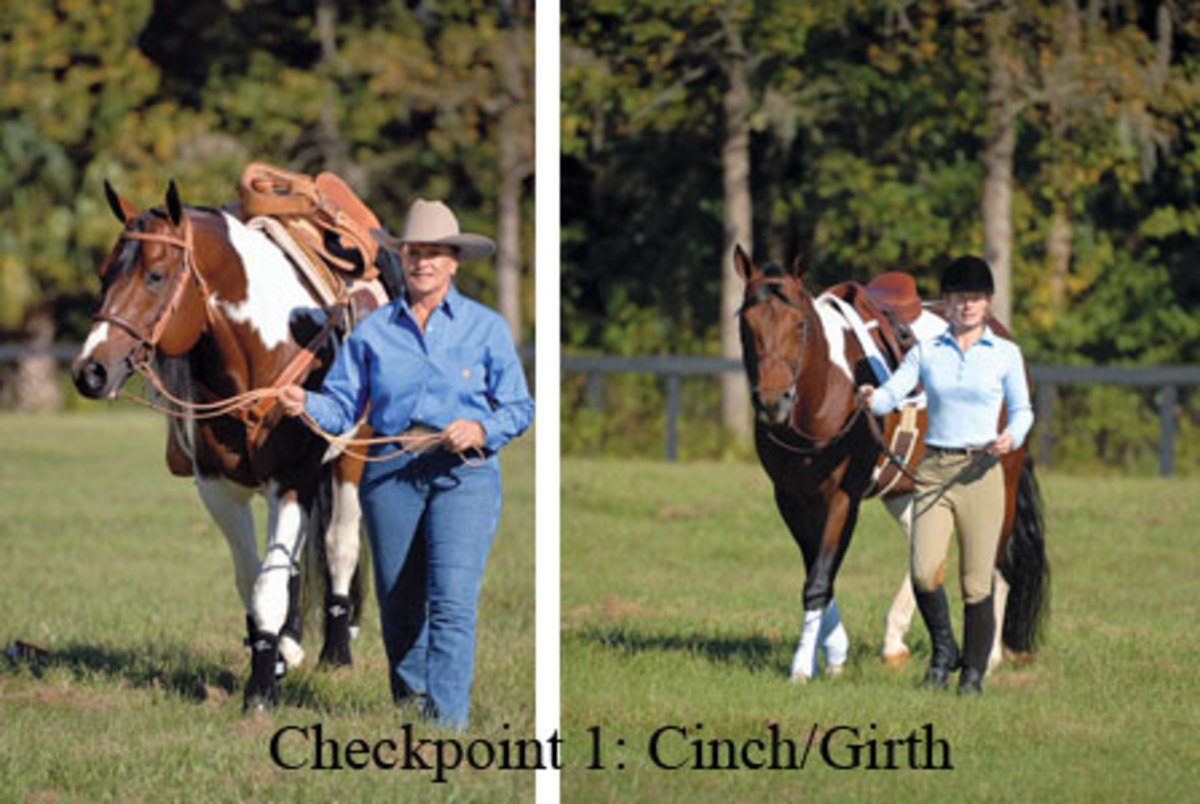
Cinch/girth. Palm suggests using a neoprene or leather cinch or girth, which is easy to clean and disinfect — an important point if you use your tack interchangeably on different horses. “I really like a neoprene girth, but you have to be cautious, because you can get one overly tight,” she says. “On long trail rides, particularly when it’s hot, I always use a leather girth. I don’t like to have rubber against my horse’s skin, especially in tender places, such as the girth area or on the back. Neoprene can irritate the skin, because it doesn’t breathe.”
If you ride with a back cinch or girth, you shouldn’t be able to see a noticeable gap of daylight between the cinch/girth and your horse’s belly. A loose back cinch is asking for an accident to happen. On the trail, a branch can get caught in it and your horse can even hang up a back foot, which may lead to injury.
When tacking up, tighten the cinch or girth at least twice. After the first time, leave the stirrup hooked on a Western saddle horn, or English irons run up the leather. This will remind you to tighten the cinch or girth once more before mounting.
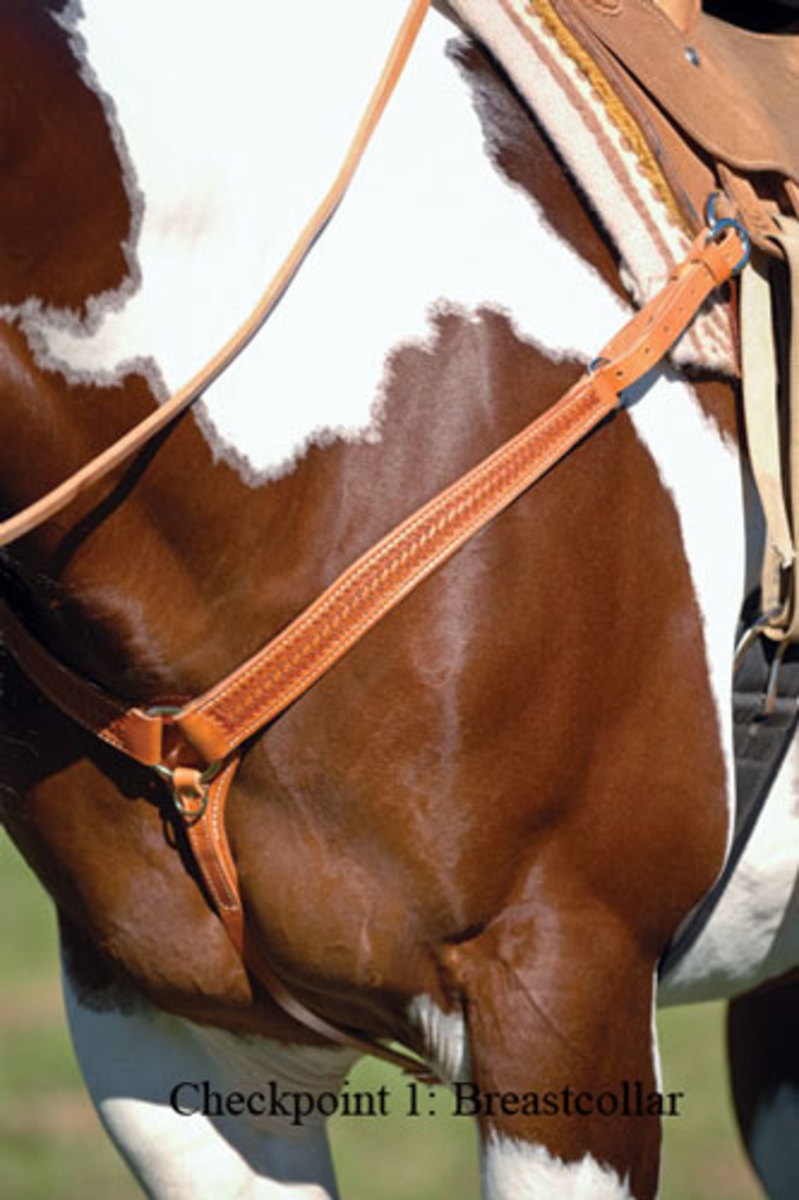
Breastcollar. Use a breastcollar on the trail if you ride in hilly terrain, as it prevents the
saddle from slipping back when going uphill. Look for a well-made, leather breastcollar, and properly adjust it to fit your horse. It should fit snugly—not tight and never loose. It should rest above your horse’s point of the shoulder (as shown). If it sits too low over the point of the shoulder, it’ll restrict movement and cause him pain. The metal center ring in front should rest right at the base of his neck; if it’s any lower, it’s sitting too low.
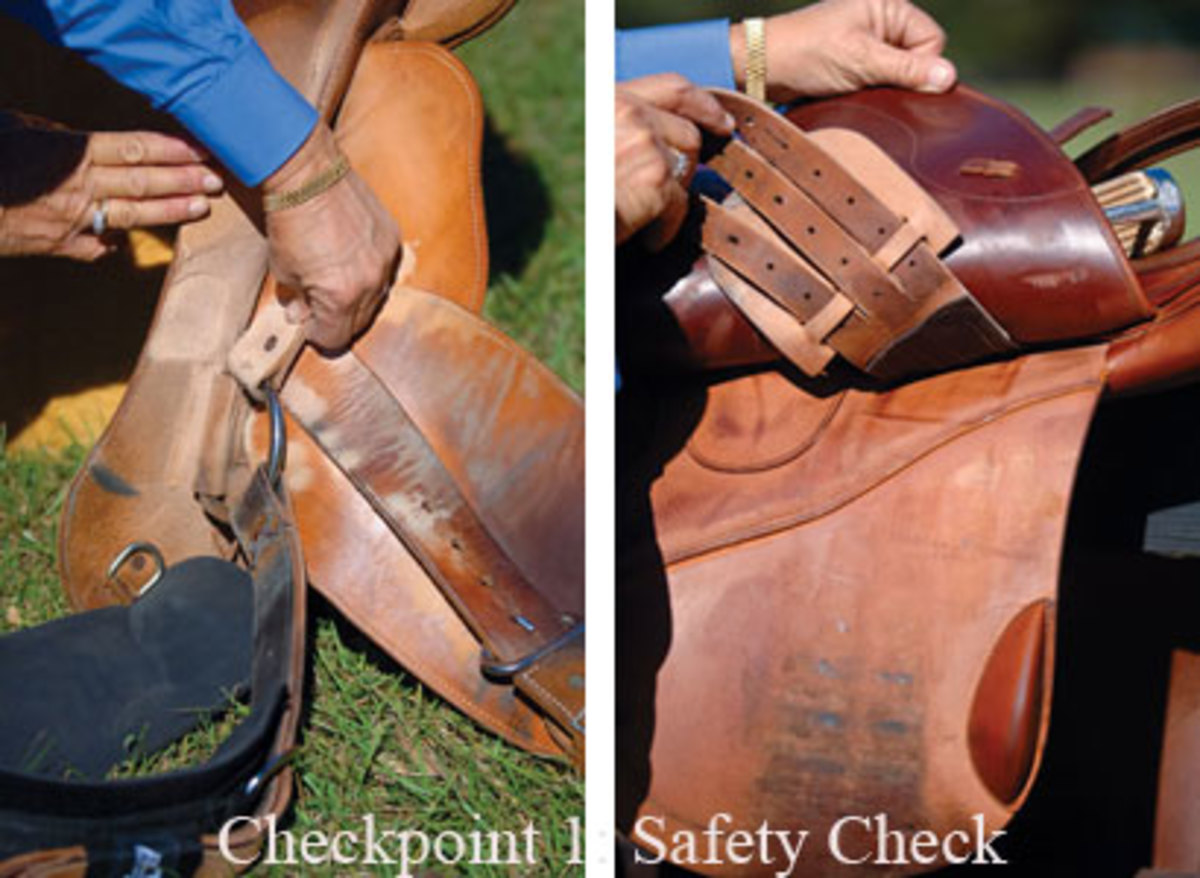
Safety check. Saddle style is your personal preference, but safety should never be optional. Routine maintenance and observation can mean the difference between a pleasurable ride and one that ends in a wreck due to tack failure.
Before every ride, turn your saddle upside down and give it a quick visual inspection. Pay close attention to places where hardware connects with leather, looking for cracks or signs of wear. Inspect the billets and buckles on an English saddle and the latigo on a Western saddle.
If you find any cracks in a leather latigo, replace it immediately. A nylon latigo will last longer than leather, but be careful you don’t overtighten it when cinching up.
Checkpoint 2: Saddle Pad
Pad type. A wool saddle pad is ideal, as it conforms to your horse’s back, wicks away sweat, and is long-wearing. Look for a wool pad that’s one-inch thick. Avoid a synthetic-fleece pad, which lacks the moisture-wicking properties of wool.
A single Navajo-type blanket isn’t typically thick enough for your horse’s comfort; add another pad or blanket underneath. Square cotton blankets and half pads are popular among English riders. Palm personally likes Professional’s Choice SMx Air-Ride pads (800/331-9421; www.profchoice.com) in both Western and all-around styles. These pads conform both to your saddle and your horse’s back.
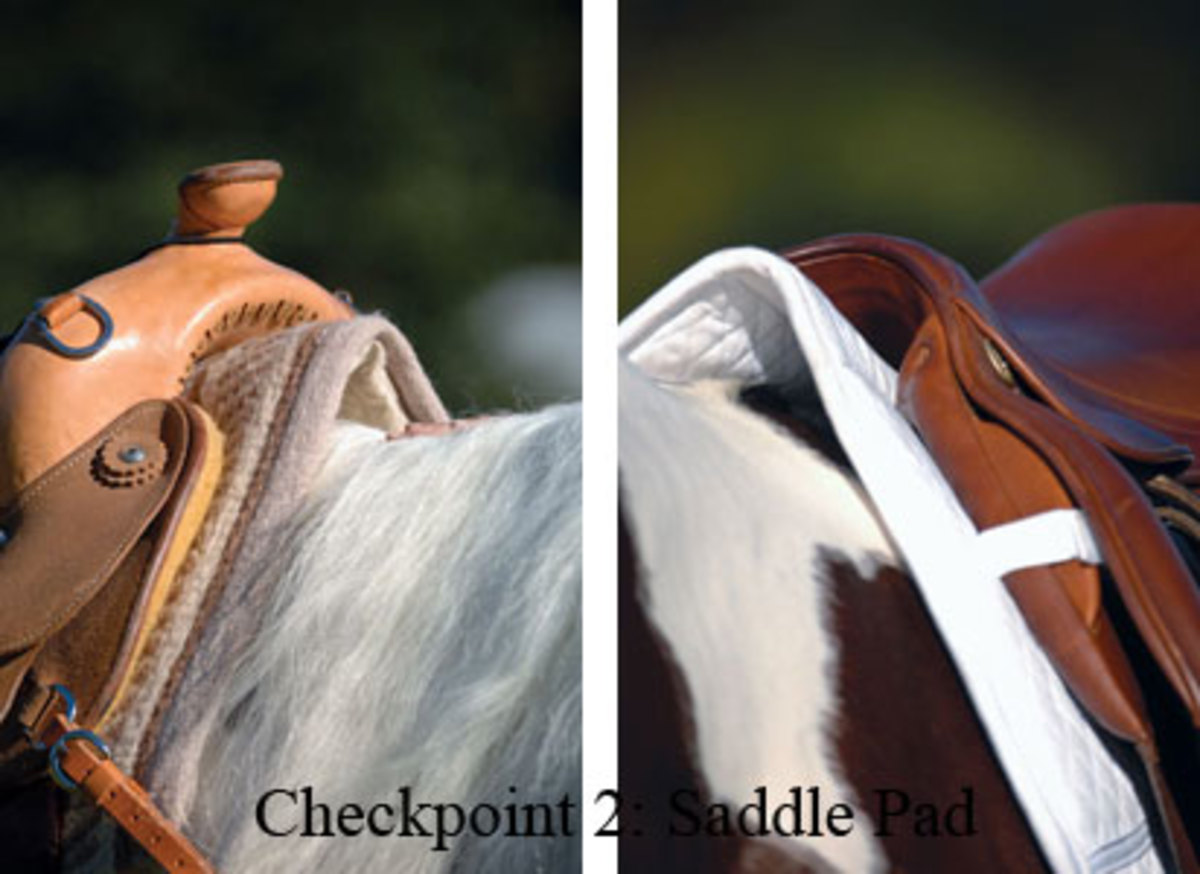
Don’t make the mistake of thinking “the thicker the better,” as too many pads will cause a barrel effect, which causes the saddle to shift; this, in turn, can sore your horse’s back. You can’t make a saddle fit better by adding pads. If a saddle doesn’t fit properly, no pad can correct the problem. Be sure your pad is large enough for your saddle. There should be a minimum of one inch of pad showing around all edges of the saddle.
Tack-up tip. Whenever you tack up, pull the front of your pad or blanket up to the top of the cantle. This creates a “tunnel,” allowing air to enter and reach your horse’s back, making him cooler and more comfortable during the ride. This is also a good time to make sure no mane hairs are trapped under the pad and pulled tight.
Pad cleaning. Clean your saddle pads regularly; a buildup of hair and dirt on the pad can irritate your horse’s back. Also, use a clean pad if you switch horses; shared equipment can spread skin problems from horse to horse. Toss cotton blankets and pads in the wash, but wool requires hand washing with cold water, a mild soap such as Ivory, and a hard bristled brush. After washing, air-dry blankets and pads in the sun.
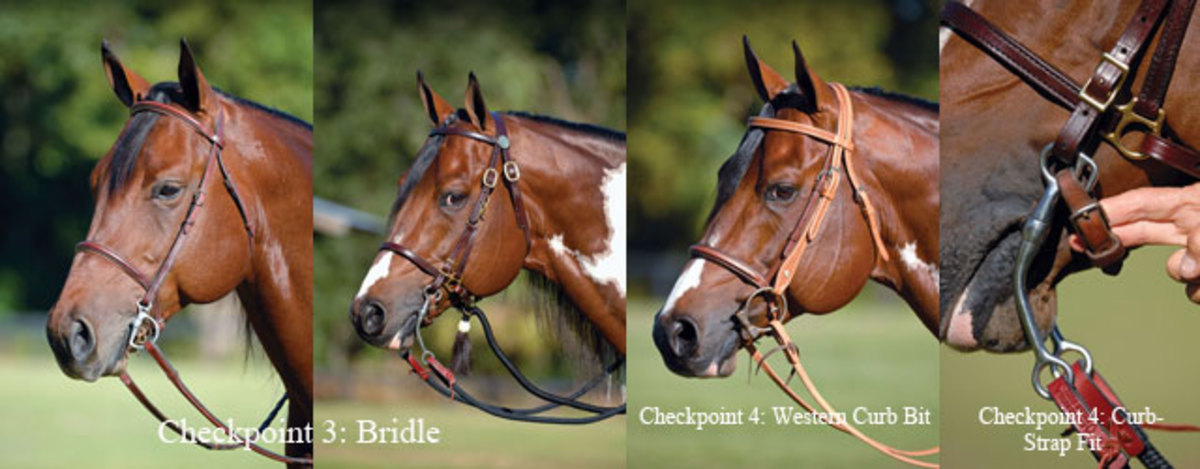
Checkpoint 3: Bridle
Bridle type. Consider a combination halter/bridle, so you can easily tie and lead your horse on the trail. Whatever bridle type you choose, be sure to secure the headstall with a browband and throatlatch to help prevent the bridle from being pulled off by a branch.
If you don’t use a halter/bridle, you can put a well-fitting nylon halter underneath your horse’s headstall. Make sure the halter is fitted high enough (one inch under each cheekbone) to prevent pinching from the bit. Take along a stout lead rope so you can safely tie your horse when you stop along the trail.
If you ride English and use a snaffle bit, add a cavesson (noseband) to keep your horse from opening his mouth and to provide more control. If your horse can open his mouth, he can evade the pressure of the bit, because a snaffle works off the sides of the mouth.
Reins. Split reins or a single rein are a matter of personal preference. Palm chooses to ride with five-eighths-inch-wide split-leather reins made from bridle leather, because they’re a good fit for women’s hands.
Round reins are Palm’s second choice, but she prefers leather over nylon, because nylon is slick and can be slippery, while leather offers better grip and contact.
However, in rainy weather, leather can become slippery, so nylon is a good choice for these times. Palm carries an extra set of reins in her saddle bag for this reason. If you ride English, you’ll find laced or braided reins offer a good grip.
If you ride with a single rein, leave those short barrel racing or roping reins at home. When you trail ride with too-short reins, you may tend to just lay them on your horse’s neck, which compromises control. And, your cues may be too abrupt simply because you don’t have enough slack.
Reins should be long enough that when you pick them up, there’s a good 6 to 12 inches of bite, the part of the rein that hangs down. This extra amount of rein gives you more options for rein adjustment and allows you to maintain a loose rein or light contact when you don’t need greater control.
Hardware. To attach the reins to the bit, Palm recommends using buckles or leather lacing, rather than snaps. “Snaps jiggle on the bit, which can be annoying to a sensitive or nervous horse, because it stimulates them,” she notes.
“If you do use snaps, make sure the snap weight isn’t heavier than the rein; otherwise it’ll move constantly and send vibrations to the bit, which some horses find very annoying,” she continues. “These vibrations also interfere with clear rein cues. Try replacing those snaps with a leather attachment, and you might notice a big improvement.”
Checkpoint 4: Bit
Bit type. “Ride in the least severe a bit you need to have control of your horse,” Palm notes. “People tend to have more bit than they need. They think they need more bit on the trail, but a more severe bit enhances sensitivity and response.
“When you take your horse on the trail, he’s stimulated by the new surroundings and will be more reactive to the bit. Instead of getting more control, you can actually have less.”
When you head out on the trail, ride in the same bit you use in the arena. If your horse performs well in a sidepull, bosal, or hackamore, that’s fine for the trail, too.
Any bit can be abusive depending on the rider. Even a snaffle bit — which sports a broken mouthpiece and lacks shanks for leverage — can be severe in the wrong hands.
Bit fit. Make sure the bit fits and is adjusted properly in your horse’s mouth. It shouldn’t sit too low. There should be one wrinkle in the corners of his mouth, just above the bit.
If your horse is comfortable with the bit, his mouth will be relaxed, as will his head-and-neck carriage. His eye will be soft, and his neck muscles won’t be tense. Is his mouth always moving, is his neck tense, or does he frequently toss his head? Any or all of these can be signs the bit isn’t right for him, isn’t fitted properly, or you’re being too heavy-handed.
Curb strap/chain. If your bit requires a curb strap or chain, check the adjustment, as this directly relates to how well your bit will function. For example, a properly fitted curb strap allows a curb bit to have the right leverage to work on the bars of your horse’s mouth.
If the curb strap is too tight, there’s always tension on the bit. If the strap is too loose, the bit loses leverage. You should be able to slip two fingers under the chain or strap and slide them along your horse’s chin. Palm prefers a plain leather curb strap with buckles on both sides for ease of adjustment.
Lynn Palm (www.lynnpalm.com) has shown more than 34 Quarter Horse world and
reserve champions, competing in both English and Western disciplines. She’s won a record four AQHA Superhorse titles and was the first rider to win the prestigious Superhorse title twice on the same horse, Rugged Lark. In 2000, Palm was named Horsewoman of the Year by the Women’s Sports Foundation and the AQHA. In 2003, Equine Affaire gave her its Exceptional Equestrian Educator award.
Cynthia McFarland is a seasoned trail rider and full-time freelance writer based in Central Florida. She regularly contributes to national equine magazines and is the author of eight books.