
Before heading out on a trail ride or any ride for that matter, make sure your tack is in good working order to help ensure the safety and comfort of both you and your horse.
5 Reasons to Check Your Tack Before You Ride
- Safety: Inspecting your tack ensures that it is in good condition and functioning properly. Any issues or potential hazards can be identified and addressed before mounting your horse. This helps prevent accidents or injuries caused by faulty equipment, such as broken straps, loose buckles, or worn-out stitching.
- Comfort: Properly fitting and adjusted tack is crucial for your horse’s comfort. Regular checks allow you to ensure that the saddle, bridle, cinch, and other equipment are not causing discomfort or pain. Proper fit can help you avoid injury and behavior issues caused by ill-fitting tack.
- Communication: Tack serves as a means of communication between rider and horse. Checking the tack allows you to confirm that everything is correctly positioned and adjusted, ensuring clear signals and cues are relayed to your horse. Properly fitting tack facilitates effective communication, leading to better responsiveness during your ride.
- Durability: Regular inspections help identify signs of wear and tear in your tack. By catching these issues early on, you can take proactive measures to repair or replace any damaged components. This prolongs the lifespan of your tack and saves you from unexpected equipment failure during a ride.
- Trust: Consistently checking your tack demonstrates your commitment to your horse’s well-being and safety. It’s a simple thing you can do to ensure your horse’s comfort and the safety of you both. Take a few extra minutes to give your gear a once-over, to demonstrate respect for your horse.
Tip: After you’ve saddled your horse, longe him for a few minutes to be sure everything stays in place. Then bridle him, check the cinch one more time, and mount up.
Bridle
[ ] Leather. Go over your entire bridle. Bend the leather on the reins and headstall to verify its integrity. Look for cracks and signs of wear. Immediately replace any parts that show signs of weakness.
[ ] Keepers. Make sure the keepers are in place and in good condition. Keepers are one of the first items to break on an older bridle.
[ ] Bit. Inspect the bit. Remove any debris before you put it in your horse’s mouth. Check attachment points to the headstall, reins, and curb strap. Check fit, and make any necessary adjustments.
[ ] Curb strap. Securely buckle the curb strap, and make sure it’s adjusted for optimal effectiveness and comfort.
[ ] Reins. Check rein leather for wear. Check any buckles to ensure they’re in good working order.
Saddle
[ ] Underside. Look over the underside of your saddle for excessive wear, paying particular attention to areas where leather and hardware connect. Check for cracks and loose connections.
[ ] Hardware. Jiggle the hardware to see if it’s securely attached, or if it has become worn or weak. Immediately replace any metal with excessive rust.
[ ] Cinch. Check the cinch (or girth) to make sure it’s free of burrs, wads of horsehair, or other debris that could irritate your horse. Also inspect it for signs of weakness at the points of attachment.
[ ] Stirrups. Examine the stirrup buckles to make sure they’re properly fastened and in good condition. If you have break-away stirrups, verify that they’re secure. After mounting, be sure the stirrups are at the correct length and can hold your weight when standing up in the saddle.
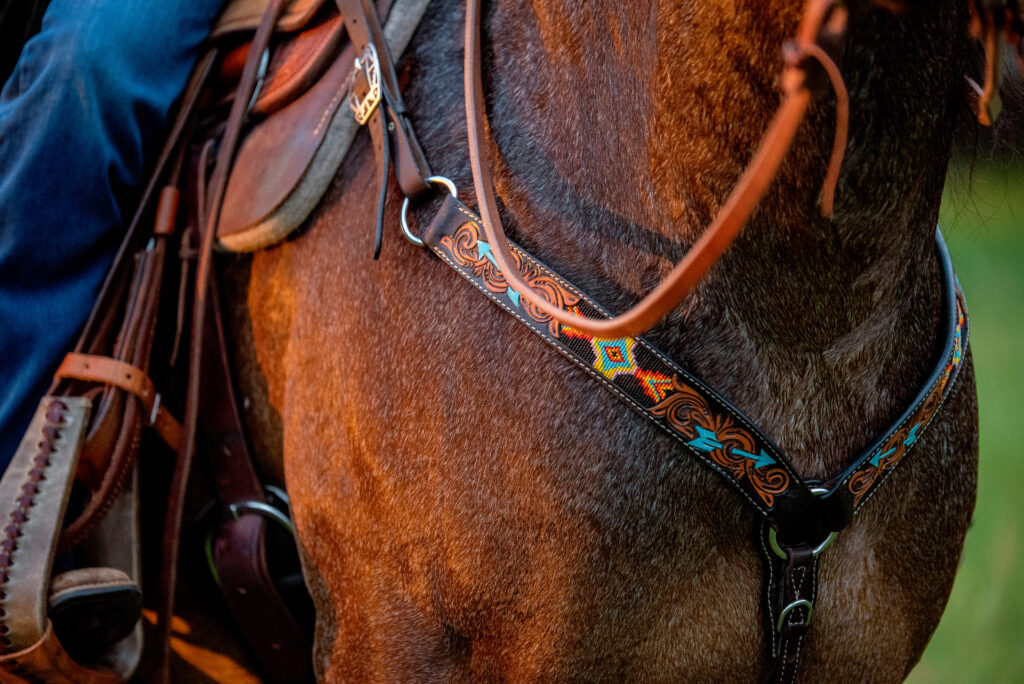
[ ] Breastcollar. Check the leather on your breastcollar for wear and weakness. Examine areas where the breastcollar attaches to the saddle and cinch to ensure integrity.
[ ] Crupper. Bend the leather on the crupper to make sure there are no weak areas. Check the points where the crupper attaches to the saddle to determine they’re secure.
[ ] Latigos. If you’ll be tying items onto your saddle using the latigos, check for thinning and weak areas. Immediately replace worn-out latigos — you don’t want to lose your slicker or other essential trail items.
Saddle Pad
[ ] Cleanliness. Inspect the saddle pad’s underside to make sure it’s clean. Use a stiff brush to remove any dirt, debris, and horsehair; these could irritate your horse’s skin.
[ ] Position. After tacking up, make sure you placed the pad high enough on your horse’s withers. There should be several inches in front of the pommel and behind the cantle to cushion your horse’s back. Allow some gap between your horse’s withers and the pad’s underside, so air can flow through. Make sure the pad is smooth and not bunched up under the saddle.
Audrey Pavia, an award-winning freelance writer based in Norco, California, is a competitive trail rider and member of the North American Trail Ride Conference. She’s the author of Trail Riding: A Complete Guide.