Q I’d like to improve my horse’s body control and work on elevating his shoulders. He gets bored easily when drilling something over and over again—and so do I, to be honest. Do you have an exercise I can use to work on his body, but still keep it fun for us?
Jane Huffman, Colorado
A Monotony can kill your fun in the saddle, not to mention make your horse resent the work. That’s why I like to use patterns to keep myself and my horse engaged with the job at hand. Otherwise, we both just start going through the motions.
I like to use this bowtie pattern, pictured [directional]. It requires four cones and one barrel. You can use other types of markers, but be sure that they’re safe and will stay in position. Place the markers 50 feet apart around the square, with the barrel in the middle. You can increase the degree of difficulty by reducing that distance by 10 feet, all the way down to 30 feet between the cones. Outfit your horse in the bit he responds best to, and ride with two hands to start for optimal guide and direct reining. If you’re a beginner rider, start at a walk and progress to a working trot. If you’re more advanced, begin at the working trot and advance to a lope around the outside of the pattern and a trot around the barrel.
Step-by-Step
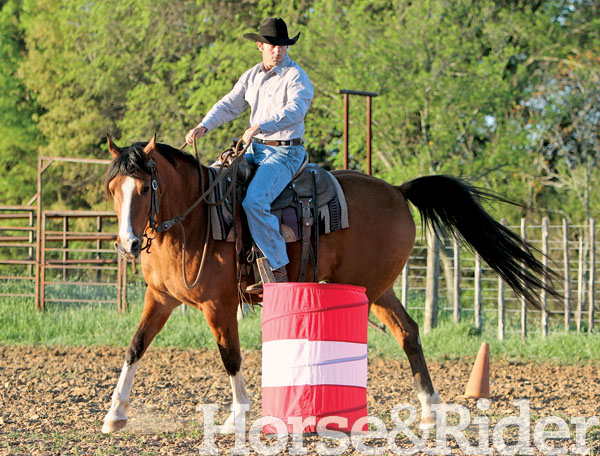
Step 1: Start at Cone A, and ride to the right of the barrel that’s centered within the four cones. Pick up your horse’s left shoulder with your left hand by raising that hand higher than your right. Support your horse’s right shoulder by keeping soft pressure on that rein in a lower position. Use your inside leg, placed near the cinch, and your outside leg, behind the cinch, to arc your horse’s body around the barrel. Continue circling the barrel until you get a soft arc in your horse’s body. This could take one or many tries to get correct.
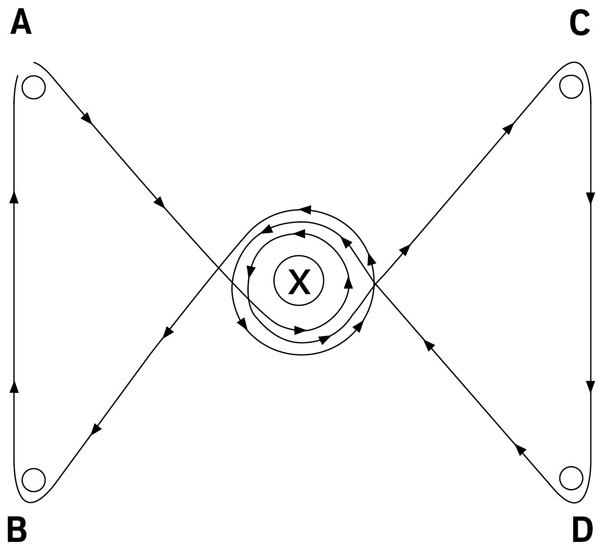
Step 2: Once you’ve circled the barrel, guide your horse off the arc toward the left side of Cone C. Look ahead on your line of travel to help your horse stay straight as he approaches the turn. Just before you get to Cone C, pick up your right rein to lift that shoulder; keep your left rein low with a soft feel on the bit, reversing the arc you just made around the barrel. Use your right leg near the cinch and your left leg behind it to support with leg pressure. As soon as you finish the turn at Cone C, look ahead to Cone D.
Step 3: Repeat the same body position as you make the corner at Cone D. When you exit the turn, look to the barrel in the center of the pattern. Pick up the left rein to elevate the left shoulder, use your left leg at the cinch, and your right leg just behind the cinch to circle the barrel. Focus on keeping your horse from leaning into the turn. Be sure, too, that you don’t lean your body into the turn.
Step 4: As soon as you complete your circle around the barrel, look ahead on your path to Cone B. Lift your horse’s right shoulder as you turn at the cone, as discussed earlier, and travel right back to Cone A on a straight line. You can complete this pattern a few times in a row. Depending how closely you place the markers, you and your horse will have to think quickly as each marker approaches. You’ll notice that when you start from Cone A, you complete all right-hand turns around the cones and left-hand turns around the barrel in the middle. If you begin at Cone B, you’ll be able to work left-hand turns around the cones and circle to the right around the barrel. It’s important to work in both directions, and to spend extra time on your horse’s tougher side to avoid one-sidedness.
Common Mistakes to Avoid
This is a fairly straightforward pattern, but there’s a lot to think about as you make each turn.
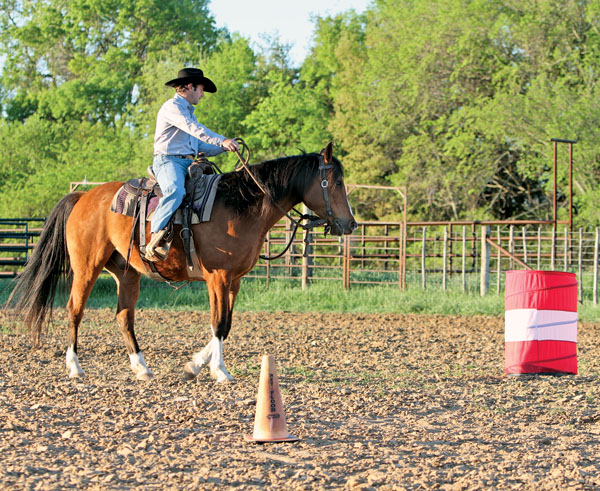
The most common error I see in my clinics is the rider failing to plan ahead. You must be prepared to quickly change the arc of your horse’s body as you depart a turn at a cone and enter a circle around the barrel. There’s a short distance between the cone and the barrel, so you must be prepared to efficiently change your body position. This requires focus on the job at hand, rather than outside distractions.
Second, you must challenge yourself to improve. If you leave the markers too far apart as you get familiar with the pattern, you won’t increase your skill level. It’s important to shrink the pattern’s scale as you both improve so you can keep refining your skills.
Finally, the point of this exercise is to elevate your horse’s shoulders. If you fail to do that in the turns and circles, then the drill is worthless. If you have trouble telling if you’re achieving the correct arc, ask a rider friend to watch you and give their feedback. Better yet: Have him or her video your ride so you can evaluate your progress.
The End Result
I find that pattern work helps focus both the rider’s and the horse’s minds. It’s hard to think about what you need to get at the grocery store or what a pasture buddy is doing when you have cones and barrels coming up in your path. Keeping both minds working and engaged helps the learning process and accelerates progress, too.
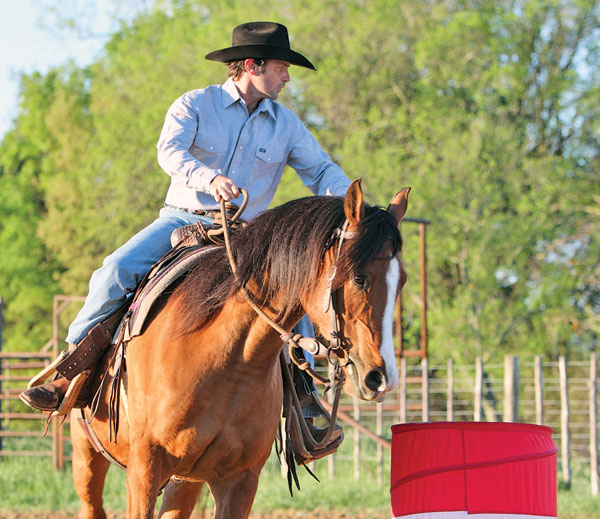
Once you’ve worked on this pattern a few times, you’ll be able to pick up your horse’s shoulders off the pattern—whether that’s on the rail or on the trail. You’ll have better control of your horse’s body, increasing your own confidence and your horse’s response to your cues.
Steve and Amanda Stevens, Weatherford, Texas, train client horses and offer lessons for amateur and youth riders. They strive to keep riding fun, safe, and educational through weekend group lessons that include pattern clinics, trail-ride preparation, and problem-solving. Visit their Facebook page, Stevens Natural Horsemanship, to learn more.


