
This article is brought to you by Cosequin® Joint Health Supplement.
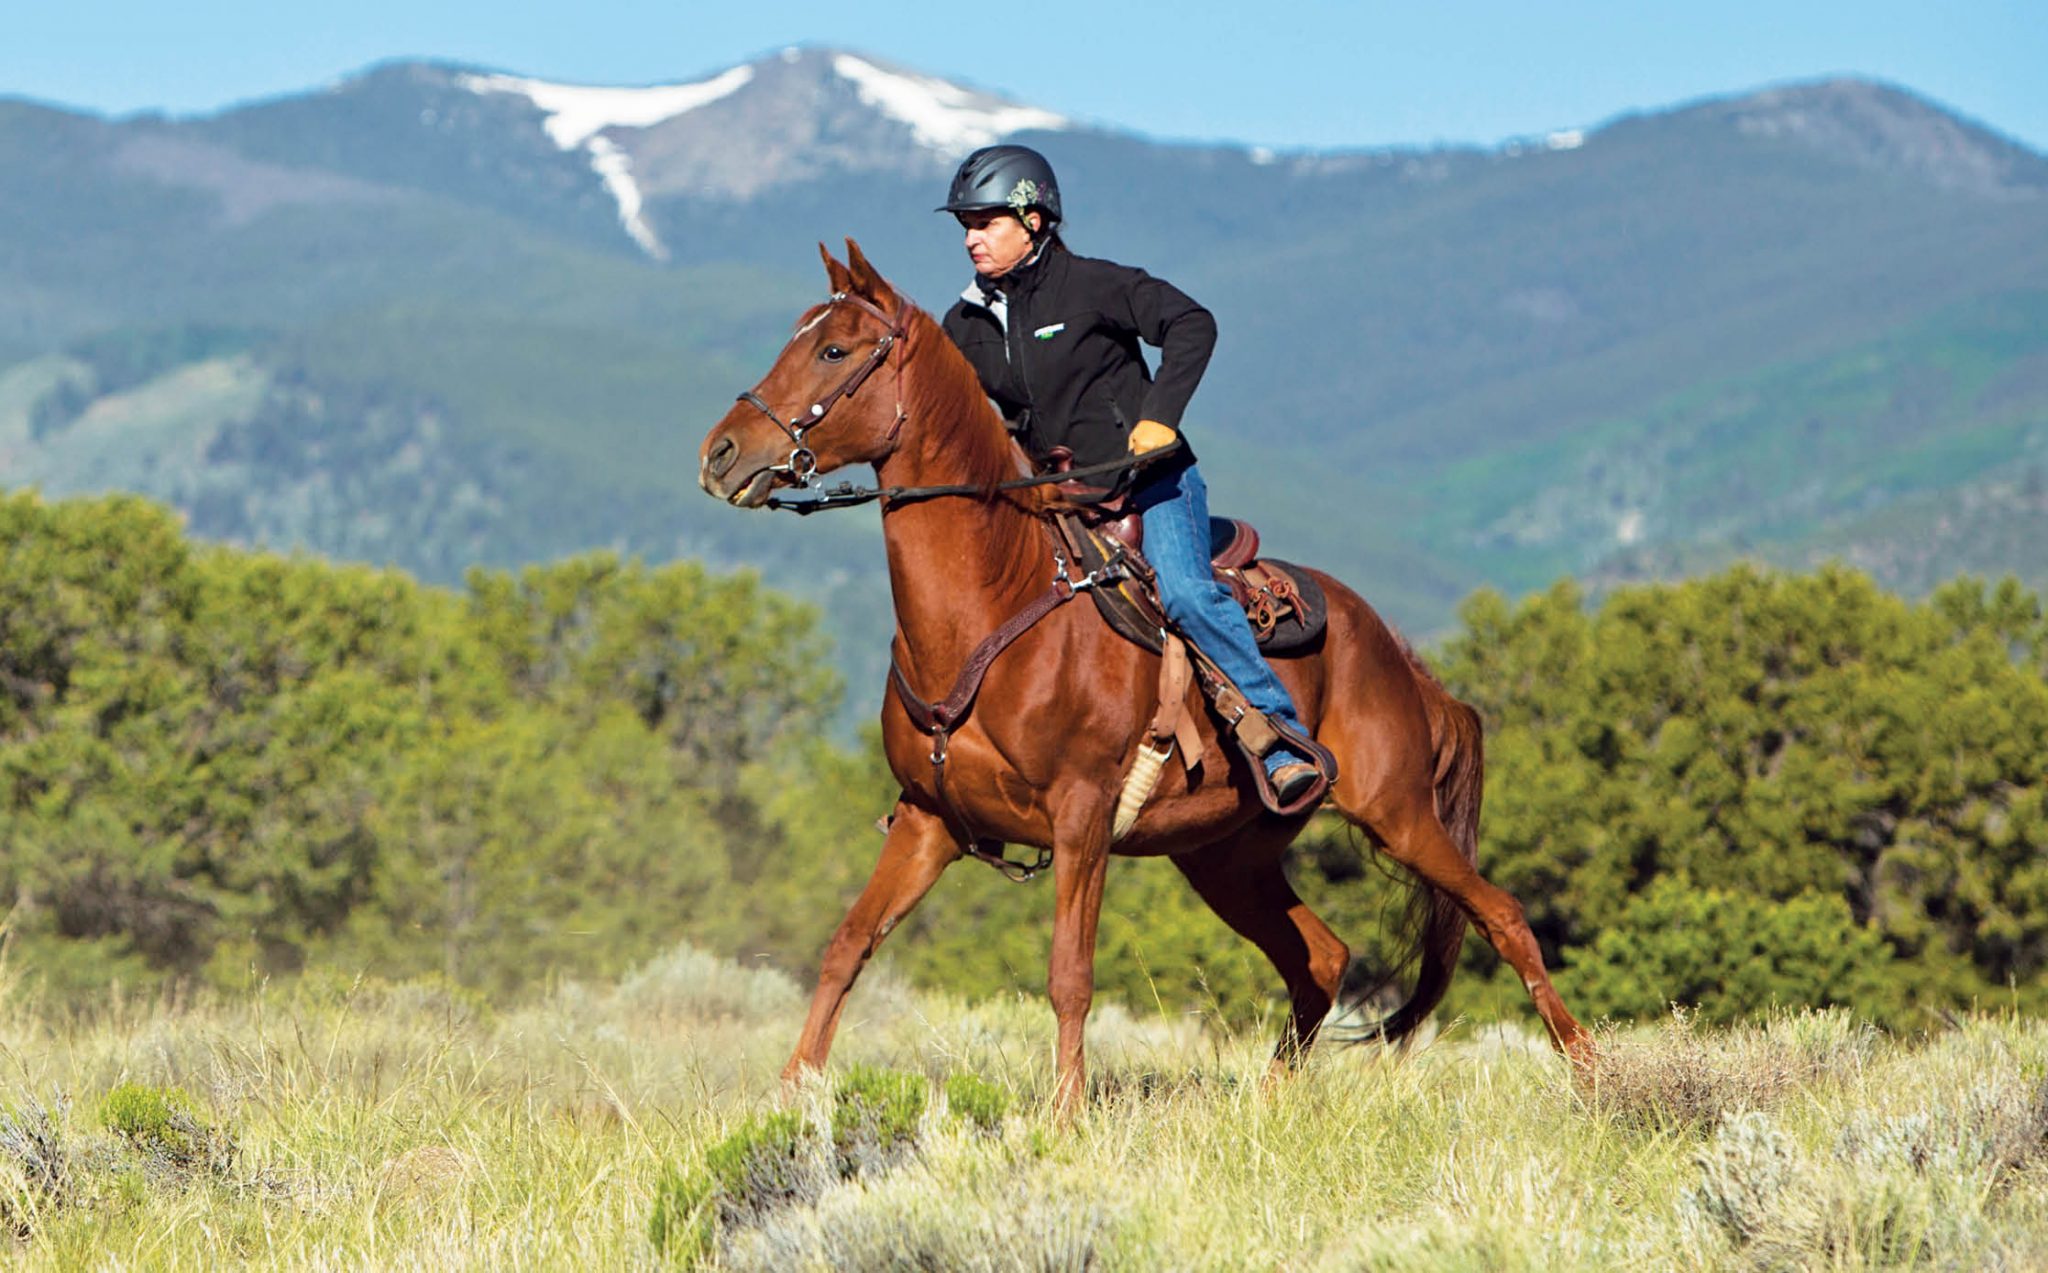
Whether you’re on an older horse that’s new to life as a trail horse, or a young horse just starting out, de-spooking is a process that shouldn’t be skipped. The de-spooking process is a systematic approach to teaching a horse to deal with his fear. Our goal is to convert his flight response into an investigative behavior.
Unexpected encounters on the trail can quickly turn into dangerous situations if your horse can only activate his flight response. Horses all have a flight response, and they also demonstrate investigative behavior. They cannot exhibit both at the same time. But they can rapidly switch between the two emotional states, when presented with a novel and frightening element.
If horses didn’t maintain their flight response, one could argue that we wouldn’t have the incredible equine athletes we have today. The athletic ability to turn on a dime, run long distances, and move with precision and speed can all be seen when a horse activates his flight response. Reining in the flight response, combined with forward motion can turn a dangerous situation into one where your horse becomes curious, investigates a new object, and becomes more confident as he conquers a fear.

Winning the Game
I have a very specific process to train horses how to deal with fear in a healthier way. This process involves 5 steps that will turn the de-spooking journey into a game. A game that your horse can win. When he realizes he can win, each new encounter is an opportunity to become more confident.
When working with horses, you’ll see both flight and investigative behaviors at some point. Some horses operate more on a flight response, and flight behavior can be one of the most challenging-—and dangerous—behaviors to work through with a horse. My de-spooking process, when done correctly, can prepare your horse for unexpected encounters on the trail. Begin this process with a horse already under saddle and being ridden, and work through this at home—before you take him out on the trail.
Setting Up the Game
Choose a spot at home that your horse has ridden by many times, and put something there to catch your horse’s attention and surprise him. You’ll be prepared, but these new stimuli will be somewhere he isn’t expecting, and you can begin the de-spooking process at home. As you work through the process, keep setting up different obstacles or items in different locations. This allows your horse to keep practicing the game, winning, and building confidence.
By doing this, you’re working on replacement training. This is where you replace one behavior with another, more desirable behavior. You can’t punish him for spooking at something that he’s never seen before. Instead, teach him to replace fear with curiosity, and show him that you’re with him every step of the way.
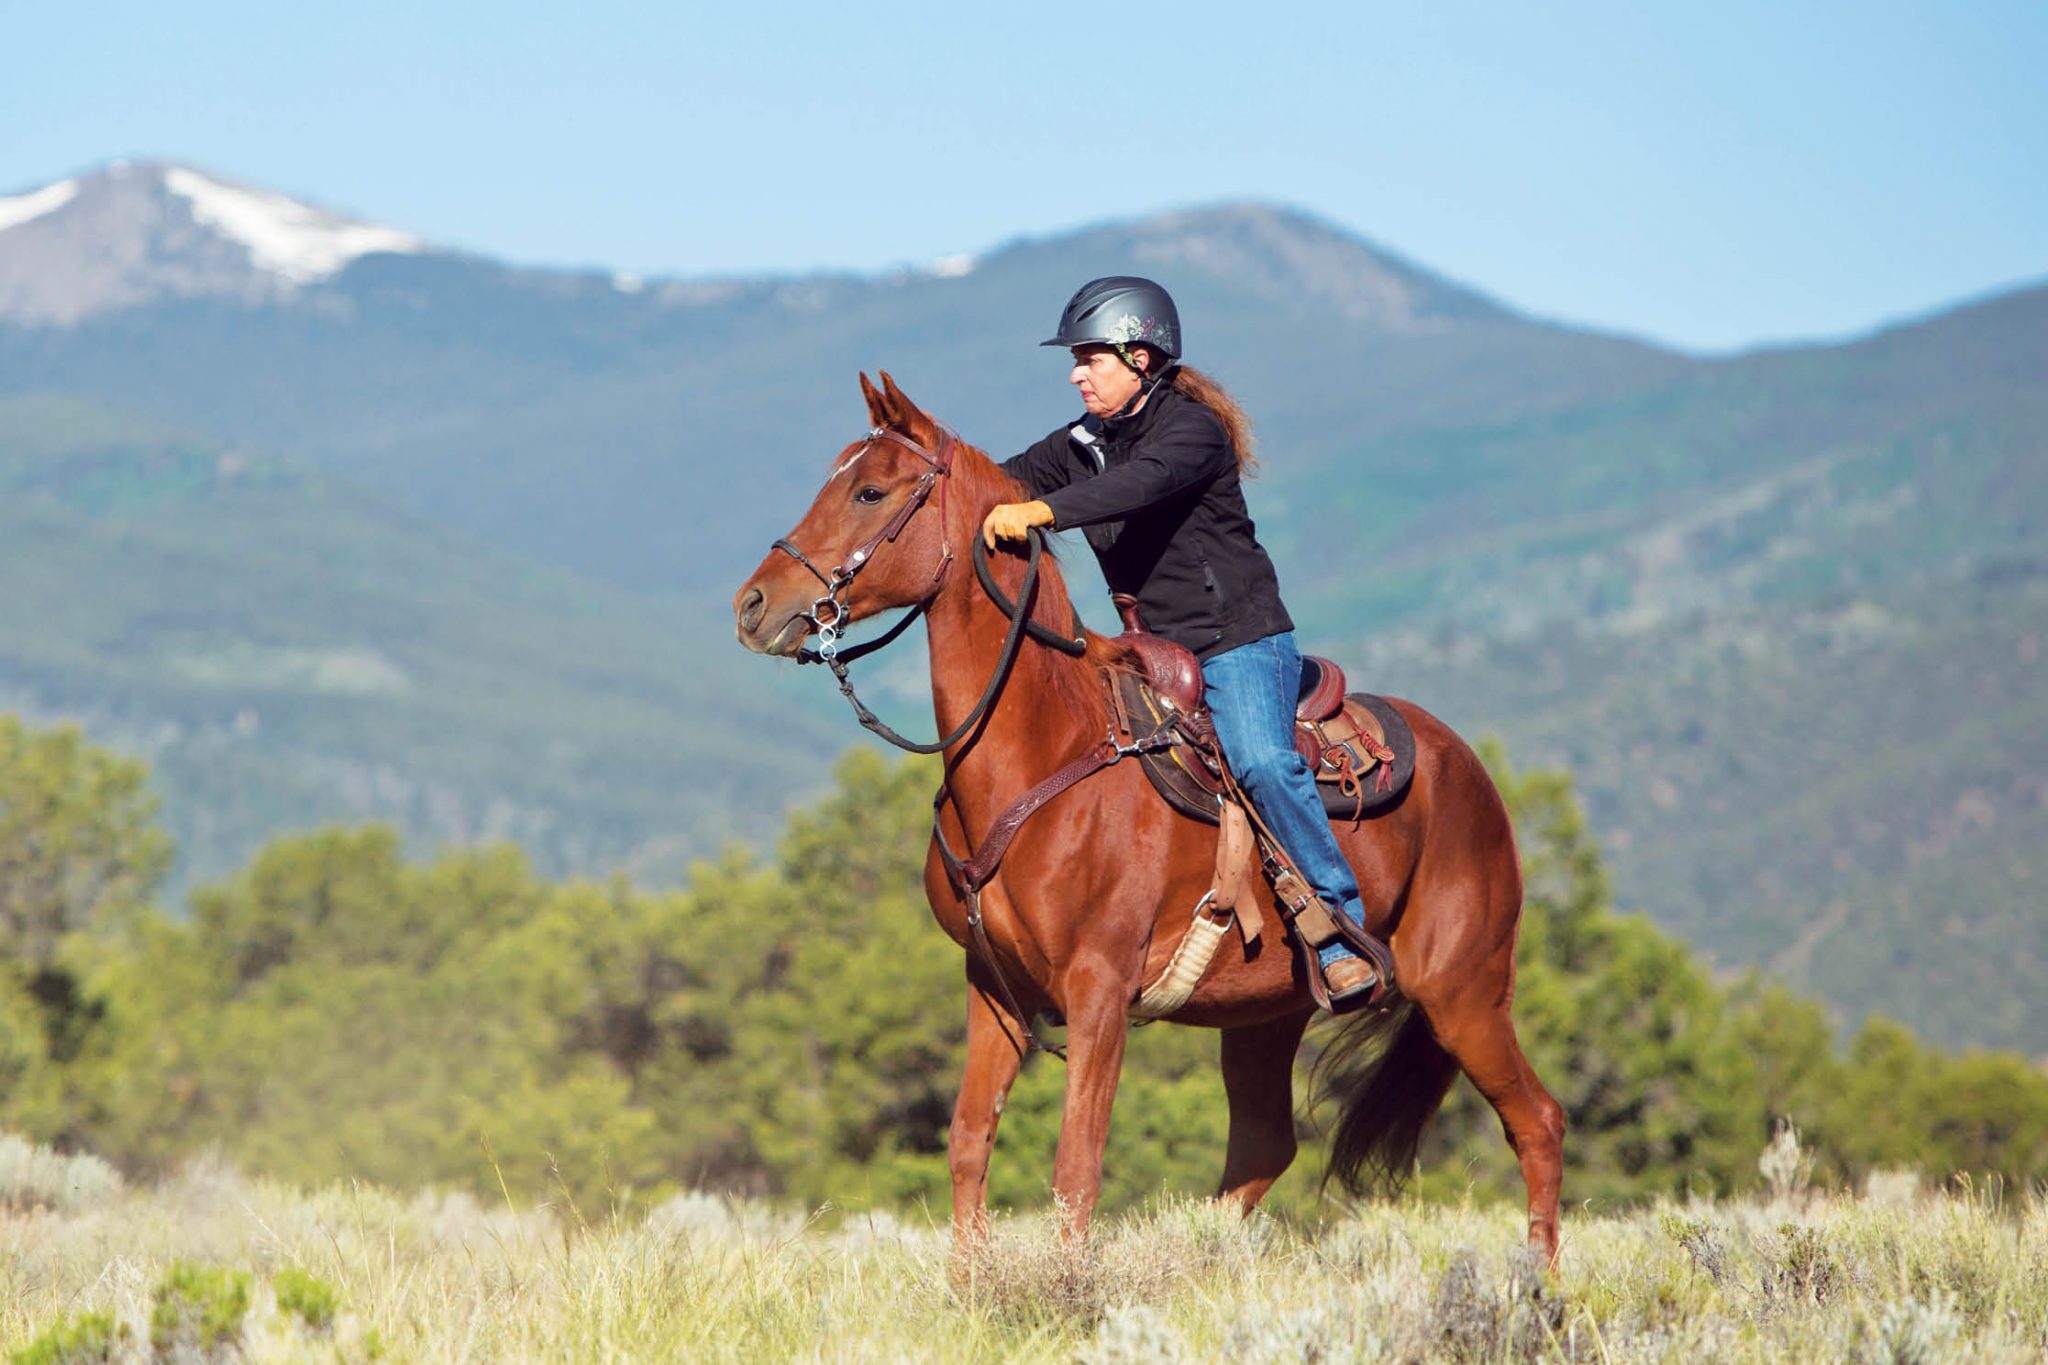
Step 1: Face and Stop
When your horse encounters a novel stimulus that is sure to activate his flight response, stop and face what he’s afraid of. A horse that’s scared will turn 180 degrees, and bolt.
The key is to face the fear and do so straight on. Ask him to stop (if he hasn’t instinctively already done this) and stand straight, looking in the direction of the obstacle.
Step 2: Rule out Right and Left
Once he’s stopped and facing his fear, his next instinct will most likely be to turn to the right or left. This is going to be a fast process and will require you to act quickly and have control over your reins. Practice shortening and lengthening your reins quickly beforehand, and smoothly pull from an anchored seat.
As his head begins to turn one direction, you must take hold of the opposite rein to bring his nose back straight. If he tries to turn his head the opposite direction, repeat the process. As you take hold of the opposite rein to block his nose from moving left or right, be sure to release pressure on your other rein. Nose goes to the left, block with the right rein and release the left rein, never pulling two reins at once. Nose goes to the right, bring him back with the left rein and release the right rein. Rinse and repeat as he continues trying to turn left or right, always releasing the rein pressure when the horse’s nose is centered. Again, we aren’t working on forward motion yet, just ruling out flight. You shouldn’t focus on forward motion at this step, but instead rule out backward motion.
Rule out Back
A fearful horse will typically not back up first; they will attempt to turn left or right. Once those directions are ruled out, backward will most likely be his next step. Many riders when faced with a flighty horse and feel out of control, instinctively pull back on the reins. This is the opposite of what I suggest you do.
If he begins to back up, put your hands forward on his neck, toward his ears. Make this such an exaggerated movement that there’s no chance he can believe you’re asking him to back. Push him forward with your seat, legs, and voice if he’s already backing up. Keep him straight and facing the obstacle, and bring him back to a stop.
Step 3: Relax and Praise
Ruling out right, left, and back has ruled out flight. Now is the crescendo moment. Your horse has agreed to stop and face the fear. Time to relax and praise him. First, loosen the reins. When we are nervous or tense, we tend to convey that tension through the reins.
Do not ask for forward movement yet; now is your chance to show him how proud of him you are. Rub his neck, give him copious amounts of verbal praise, and relax in the saddle. Take a few deep breathes and stand with loose reins. Horses in a true state of fear can forget that you’re even there. They’re in self-preservation mode. Establish physical contact with his neck to reassure him that you’re there, you’re going to take care of him, and he’s doing a good job.
Step 4: One Step Forward
For this next step I need to explain my theory on “Don’t Look in the Closet.” If I leave to get groceries and tell my family, “Whatever you do, don’t look in the closet while I’m gone,” you can guess what they’re going to do as soon as I disappear down the drive. They’re going to look in the closet. Horses, like us, are curious. If you tell them not to look in the closet, it will just pique their curiosity.
Now, we’ve ruled out flight, we’ve ruled out turning away, we’ve relaxed and praised. Now we ask for one step forward. Don’t get overzealous; I truly mean just one step forward. After he takes a step, stop. Praise him, pet his neck, and sit quietly. Then, take one more step, and stop. Again, praise and stand still. With this process, you can see the point where his curiosity gets the better of him. He will want to take another step, and another, but don’t let him yet. You can call this reverse psychology, as we reward his draw and interest to the previously frightening obstacle. However, we’re maintaining obedience at the same time, and bringing him back to a responsive state by controlling his steps.
Be Sure to Praise
With each step forward, stop and praise. The praise is an extremely important part of this process because you’re rewarding the investigative behavior. At this point the process has turned into the game. He’s curious, engaged, responsive, and building confidence. We’re luring him in to investigative behavior and praising him for demonstrating it. If you were to start kicking him forward towards the scary object, you can ruin all progress. He might balk, and revert back to flight behavior, so take your time, take one step, and stop, and don’t let him look in the closet yet.
Step 5: Win the Game
Finally, we’re going to let him reach the obstacle. When he approaches it calmly or reaches out to touch it with his nose, he’s won the game. End your riding session for the day, give copious amounts of praise, and let him go back to his stall or paddock to relax. He’s conquered his flight response, demonstrated investigative behavior, maintained obedience and responsiveness, and approached the obstacle calmly.
Complete this process and play the game multiple times at home, on different days. Set up different challenges and obstacles that you know will get his attention and stimulate his flight response, to practice. Give him many chances to win the game, and you’ll continue to see an increase in investigative behaviors.
This process won’t turn your horse into a creature that fears nothing and is invincible in the face of danger. Horses will continue to have flight responses. → However, this will help turn his fear into investigative behavior, help you be more confident in the saddle, and allow you to grow as a team.
Emergency Stops and the Pulley Rein
In a scenario where your horse exhibits flight behavior, and you’re unable to complete steps one and two, you might need to resort to an emergency stop. This technique is known as The Pulley Rein.
If you have ever been on a true runaway horse, you know how difficult it is to stop. A horse that is truly bolting will run with a completely straight neck. When a horse has a slight bend in his neck, he is one that is more easily controlled. A horse running away with a straight neck is in extreme flight mode, and very difficult to stop.
This is a technique I teach in clinics as a maneuver to be used on runaway horses or extremely forward horses. It’s a difficult technique to teach, as doing so on a horse that isn’t bolting must be done quickly and, then released so as to not stress the horse. I will be referring to your reins as your first rein, which will be your non-dominant hand, and second rein, which is your dominant hand.
The Steps
When you’re aboard a runaway horse, and his neck is completely straight, have a firm grip on your reins in each hand.
1. Shorten the first rein (your non-dominant hand) with your less dominant hand, by grabbing the tail with your thumb and sliding your hand down. Never take your hands off the reins on a horse that is running away. You will shorten this rein quite a bit, about the entire length of your arm or halfway to the horse’s mouth.
2. Brace the arm that is holding the first rein and make it stiff and straight. This arm will be centered over the horse’s neck. Your knuckles will be pressed into the horse’s neck and mane, wrist straight. The first rein is very tight and pulling your knuckles down into the horse’s mane. The crucial part of this step is to ensure you are directly over the midline of the horse. If your knuckles are to the side even slightly, your hand will slip to the side when you use the other rein. Note: In the emergency stop, you must prevent the horse from turning as pulling around to the side on a true runaway horse increases the chance of your horse somersaulting.
3. Take your thumb braced on the horse’s neck and shorten your second rein. Now, sit back in the saddle and pull the second rein back toward your shoulder, just like an archer draws a bow—pushing into the neck with your firsthand. Put your body weight into this and pull firmly and smoothly. Keep your first rein tight and short, directly centered on the midline of his neck. The pulley rein puts his nose in a vice and will require him to stop.
Practice Carefully
Again, this is a technique to be used on a runaway or an extremely forward and fast horse. It’s difficult to master and should be practiced carefully as it puts a tremendous amount of pressure on your horse’s mouth. If you attempt the proper hand position so that you can be prepared in event of emergency, release pressure quickly to avoid harming your horse, or even pulling him over.
Taking your horse through the de-spooking process can prepare you both for unexpected encounters on the trail. Turning the process into a game can help keep your horse engaged, and building confidence, while allowing him an opportunity to win. Take the time to equip both you and your equine companion with the skills and confidence needed to navigate any challenge that comes your way.
Trainer and clinician Julie Goodnight, Poncha Springs, Colorado,hosts RFD-TV’s, Horse Master. Her book Goodnight’s Guide to Great Trail Riding is available at EquineNet
workStore.com. Learn more about Julie’s program and training methods at juliegoodnight.com.
[Find more from Julie HERE]