At the end of a long, activity-filled day, you give your horse a final brushing. Running a soft brush down one leg, you notice a slight swelling. You hope he hasn’t pulled a tendon, and make a mental note to call your veterinarian first thing in the morning. But what should you do between now and then?
Read More: Hot Vs. Cold Therapy
Any time you notice an injury early on (within 48 hours of onset), ice is your best friend. Applied during an injury’s acute (early) stage, ice helps “shrink” blood vessels that swell and leak during the process known as inflammation. In fact, icing–especially during that critical 48 hours post-injury–can go a long way toward reducing the severity of a soft-tissue injury.
Ice also is a good “maintenance” tool for horses with chronic (recurring and/or long-term) problems. For instance, if your horse has a weakened tendon from an old injury, or a suspensory ligament that’s easily strained during exercise, he’ll greatly benefit from a routine icing following every session of hard work.
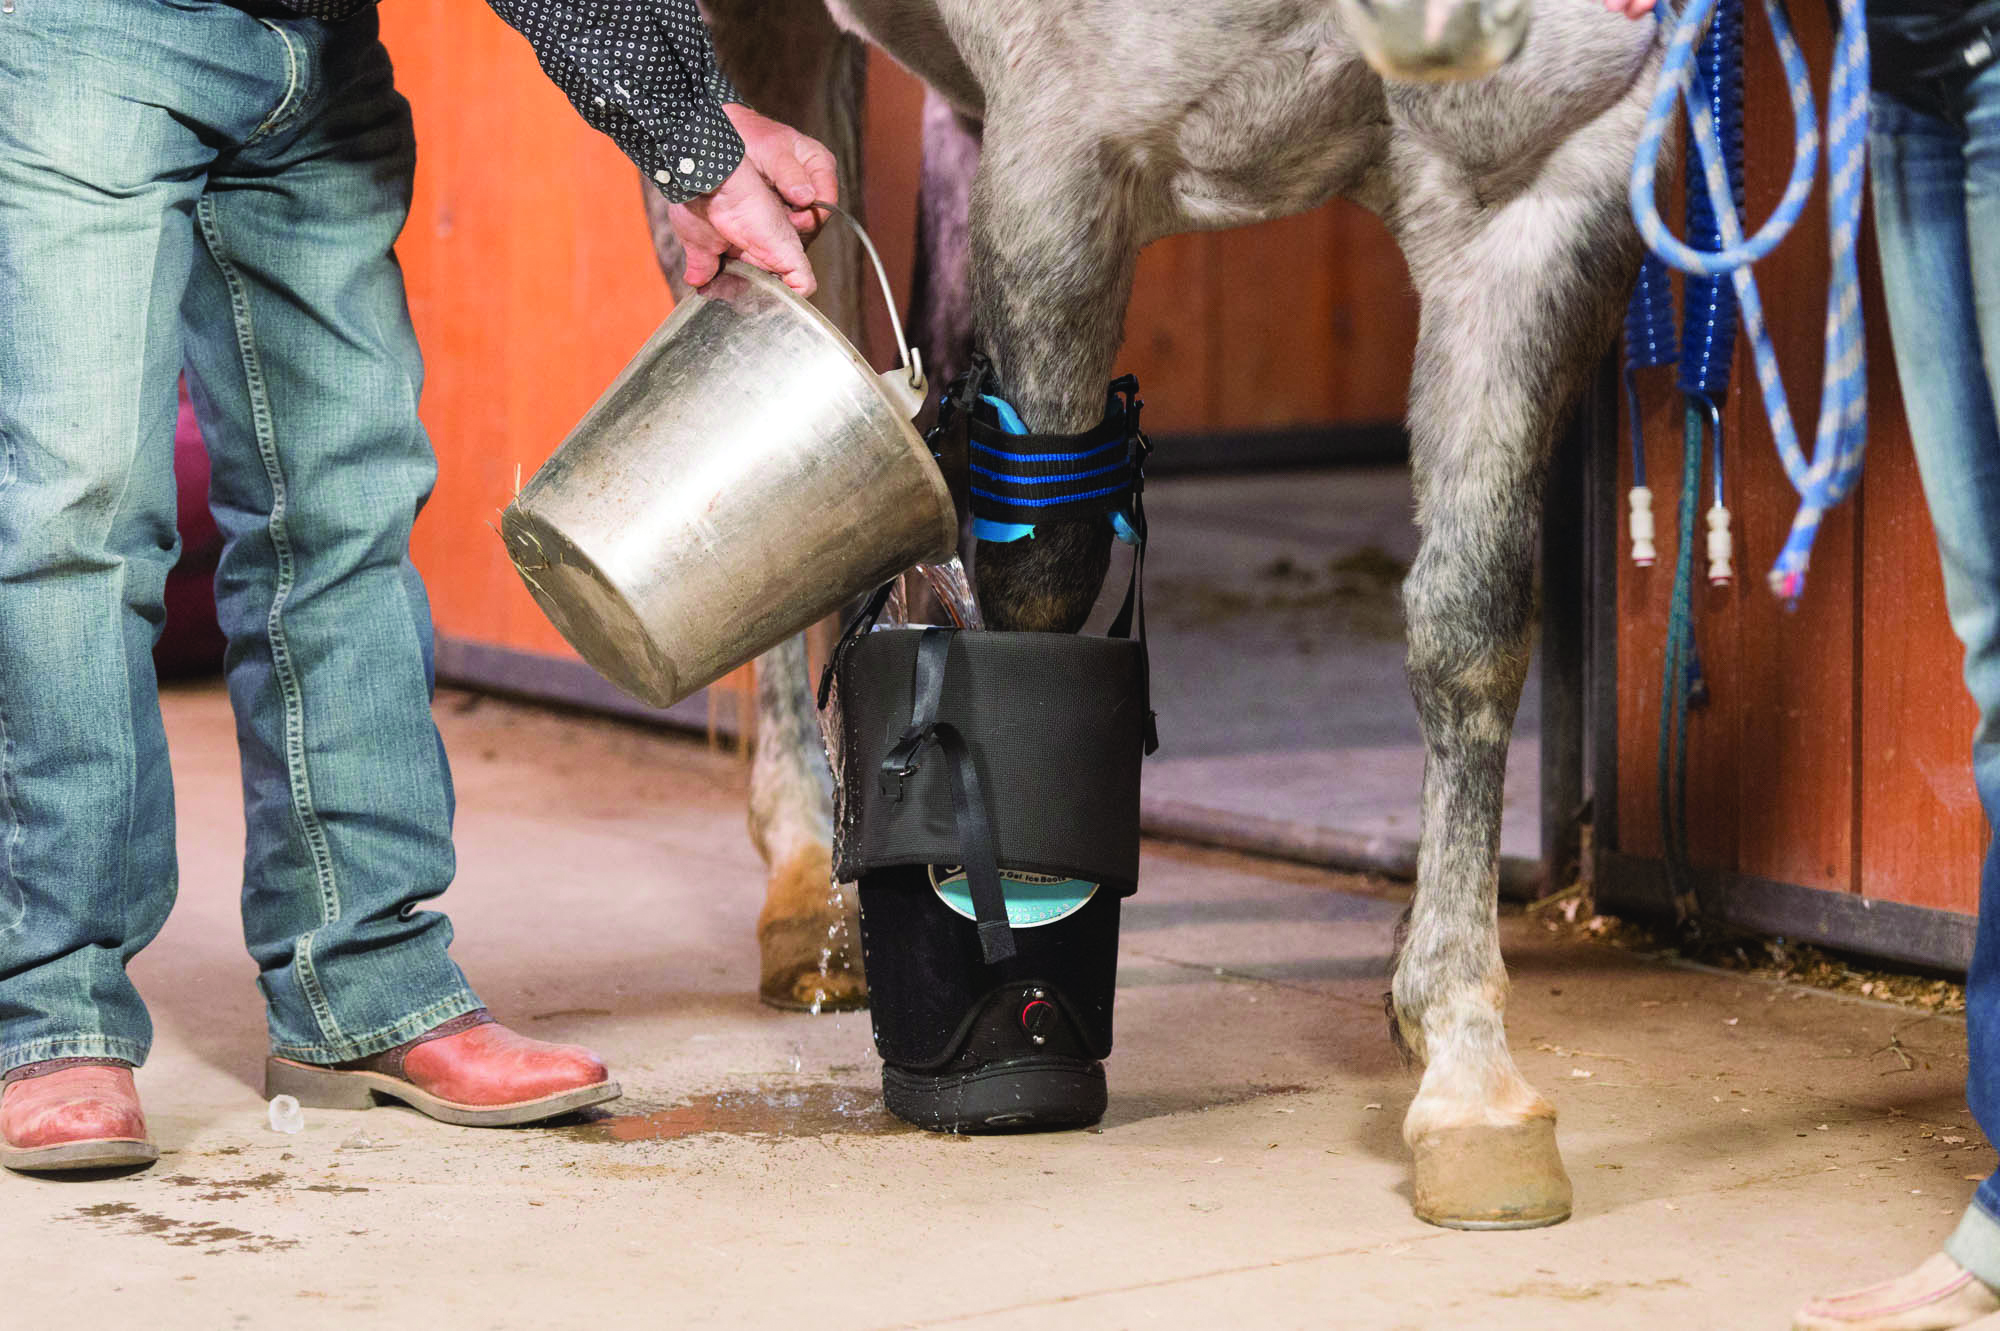
There are several easy-to-use, commercial ice boots on the market these days, and if your horse requires regular icing, you may want to check them out. Unfortunately, not all of us can afford a ready-made ice boot (and not many buckets are tall enough to ice an area just below the knee), so I’m going to show you three simple, inexpensive techniques for icing your horse’s lower leg. To get the most from cold therapy, plan on icing his leg a minimum of 15 to 20 minutes, and a maximum of 45 minutes, three or four times a day.
Technique #1: Inner tube
Good for: Serious icing jobs. You can cover the entire lower leg at once, and you don’t have to stay with your horse, actively applying ice. Depending on the weather, you should be able to count on as much as 30 to 45 minutes of continuous icing with this method.
Supplies you’ll need: A 1 1/2- to 2-foot long piece of inner tube, two track bandages, and a bag of ice.
Procedure:
1. Place your horse’s leg through the middle of the inner tube, so the top is just above his knee, and the bottom reaches below his fetlock. To help the tube conform to the leg’s curvature, place the tube’s “outer” curve along the back of your horse’s leg. (Note how the back of this inner tube comes up slightly higher than the front.)
2. Fold the bottom of the inner tube around your horses’ pastern, then snugly secure it by placing the end of one track bandage over the inner tube, and wrapping in a spiral fashion a couple of inches above and below your starting point. Repeat wrapping up and down until you come to the end of the bandage.
3. Pour crushed ice into the top of the tube until your horse’s leg is completely surrounded. Note: If his leg has been clipped/shaved down to the skin, you can prevent his skin from freezing by covering it with a loosely applied stretch-gauze bandage, or by wrapping the ice in a small towel.
4. Fold the top of the tube around the upper part of the leg, snugly securing it with your other track bandage, in the same fashion as you did the bottom. And there you have it. As the ice melts, the water seeps out through the bottom of the tube, and you can add more ice at the top, as needed.
Read More: Tips on Icing Your Horse’s Legs
Technique #2: Ice cups
Good for: “On-the-spot” cold therapy. This technique is a little more labor-intensive than our inner-tube ice boot, as it requires that you stay with your horse during the icing process. However, it allows you to more easily direct the ice at a specific area, and may work better if your horse is apprehensive about the inner-tube approach.
Supplies you’ll need: Refrigerator with freezer at your barn, water, Styrofoam or paper cups. (Note: I like Styrofoam, because it gives me an insulated handhold, and helps keep the ice frozen longer.)
Procedure:
1. Fill cups with water, and freeze them.
2. Lay the ice against the affected area without exerting any pressure. Slide it all around the area, in a circular motion.
3. As the ice melts, peel away the cup material to expose more.
Technique #3: Cold packs
Good for: See Technique #2, above. Most packs will provide 20 to 30 minutes of cold, depending on the weather.
Supplies you’ll need: Commercial cold pack, polo wrap.
Procedure:
1. Allow a frozen cold pack to thaw just enough that you can somewhat mold it to your horse’s leg.
2. Place the semi-frozen cold pack against the area to be iced (providing a protective covering, if necessary), and secure it with a polo wrap. To do so, first place the end of a polo wrap across the middle of the cold pack, holding it in place with one hand, as you bring the wrap around your horse’s leg with the other. (I apply my bandages from “front to back,” but it makes no difference which direction you wrap, as long as you always apply even tension.)
3. Spiral the wrap downward, lightly stretching the material, and wrapping it so each circuit overlaps half of the previous one, until you’ve reached the bottom of the pack. Make one circuit just below the bottom of the pack, then spiral back up, over the top. (Keep spiraling up and down until you come to the end of your polo wrap.) Lightly stretch the wrap with each circuit, but don’t put any more tension on it than is necessary to hold the pack in place.


