The old-made-new look has found its way into the show pen. Simple throwback-to-the-days-of-old style of dress is not just accepted, but encouraged in classes such as ranch riding, sorting, and team penning. Cowboy rags have traditionally functioned as protectors from the elements on the plain, at a cattle drive, or during a branding. Now, with the wide variety of fun colors, bright patterns and designs, and matte or extra-shine sheens, you can dress up an understated show outfit with your favorite western scarf.
[MORE: RANCH RIDING LOPEOVER]
Learn the simplest way to wear a wild rag to spiff up your outfit at your next event. This polished look is achievable in just four quick and easy steps, simply Place, Wrap, Tie, and Finish.
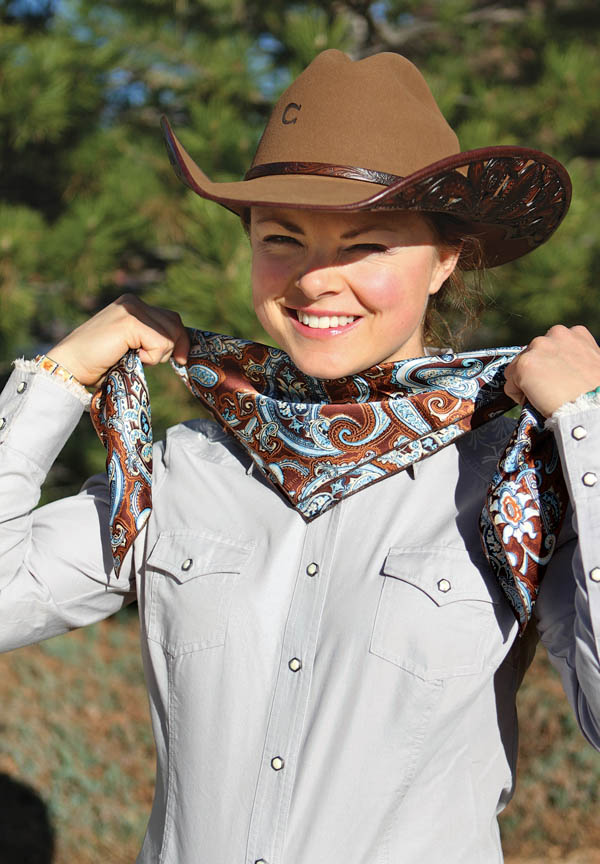
Step 1: Place
Fold the square or rectangular scarf in half, meeting pointed side to pointed side, to create a triangular shape, as shown. Center the point face down at the center of your neck, with the folded edge nearest your chin. Hold the free ends in either hand on either side of your neck. Keeping the triangular portion at the front of your neck provides the best display of the scarf’s design.
[SHOP: Wild Rag Options]
Schaefer Ranchwear WR-02 Frontier Jacquard Wild Rag
Wyoming Traders Polka Dot Silk Scarf
Wyoming Traders Cowboy Wild Rag Paisley Blue with Pink
(As an Amazon Associate, we earn from qualifying purchases made through affiliate links.)
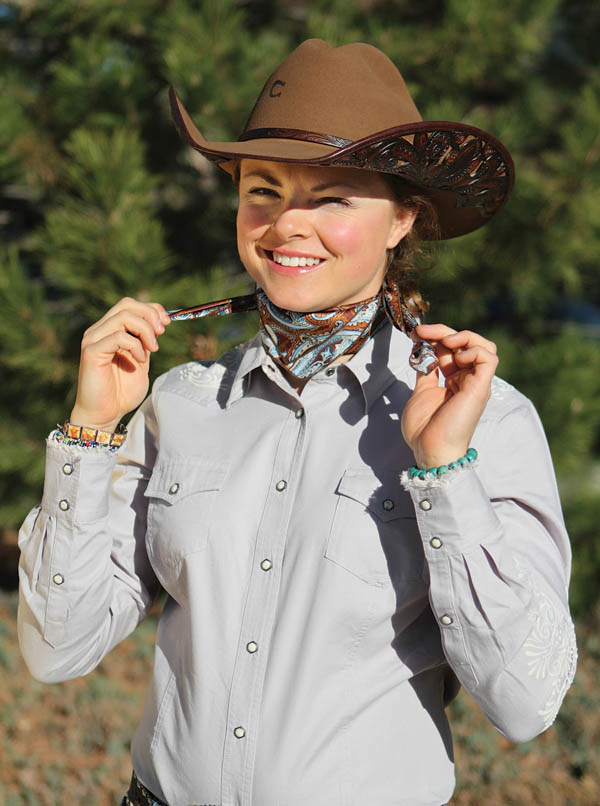
Step 2: Wrap
Next, wrap the free ends behind your neck and bring them back around to the front. Keep the ends smooth and flat as you wrap to ensure a tidier tie and more polished look. The ends should now be on either side of your neck and ready for the final tie. The triangular portion of the scarf should also be snug against the front of your neck, below your chin.
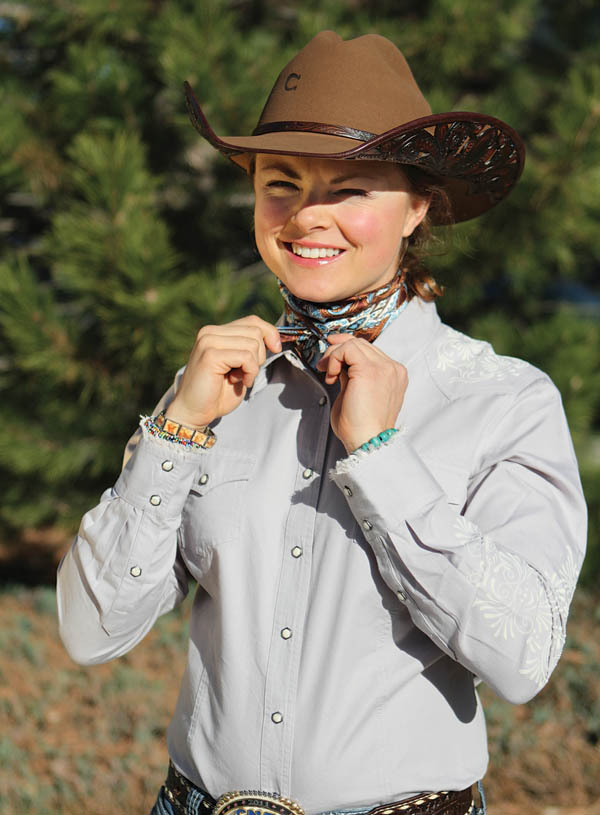
Step 3: Tie
Tie the ends in a simple knot (one end over the other), centered below your chin with even tail lengths on either side of the knot. A second simple knot, putting the same tail on top as you did in the first knot, will securely finish the tie and keep the scarf in place. The final knot should now be over the top of the triangular portion of the rag at the front of your neck.
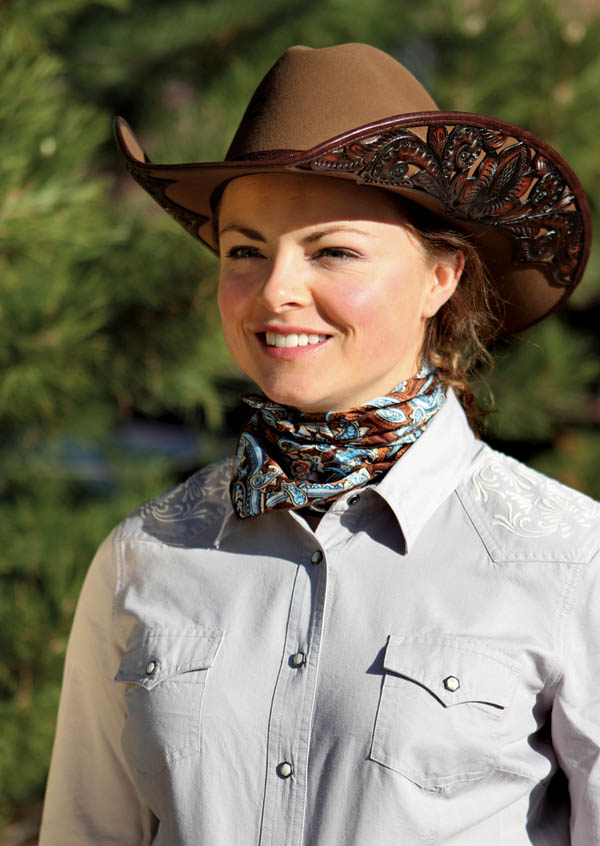
Step 4: Finish
Adjust the scarf position based on your style preference to finish. Display the scarf at the front of your neck and tucked into your collar, as pictured, for a traditional look. Or, mix it up by fully buttoning your collar and wearing the scarf on the outside of your shirt, playing with scarf placement on your neck by moving it to either side, or trying different knot ties.
[RELATED: RANCH RIDING PRESENTATION]