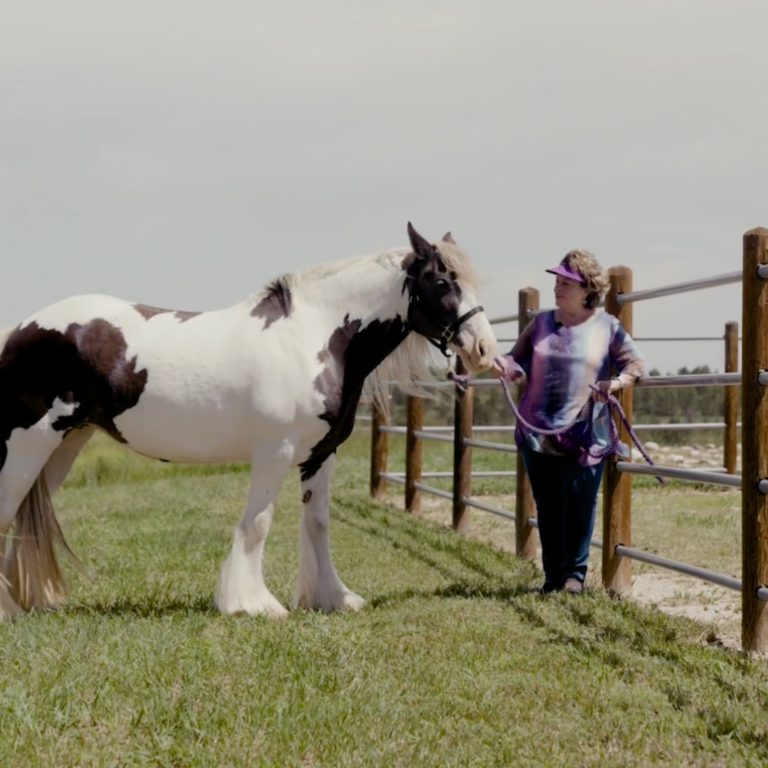
An athletic horse can overreach with his hind foot, clipping the front foot. This can lead to pulled shoes, which are inconvenient but preventable with this taping method. Before you use this taping technique in competition, be sure to check the rules for the organization you’re showing under. Using tape in this manner is legal in National Reining Horse Association and American Quarter Horse Association competition.
Before you start, clean your horse’s feet to remove any debris from the outside of your horse’s front feet that might interfere with the tape. You can use duct tape for the base, but I prefer pipe tape. It doesn’t fray like duct tape and sticks better. Electrical tape placed on top of the pipe tape gives a finished look.
Step 1: Give a Spin
Pull about a foot of pipe tape off the roll, hold the top two inches of tape flat, and spin the roll. This gives the tape the body it needs to fill the space in between the heels of the shoe, where a hind foot can grab a front shoe. The flat portion of tape is ready to tape to the foot, and the tape’s adhesive will hold the tape in the spin.
Step 2: Lay the Tape
About a third of the way forward from the heel of the shoe, lay the flat piece of tape on the hoof. Align the twisted tape to lie in between the heels of the shoe. Keep it as flat as possible. This starts the foundation to fill the space and prevents the shoe from pulling off the horse’s foot.
Step 3: Double-Back
Double the tape back toward the starting side, aligning it between the shoe’s heels. Try to keep the tape smooth and flat, but don’t worry about how it looks. It’ll smooth over later in the process. When you reach the shoe’s heel on the starting side, double it back again in the opposite direction.
Step 4: Wrap Around
Run the pipe tape around the entire hoof two to three times. Be sure to keep the tape smooth and flat—this will help smooth any bumps in the tape between the shoe’s heels. Cut the pipe tape, and stick it down to the hoof to complete this layer.
Step 5: Grab the Electrical Tape
Begin applying the electrical tape at the coronary band, between the heel bulbs. Make an effort to keep this tape smooth, flat, and even. It’s the top layer, so a messy application will end in an unprofessional look on your horse’s feet. Run it all the way down to your horse’s shoe.
Step 6: Finished Foot
The final layer of electrical tape covers the text on the pipe tape and gives a finished look, almost like the horse has hoof black on his feet. You can leave this foot as is and go compete, or cover it with a bell boot. Either way, your horse is less likely to pull a front shoe if his feet interfere.


