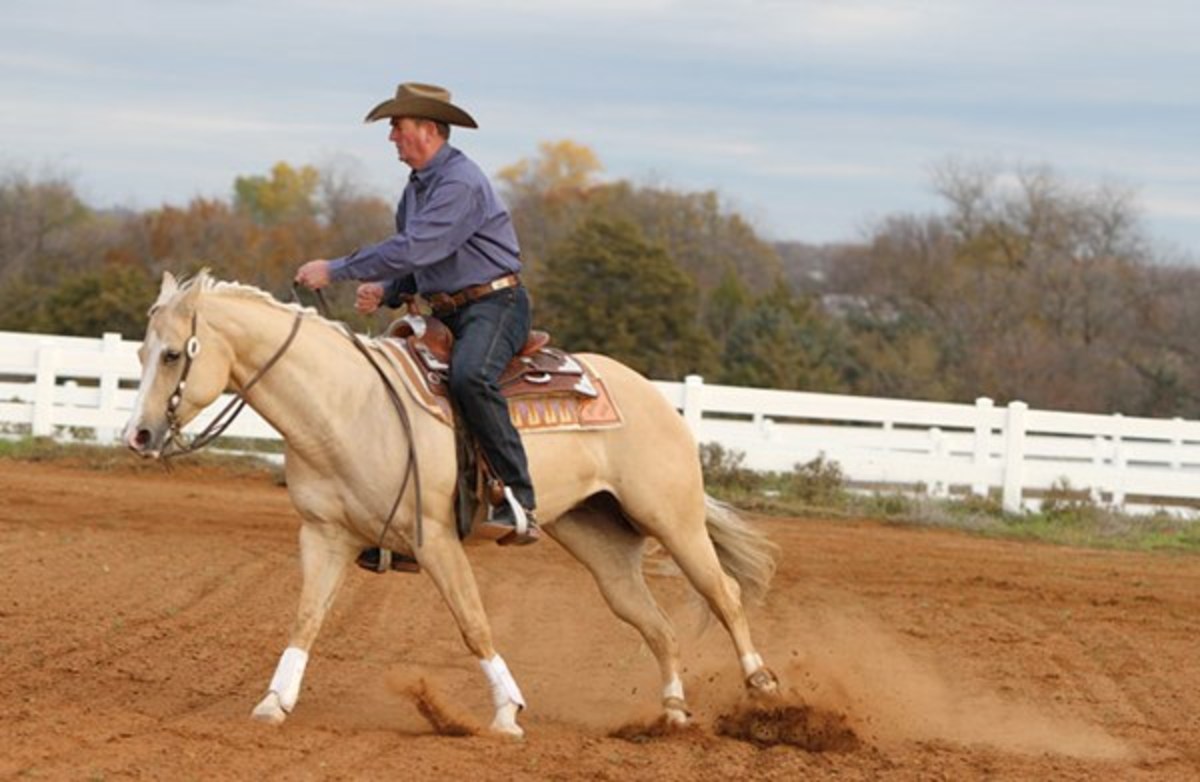
Q: I recently bought a 4-year-old Quarter Horse gelding. He’s good-minded and has done well on the trails so far. However, I still use a two-handed, direct rein, as he doesn’t know how to neck rein. I’d like to teach him to neck rein, so I can ride him one-handed when I choose to. Could you share the method you use to teach a horse to neck rein?
Linda Grant,
Mesa, Arizona
A: Linda, neck reining is a good skill for any horse to learn. It helps you feel secure in your horse’s control level. It also gives you a free hand to open gates, retrieve an item from your saddlebag, point out a trail hazard, pat your gelding, etc.
Here, I’ll first describe the reins and bit you’ll need to teach your gelding how to neck rein. Then I’ll describe the three types of rein control. Finally, I’ll explain how to teach your gelding to neck rein.
[READ: Teach Your Horse to Turn]
Reins and Bit
To teach your gelding to neck rein, you may use either a one-piece rein or split reins. If you use split reins, note that each rein should be 7½ feet long and between one-half and three-quarter inches wide.
This rein length will allow you to cross the reins over your horse’s neck so that you can hold both reins with one hand in the center. This is called a trainer’s hold. By holding the reins in this way, it’ll be easier for you to go back to two-handed reining when corrections are needed.
Connect your reins to a smooth, full-cheek snaffle bit. Avoid a shanked bit, which can be too harsh during the learning process. With a snaffle, you can apply lateral (side) and vertical pressure without causing your gelding any pain or discomfort.
Some people do switch to a shanked bit once their horses are trained to neck rein, but I’ve found a smooth snaffle bit can offer great control for the horse’s entire life.
Types of Rein Control
When you ride two-handed, you should be using an open rein, a direct rein, and an indirect rein. Here’s a description of each type of rein control.
Open rein: Applying pressure to a horse’s mouth using the inside rein (the rein on the inside of his movement, such as a circle) while guiding the rein away from his neck.
Direct rein: Applying pressure to a horse’s mouth while guiding the inside rein directly toward your inside hip.
Indirect rein: Laying the outside rein (the rein on the outside of a horse’s movement) against the horse’s neck. An indirect rein is the neck rein. Rather than applying direct pressure to his mouth, you’re applying pressure to his neck to cue him to turn.
[READ MORE: Neck Reining]
Step-by-Step Technique
Here’s how to teach your gelding to neck rein. Note that you’ll execute Steps 2 through 5 simultaneously.
Step 1. Get ready. Saddle your gelding, outfit him in the reins and bit as indicated above, lead him to an enclosed work area with good footing, and mount up. Warm him up, then ask him to walk to the left in a large circle.
Step 2. Apply a direct rein. Using the inside (left) rein as a direct rein, slightly tip your gelding’s nose to the inside.
Step 3. Apply an indirect rein. At the same time, use the outside (right) rein as an indirect rein, laying it on his neck.
Step 4. Apply your leg. As you give these rein cues, apply slight outside leg pressure with your right calf about two inches behind the cinch.
Step 5. Use your body weight. As you give these rein cues and leg aid, look in the direction in which you’re guiding your gelding. This will shift your body weight, which also cues him to turn on the circle.
Step 6. Reverse direction. Reverse, and repeat Steps 2 through 5 to the right.
Step 7. Ask for the trot and lope. When your gelding is responsive to your cues at the walk, repeat Steps 2 through 5 at the trot, then the lope. Circle to the left and the right at each of these gaits.
Step 8. Be consistent. Whenever you’re riding two-handed and ask your gelding to turn by applying inside rein pressure, always lay your outside rein on his neck while applying outside leg pressure.
Step 9. Ride one-handed. Test your gelding by applying only indirect rein pressure and your leg aid. As needed, pick up the inside rein, and apply direct rein pressure. At his own pace, he’ll learn to respond to the indirect rein pressure and outside leg cue only.
Step 10. Be patient. Horses learn at different rates. It may take quite a while for your gelding to catch on to neck reining. Be patient, and stay safe. If you need help, ask a qualified trainer or certified riding instructor in your area for assistance.


