The age-old hitching post: a structure that aids in vet visits, baths, and saddling and increases the efficiency and usability of horse properties. But, despite their functionality and widespread use, not every hobby farm has one installed. Upgrade your farm with these quick-and-easy DIY instructions.
We asked Tory Shaffer, owner of Colorado-based Shaffer Fencing, to share his expert advice on how to build an 4 x 8-foot hitching post in a single weekend. Let’s dig in.
Gather Supplies: The key to a durable hitching post is gathering the right supplies. You’ll want:
- Subcompact tractor
- Post hole digger attachment (with 9-inch auger)
- Three 8-foot, 4-inch cedar posts: two to act as legs, one to act as the rail
- Four 80 lb. bags of concrete mix
- Rubber mats
- Drill with six-inch drill bit
- Wheelbarrow
- Tape measure
- Four-foot Level
- Work gloves
- Friends
- Post-DIY beer
Pick and Level Location: Select a location near the front of your barn, preferably near the tack room and water spigot, as you’ll want easy access to both your horse’s tack and a water supply. Attach a scraper to your subcompact tractor and level an approximately 10 x 10 area of ground so it’s flat and easily drainable.
Dig Holes: Dig two post holes four feet deep, and 9-inches wide. Space them seven feet apart so the top rail will overhang by six inches on either side. Use your tape measure to confirm each hole is four feet deep for maximum rigidity and stability.
Prepare First Batch of Concrete: Mix two bags of concentrate with water in your wheelbarrow. The ideal texture is wet but not sloppy. Think: putty; not soup.
Install First Post: Place the first post in the freshly dug hole. Use the level to ensure the post is plumb. (Read: straight up and down.) Have your friend hold it steady for you, as you pour in the concrete mix. Hold the post for 10 seconds while the concrete sets. Afterward, you can refill in remaining space with dirt.
Repeat: mix another batch of concentrate and install the second post.
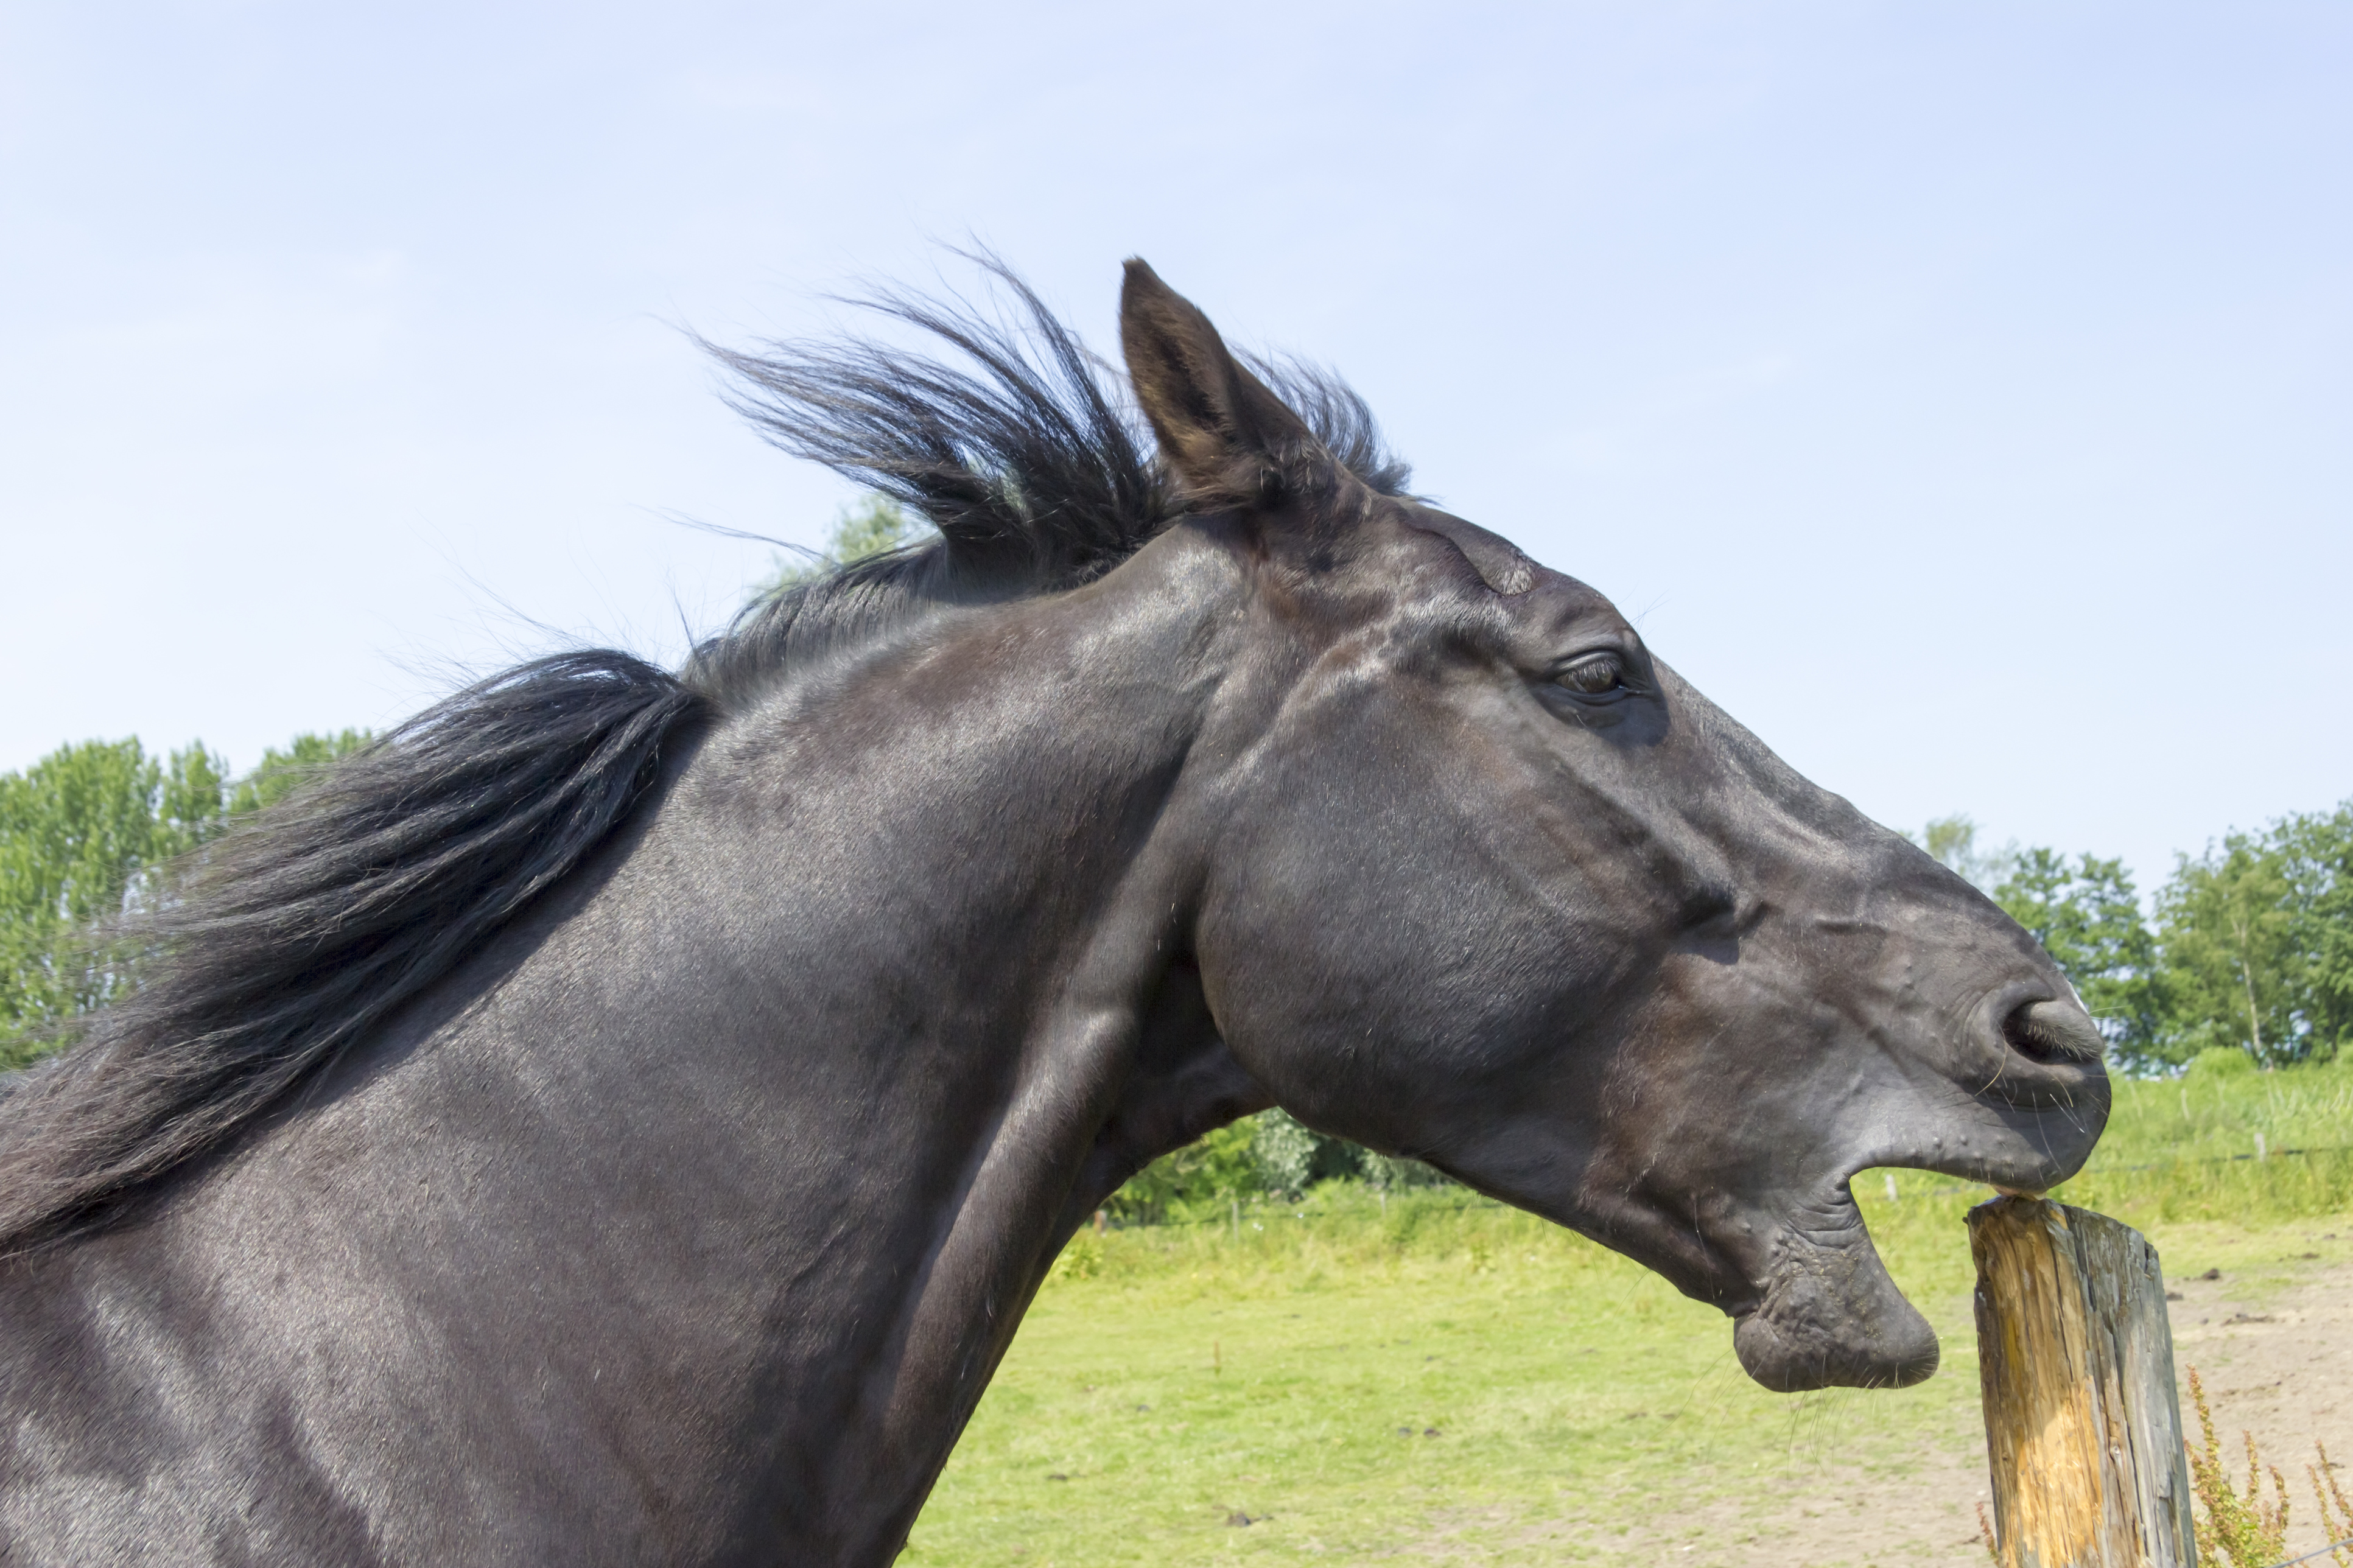
Install the Top Rail: Place the top piece of cedar atop the two posts, leaving six inches of overhang on either side. Then use your level to ensure the posts are of equal height. If they’re not, adjust the beam until its level, and then mark the higher post with where to cut it. Lob off the excess height so the two posts are level. Then, drill pilot holes with the drill bit. Use a six-inch drill bit and six-inch lag bolt to drill the lag bolt into the wood to secure the rail to the post. Finish with an anti-chew spray in case your horses are chewers.

Accessorize: Add extra usability to your fencing post with rubber mats, concentrate or pea gravel. Shaffer recommends rubber mats for added safety and usability during baths. It keeps the area from getting too muddy.
Celebrate: Crack open a beer and hitch your horse up. You’re done.


