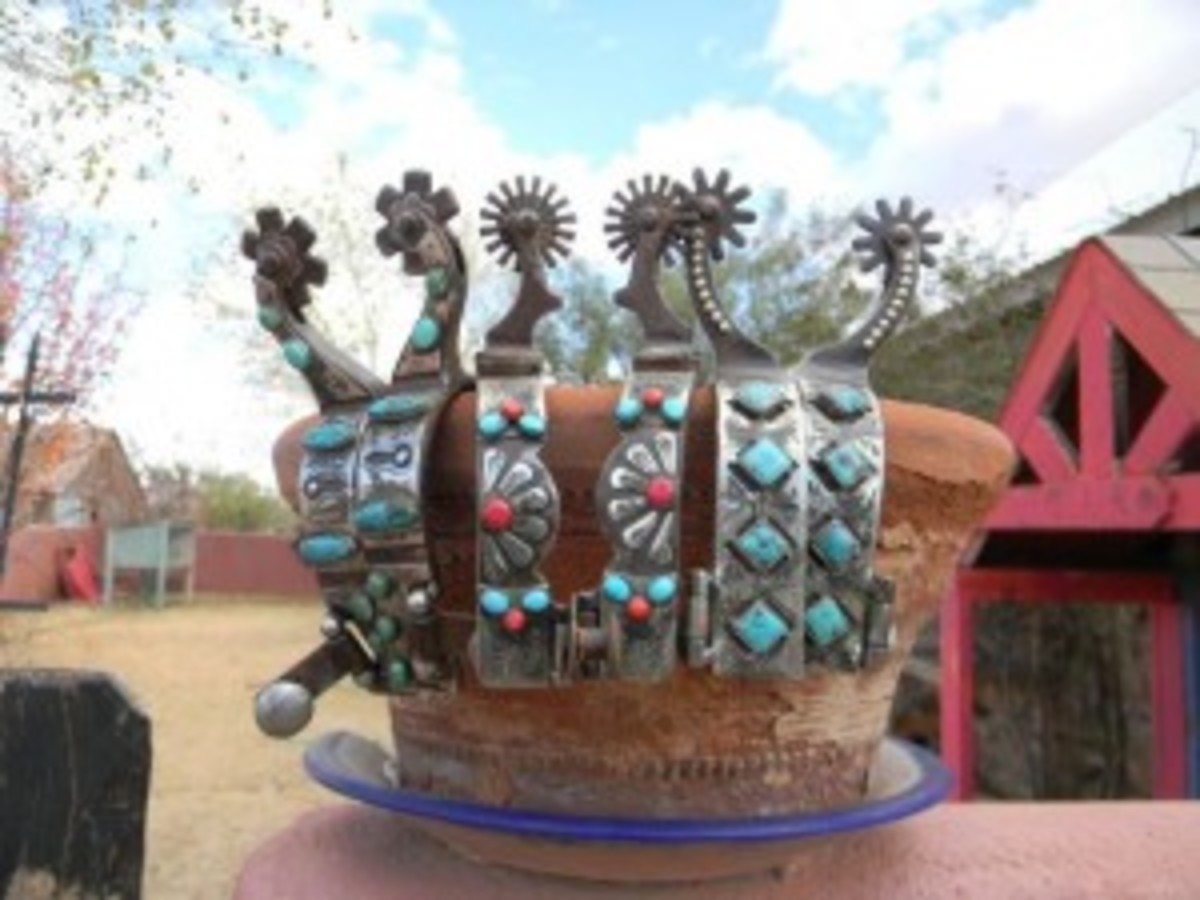
Q:My 6-year-old Appaloosa gelding balks on the trail and just plain won’t pick up any speed when I ask him to. Sometimes, he won’t even move forward at a walk. A friend told me to use spurs to get my gelding to move out. I’ve never used spurs before on any horse, and I don’t want to be abusive to my gelding in any way. What do you think about using spurs?
~Linda Smith,Reno,Nevada

A: Linda, it’s wise of you to ask about using spurs before deciding whether or not to use them. Spurs have a negative reputation with quite a few people in the horse world. Riders get hurt when they don’t properly introduce spurs into their riding routine. Here, I’ll first discuss spur use in general. Then I’ll tell you how to teach your gelding to respond to spurs in a positive manner.
[WATCH: Bud Lyon – When to Use Spurs]
Are Spurs for You?
Like crops or whips, spurs are artificial aids. Your natural aids are your seat, legs, hands, and voice. When you ride, you use aids (also called cues) to communicate to your gelding what you’d like for him to do, such as go forward, stop, and turn.
Spurs can be used in either a positive or negative manner. Not every rider – or horse – has the emotional ability to handle spurs. Spurs just plain scare some riders and horses. If you’re not comfortable with spurs, don’t use them.
Some riders don’t use spurs correctly. Rather, they just start kicking the heck out of the horse, causing fear and confusion. This abusive behavior is the main reason spurs have gotten a negative reputation in some circles.
To teach your gelding to accept spurs without fear, see my technique, below. But before you begin this training, you must establish a leadership position with him. That is, he must trust and respect you. Also, ask for hands-on help from a reputable trainer or certified riding instructor. Always be safe. Never put yourself or your gelding in any danger.
Step-by-Step Technique
First, teach your horse to move away from spur pressure on the ground. As you do, you’ll teach him to accept spurs, rather than fear them.
In the saddle, press the spur rowel against your horse’s ribcage. Start with light, even pressure. If needed, apply firmer pressure. Never kick him while wearing spurs.
Even when you wear spurs, your horse should still move off your leg and voice aids most of the time. Use spurs only when necessary.
Step 1. Introduce the spurs. First, desensitize your gelding to spurs’ negative aspects; that is, their sharp, metallic sound and feel. Let him see, smell, and hear them. Jingle them around his body. Gently rub one spur against his entire ribcage on both sides of his body. Lead him while you wear spurs.
Step 2. Perform groundwork. Now, sensitize your gelding to spurs’ positive aspects; that is, your ability to use them lightly. Outfit him in a halter and lead rope. Hold the lead rope in your left hand, a spur in your right hand, and stand on his left side, next to his ribcage. Give a high-pitched cluck, and simultaneously press the spur’s rowel against his ribcage. Apply light, steady, even pressure; never bang him. The instant he moves away from the pressure, release the spur pressure. If he’s responsive, he’ll learn right away to move off of very light pressure. If he fails to move off light pressure, apply firmer, steady pressure, then release it the instant he responds. Repeat this exercise on his right side.
Step 3. Use other aids first. When your gelding accepts spurs on the ground, attach the spurs to your boots, and mount up. To go forward, first use your natural aids, such as your verbal commands and your calves. Use spurs only when necessary (at most, two percent of the time).
Step 4. Apply light spur pressure. If you need to use spurs to reinforce your leg cues, give a high-pitched cluck, and simultaneously apply light, steady, even spur pressure against his ribcage on both sides. (Never kick him with spurs.) If your gelding fails to respond, apply firmer, steady pressure until he moves off of it. As soon as he responds, stop clucking, and release all spur pressure. Pat him on his shoulder, and tell him he did well.


