Those old Western movies had it wrong. The cowboys were always charging off at a gallop. Anyone who’s spent long hours in the saddle – whether riding the trails, checking fence, or moving cattle – knows that most work on horseback isn’t done at full speed. That’s exactly the reason real cowboys want a horse with a good, ground-covering walk and a comfortable trot.
There’s nothing like a brisk trot or a lope to add variety, providing the footing is safe, but when it comes to trail riding, the most commonly used gait is the walk. Your horse should walk out willingly and stop whenever you ask, yet top trainer/clinician Lynn Palm finds that many riders have “issues” with the walk and whoa.
Some horses either speed up or dawdle instead of walking at a consistent speed. They may also meander all over the trail, which can be downright annoying if you’re riding beside them. Ask these horses to whoa, and they don’t want to stand still or else they don’t understand the rider’s cues and resist stopping at all.
Simplify your trail riding adventures by thoroughly teaching your horse to walk at a comfortable, controlled speed in a straight line, and to stop – and stay stopped – when you give the command to whoa.
“When your horse has a good, controlled walk, it’s much easier for him to stay balanced when going up and down hills,” Palm explains. “If a horse is balanced and moving in a straight line, he can better transfer his weight to the hind end when going downhill and can negotiate rough terrain much more easily.”
To practice these exercises, ride in your regular tack in an enclosed area before you head out on the trail. Stay balanced in the center of your horse’s back, and give clear cues, as covered in our series thus far.
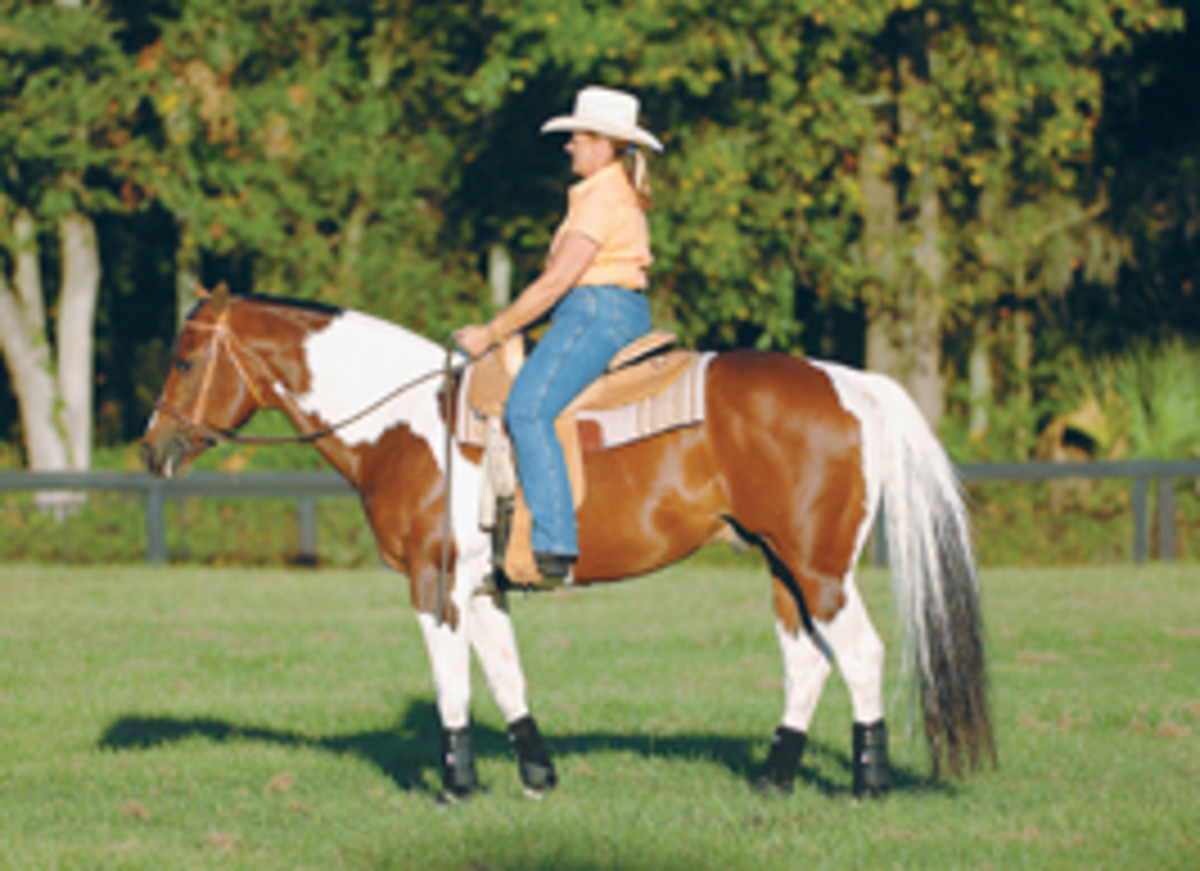
Step #1: Master a Relaxed Walk
Palm finds that riders can unintentionally create problems by either kicking or gripping the horse’s side to encourage him to walk off, but this action actually makes him resist. To see how this makes your horse feel, make your hands into fists, place them against your ribs with your knuckles against your sides, and start pounding away.
Your horse is sensitive enough to feel a tiny fly land on his skin; he doesn’t need to be hammered on by your legs in order to move. Instead of kicking or gripping, use as light a touch as necessary with your calves, not your heels.
If your horse doesn’t immediately step into a walk, slide your calves slightly forward. Rather than using your heel to kick, use a “clucking” sound or touch his side with your crop or the end of your reins just behind your leg or on his rump to encourage him to move away from the touch.
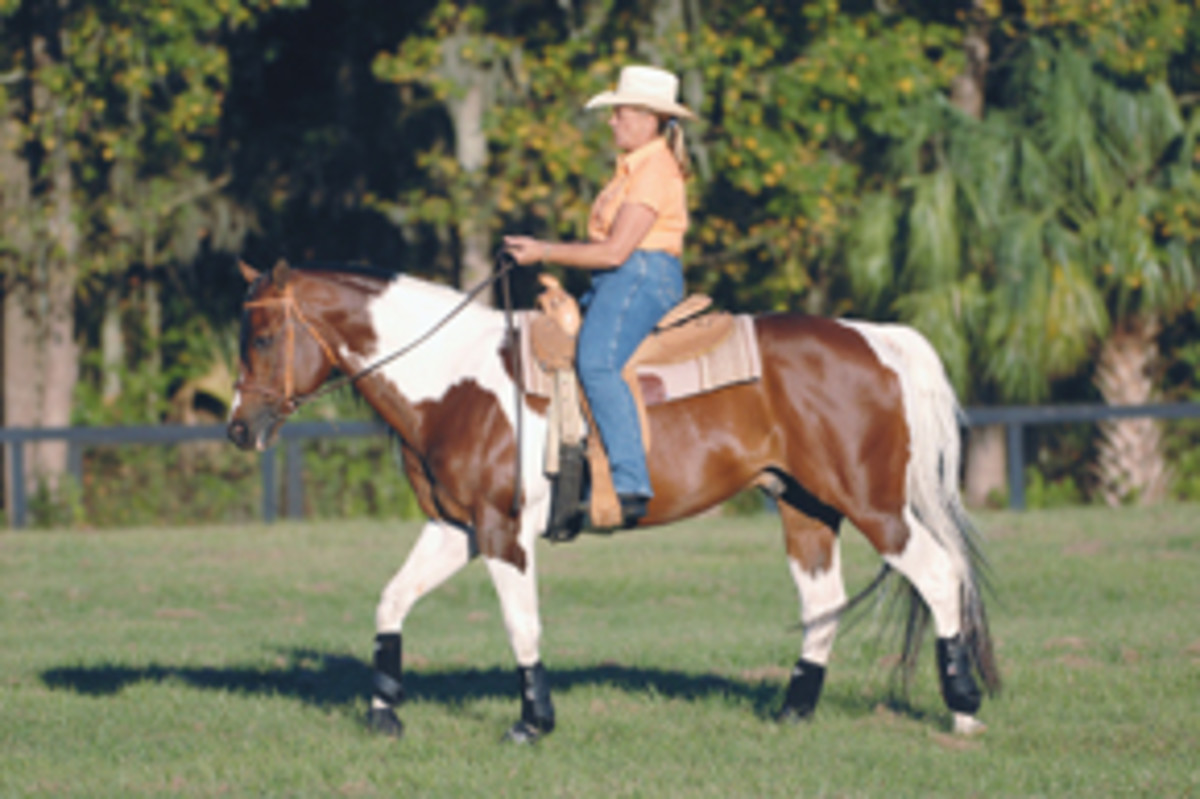
Your horse should walk at a steady pace and in a straight line, unless you guide him otherwise. Practice staying balanced in the center of his back, and let your hips move back and forth naturally to follow his motion.
This practice helps you to synchronize with your horse’s movement and be more comfortable in the saddle. It also encourages him to relax his back and use his hind legs. To maintain speed, keep him moving straight by offering light support with your legs and reins, as discussed last issue.
Pay attention to your horse’s attitude. Are his ears forward? Is he relaxed and moving along without resistance? If he clearly understands what you’re asking and trusts you, he’ll be easy to work with and enjoy the ride, too. If you’re unbalanced or heavy-handed, he’ll be frustrated, anxious for the ride to be over, and may challenge you.
The walk can actually be a difficult gait to master, because you have less forward motion than at a trot or lope. If you find your horse doesn’t stay straight at the walk, practice several transitions between the walk and the trot. Practice walking straight at a steady pace without slowing or speeding up. Then practice varying your speed at the walk.
Next, practice walking in circles at a steady speed. When circling, your horse should have a slight bend or curve to his body, not just have his head turned to the inside.
Be aware of your position in the saddle. Your spine should be centered over your horse. An observer should be able to draw a straight line from your ear to your shoulder to the middle of your hip, the back of your heel, and to the ground. Your eyes should always be looking ahead, not down at your horse.
Step #2: Avoid a Heavy Hand
It’s instinctive for us to use our hands as the first or strongest cue when working with our horses. Remind yourself to step out of this “comfort zone” and put less emphasis on your hands.
Any time you try to stop your horse by simply pulling back on the reins, the more you pull your hands back toward your stomach, and the more unbalanced you become. Your upper body goes forward, which tends to make your legs move back, out of alignment, leading to an unbalanced seat. An unbalanced seat leads to loss of control on the trail.
In an effort to regain balance, riders often brace themselves in the stirrups by pushing their legs forward. Bracing this way actually pushes you back and up out of the saddle. If you’re moving at any gait faster than a walk, this will cause you to bounce, making you even more unbalanced and out of control.
“You cannot balance from your feet and maintain a deep seat!” stresses Palm.
Bracing in the stirrups also puts tension in the reins, which transfers to the most sensitive part of your horse – his mouth. When this happens, he braces back against you, stiffens his neck and tightens his jaw and mouth. He may also toss his head and open his mouth in an effort to avoid the pressure. Some horses will pull against the bit, while others duck their heads into their chests. Hauling back on the reins can also make your horse reluctant to stand still.
Yes, you should use your reins for stopping, but not as the main cue and only for light support. If your horse resists when you apply light pressure, the bit may not be placed correctly, the curb strap could be too tight, or you may have too strong a bit. Your horse might also need dental attention from your veterinarian.
For optimal control, your horse’s mouth must be relaxed. If you aren’t getting the response you want and you’ve had your horse’s mouth checked to eliminate any problems, consider switching to a milder bit, such as a snaffle. Going into a more severe bit actually gives you less control, as it’ll make him more sensitive to rein pressure. This sensitivity can make him overreact or get defensive.
In the Arena
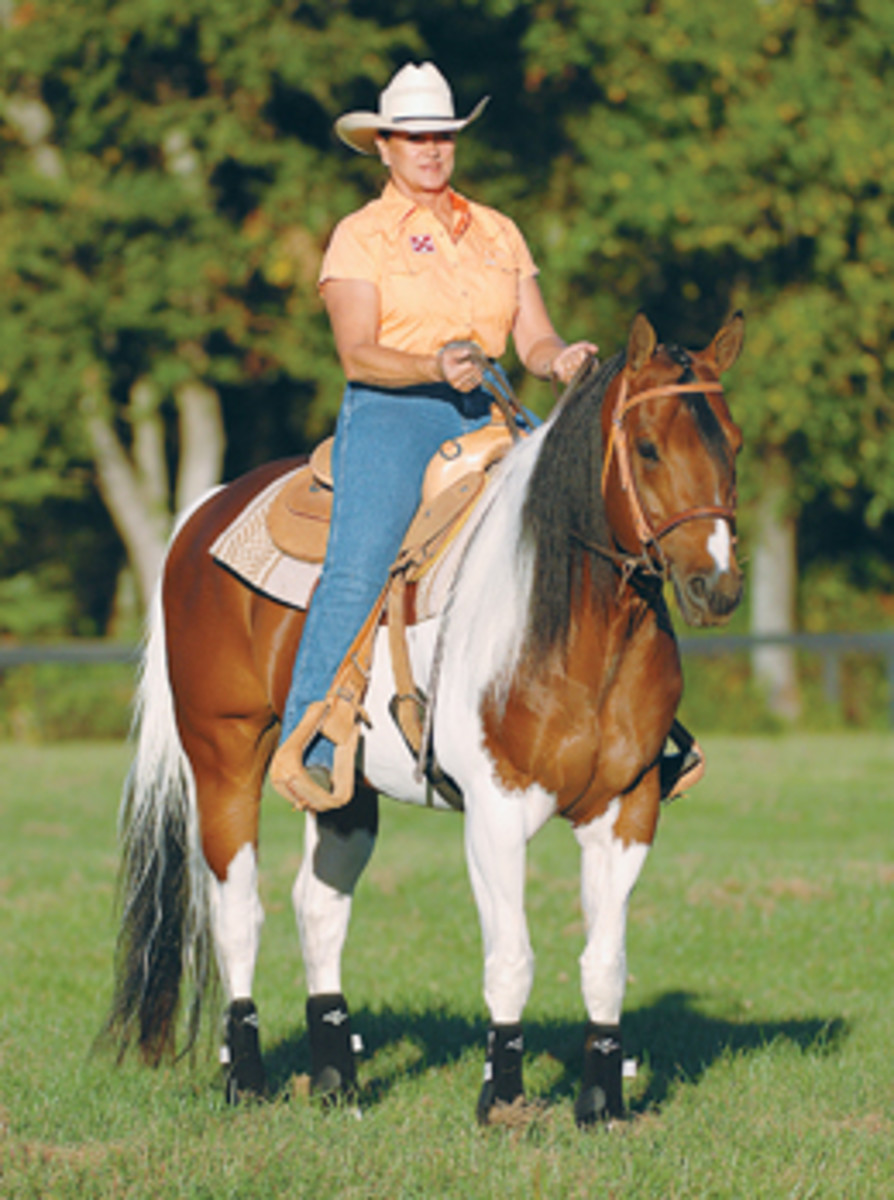
Your horse should always stand still when you mount. This is basic respect and obedience, but it’s surprising how many riders don’t enforce this. If you horse starts walking before you swing into the saddle, stand him facing into the corner of a fence. He should be parallel to the fence with his legs square underneath himself.
Hold the reins and a handful of mane in your left hand and place your right hand on the cantle. Make sure your reins are even – not too tight or too loose. Give the command “whoa” to encourage your horse to stand. Then swing into the saddle lightly, in one smooth motion. As you begin to swing your right leg over his back, move your right hand to the front of the saddle for balance and so that you can sit down softly.
“Sloppy mounting can cause a horse to fidget or dance,” says Palm. “Don’t drag yourself slowly into the saddle. If mounting is difficult because you have a tall horse or any physical problems, use a mounting block to make it easier on your horse and yourself. Plastic mounting blocks are easy to use and transport in your horse trailer.”
If your horse still refuses to stand, don’t sit down. Step back down, ask him to stand, and start over. If you have to do this a dozen times, so be it. If you mount while he’s moving, you’re telling him that his movement is acceptable, and he’ll continue to do it. Keep stepping off and starting over, and he’ll eventually learn to stand still. (Tip: A restless horse may also need to be longed before mounting to encourage him to stand.)
Step #3: Whoa the Right Way
You should be able to stop your horse without obviously pulling back on the reins. Your horse should respond willingly and stop smoothly without resistance.
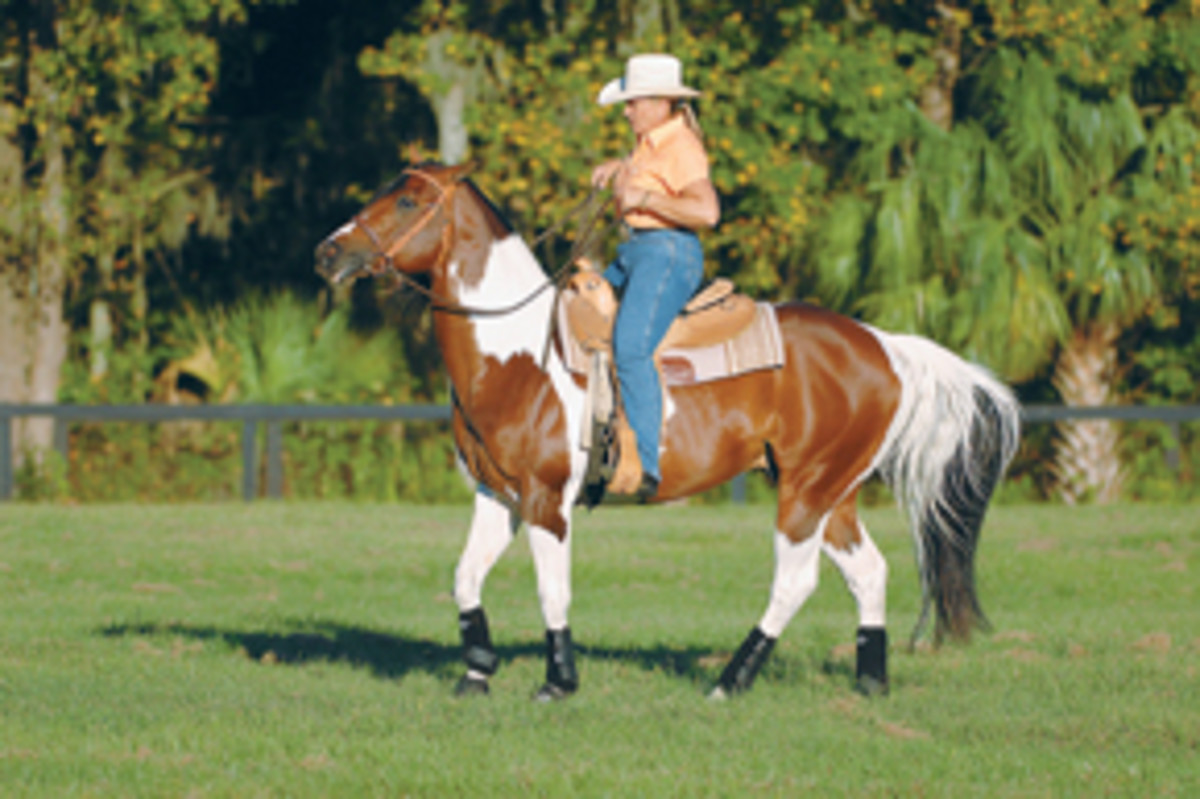
To stop correctly, first cease your back-and-forth hip movement by tightening your lower stomach and buttocks muscles. Lightly touch your horse on both sides with your legs to keep him straight and his hind legs under him.
Your rein cue is only to support the stop. Shorten both reins before asking for the stop; use an upward motion rather than pulling back. Your hands should be only three to four inches above the saddle horn. Any higher, and your reins are either too long or you have too much slack.
By using a slight upward motion, you’re encouraging the horse to get weight off his front end and transfer it to his hind end where his power is centered. Instead of a steady pull, use your hands in a “give and take” way with slightly vibrating pressure. Because horses instinctively move away from pressure, if you maintain constant pull on the reins, your horse will become frustrated and confused about what you’re asking for.
Practice numerous walk-whoa transitions, making it a point to use as little hand action as possible. This is easier to do if you keep your horse moving in a straight line. When your horse is traveling crookedly, he tends to either speed up or slow down instead of maintaining a steady pace.
You’ll find that the more you can control your horse by keeping his body straight, the easier it is for him to balance himself and work off his hind end, which is what you want.
Step #4: Stand Still Before Moving Off
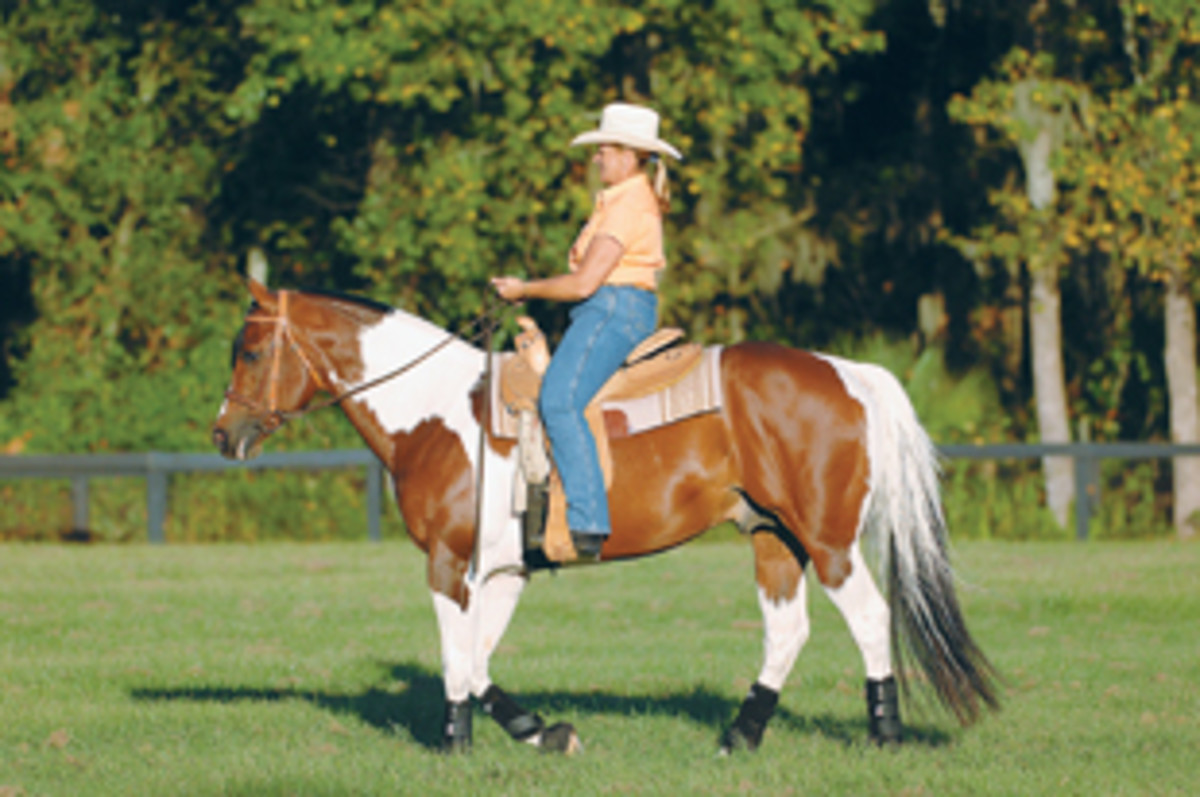
There’s more to a true stop than just ceasing to go forward. Your horse should always stand quietly until you ask him to move off again. A lot of horses will stop, but within moments they’re dancing around.
One reason your horse might not stand still is if you continue to apply pressure on the reins after he’s come to a complete halt. Once he’s stopped, immediately loosen rein pressure. Always allow him to stand still for a few minutes before you ask him to go forward again. Let him relax, look around, and “slow his mind.”
Palm believes a horse that refuses to stand still is showing he has too much energy, so she’ll continue to exercise him, either under saddle or on the longe line, before asking him to stop and stand again.
Expert Tip
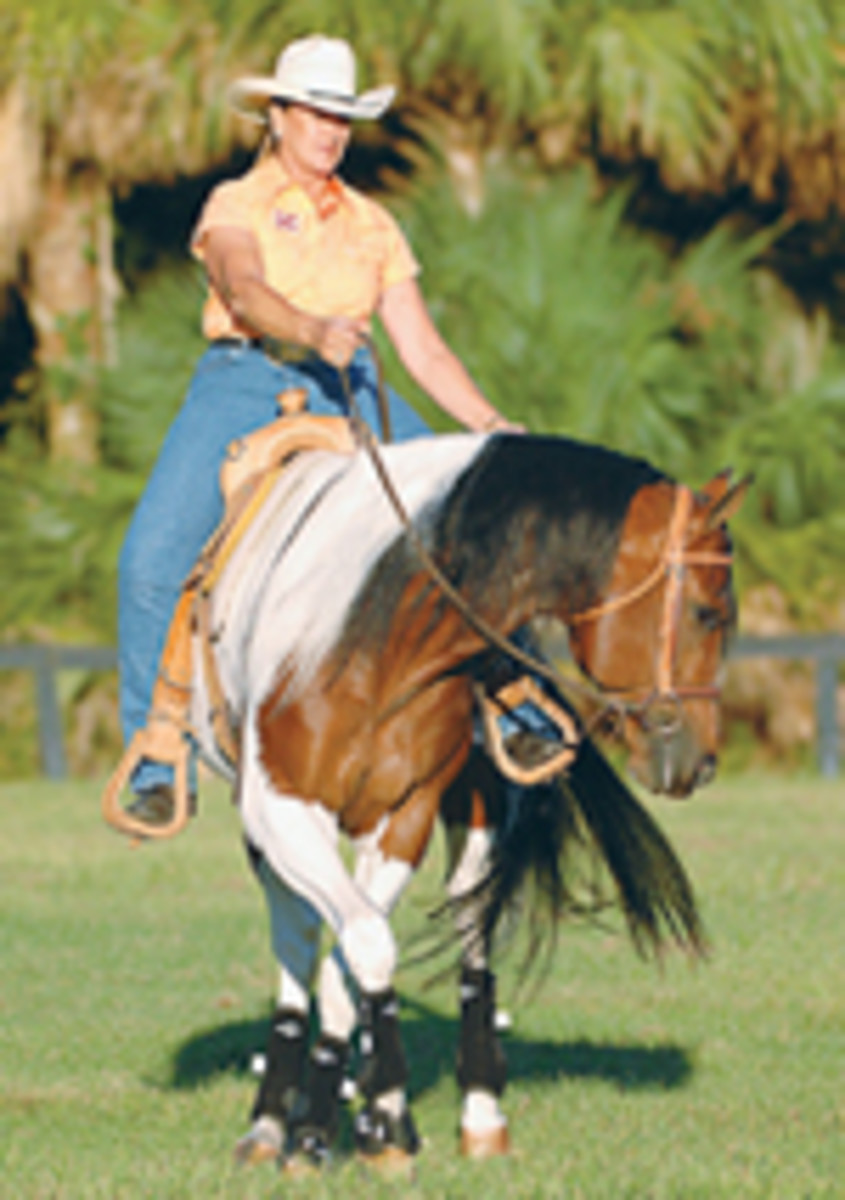
If you have trouble controlling your horse’s speed at any gait, bring him into a turn. Bending will automatically slow him down. At a walk, initiate the turn by using an upward motion with your outside rein only to shorten his stride. Think of your outside rein as your “brake.”
Practice this exercise in a figure-eight, and stop at each quarter of the circle so you end up using the outside rein in both directions. As a visual aid, you can set up cones at each quarter of the circle as reference points.
If you’re on the trail and your horse won’t stand still after you stop, dismount, and make him stand by controlling his head; here’s how.
After you dismount, your horse will likely turn his head to the left, toward you. If he doesn’t respect you, which he’s already demonstrating by not standing still, he might also lean on you or walk into you.
To counter this and regain control, stand on your horse’s left side in front of his shoulder, and move his head to the right, away from you, by pushing your hand against the side of his left jaw. Don’t pull on the reins. Any time he moves without a direct command from you, move him the opposite direction. By doing so, you’ll be back in charge – and in control.
Once your horse is responding to you and standing still with you on the ground, you can remount and start your exercise again by practicing walk-whoa transitions.
“I always want to give my horse his best ride, so if I’m controlling him correctly and putting him in balance, we’re both
going to work together in harmony and have a good time,” says Palm. “You’ll also feel safer and more confident if you’re comfortable.” TTR
Lynn Palm (www.lynnpalm.com) has shown more than 34 Quarter Horse world and reserve champions, competing in both English and Western disciplines. She’s won a record four American Quarter Horse Association Superhorse titles and was the first rider to win the prestigious Superhorse title twice on the same horse, Rugged Lark. In 2000, Palm was named Horsewoman of the Year by the Women’s Sports Foundation and the AQHA. In 2003, Equine Affaire gave her its Exceptional Equestrian Educator award.
Cynthia McFarland is a full-time freelance writer who writes regularly for a number of national horse publications. The author of four books, her most recent is The Foaling Primer (Storey Books). The lifelong horsewoman owns a small farm in north central Florida. She and her Paint Horse gelding, Ben, enjoy frequent trail-riding adventures.


