
A circle loses shape. A lead is blown. A flying change gets halfway done?or not at all. The common culprit in all these scenarios? Lack of body control, in particular the inability of the rider to control the horse’s shoulders. They’re a key trouble spot, especially for amateur riders. Left unsupervised, the inside shoulder drops on turns and circles, causing leaning, bulging, and a host of other ills.
If you can control your horse’s shoulders independent of the rest of his body, you can keep them from wreaking havoc with all your maneuvers. Add hip control, and you’ve got the foundation for beautiful circles, lope departs, lead changes, and more.
These skills are so important, in fact, that whenever a new rider joins my barn, I ask to see him or her isolate and move a horse’s shoulder, then isolate and move the hip. If the student can do this, we move on to other things.
But if not, learning how becomes our very first few lessons. That’s because body control is so fundamental to everything else. And when I’m starting a young horse, this work comes early on in his curriculum, as it sets the stage for everything to follow.
I’m going to share one of my favorite basic exercises to develop shoulder and hip control, broken down into its component parts. First you’ll practice moving your horse’s shoulder. Then you’ll practice moving his hip. Then you’ll combine these skills to hold your horse’s shoulder in place (no dropping or bulging) as you walk a circle, keeping his nose tipped to the outside and his hip moving to the outside.
I always teach it first at a walk, to allow riders and horses both to figure it out and develop muscle memory. Once you master it at a walk, you can ride it at a trot, as well.
It’s a bit tricky, even at the walk. It will challenge you, but if you’re patient and put in the time needed to master it, you’ll save yourself a lot more time later on?fixing things that didn’t need to go wrong.
I’ll show you how to ride the exercise in a circle to your right; simply reverse all cues to circle to your left.
First, Move The Shoulders
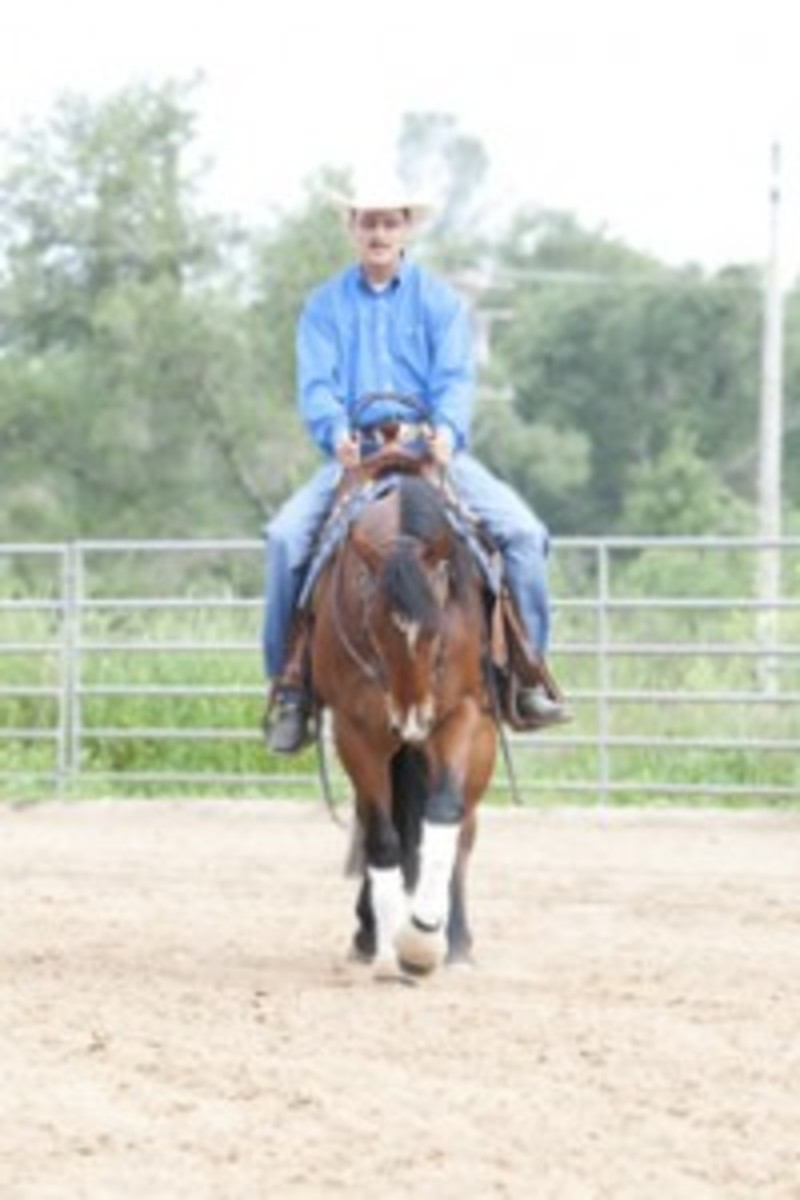
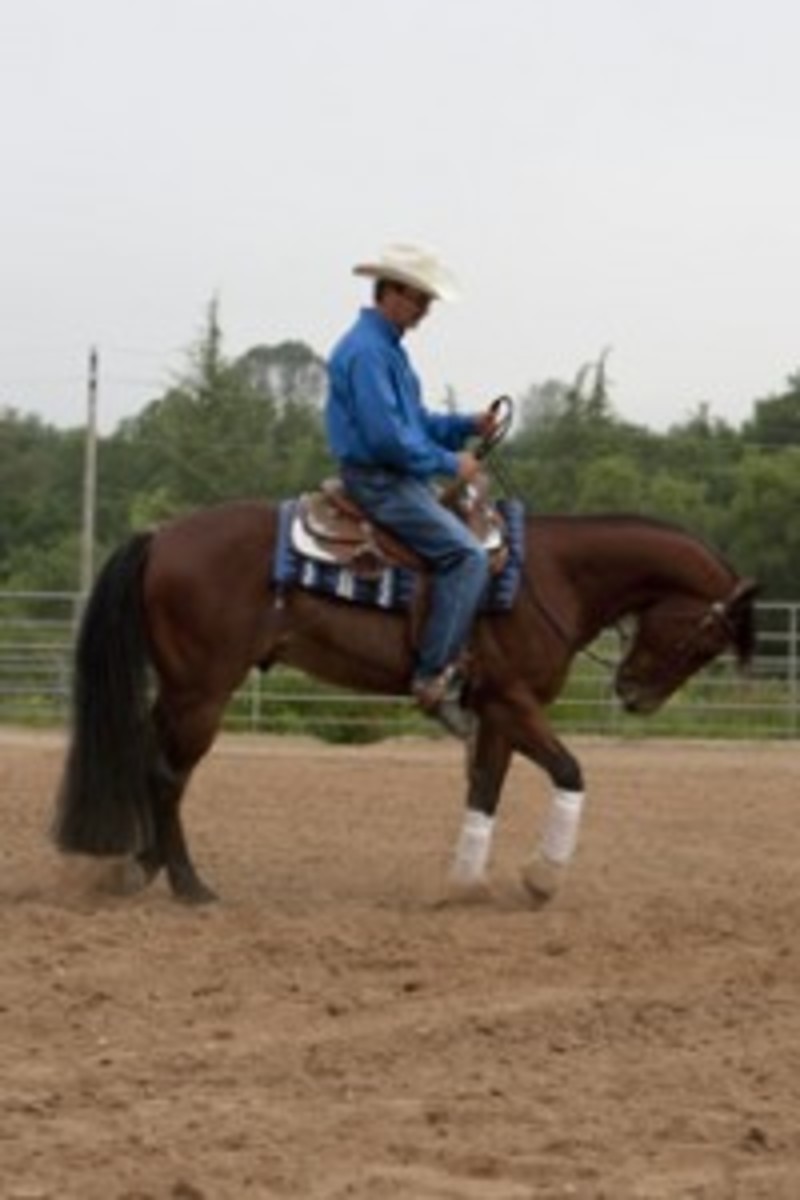
1. Warm your horse up, then ride him forward at a walk on a straight line, with an equal, soft feel on both reins. As you hold his mouth softly, bump or squeeze equally with both your legs to ask him to soften at the poll, as my horse is doing here.
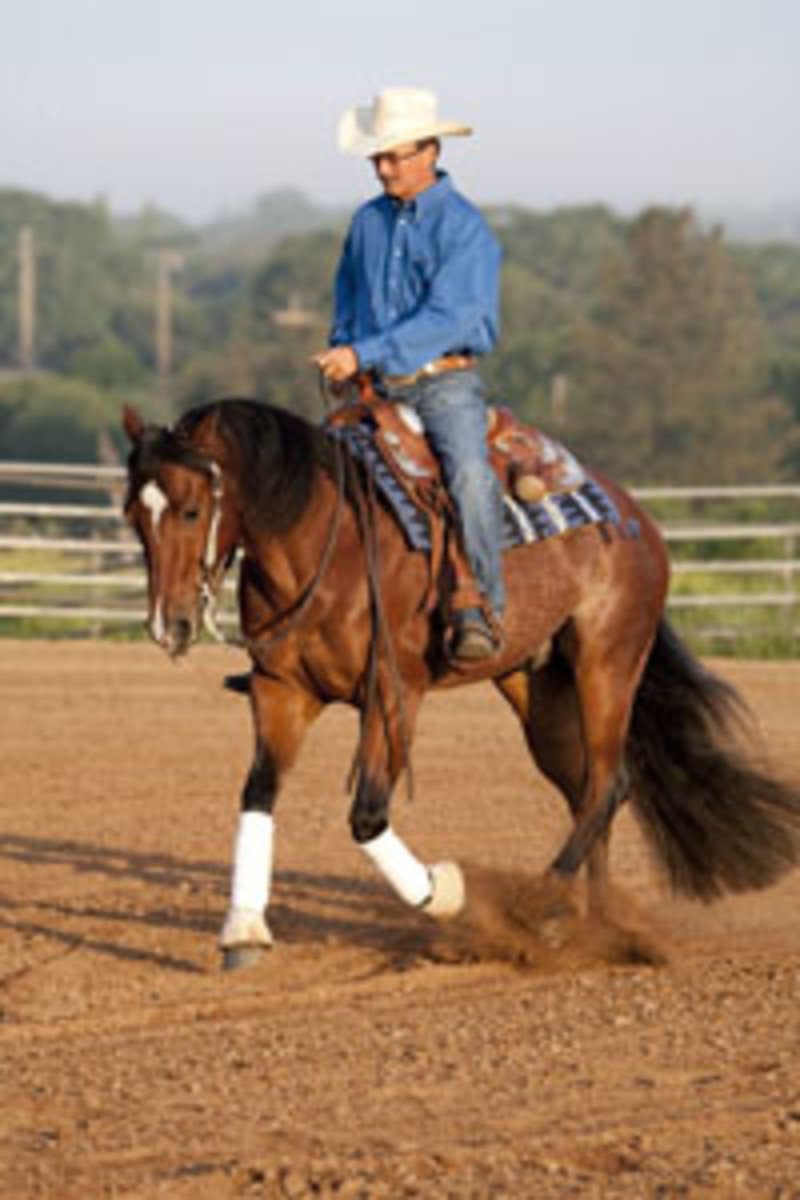
2. To begin the circle to your right, lift your left hand slightly to tip your horse’s head slightly to the left, bringing that same rein against his neck to ask his shoulders to move to the right, into the circle. At the same time, apply your left leg at or almost in front of the cinch; this also says “move your shoulders over.” If need be, use your right leg behind the cinch to keep your horse’s hind end from coming into the circle, as well. Your horse will be counter-bent on the circle.
3. My gelding is responding by crossing his outside front leg over his other front leg?this is what you want.
4. And here’s the result?note how my gelding’s shoulder is “up” and straight (no bulging or leaning) after taking that lateral step. Meanwhile, his hind legs are tracking relatively forward (not laterally) on the circle to the right.

To Get The Most Out of This Exercise
Your horse must already know how to move off your leg laterally and soften to bit pressure by flexing at the poll.
Do groundwork beforehand to get your horse loosened up, calmed down if need be, and tuned in to you.
For clearest communication, ride two- handed in a snaffle bit.
Work with a trainer if possible; it’ll speed your mastery. If you don’t have access to a trainer, ask a knowledgeable friend to be your eyes on the ground to help you recognize when you’re getting it right. Once you and your horse start to get it, it’ll become much easier.
Be patient. Invest time over multiple training sessions, always giving your horse a chance to figure out what you’re asking of him. Settle for one or two steps at first, then rest/praise; add steps gradually. Master each part of the exercise before moving on to the next.
Practice all parts of the exercise in both directions, giving extra attention to the more difficult direction (there will be one!).
Intersperse plenty of straight-line walking in between practice on this exercise so your horse doesn’t forget how to move forward balanced between your legs and reins. (Too much bending without the same amount of straight forward can cause your horse to become wet-noodle-ish.)
Next, Move the Hip
1. Again, start by riding your horse straight forward, bumping with both legs and holding gently with both reins to ask him to flex at the poll. here, my legs are also getting ready to apply cues to move my gelding’s hip to the outside of my to-the-right circle.
2. Lift your left hand slightly to tip your horse’s head to the outside, while applying your right leg well behind the cinch to ask him to move his hind end to his left?just outside the circle.
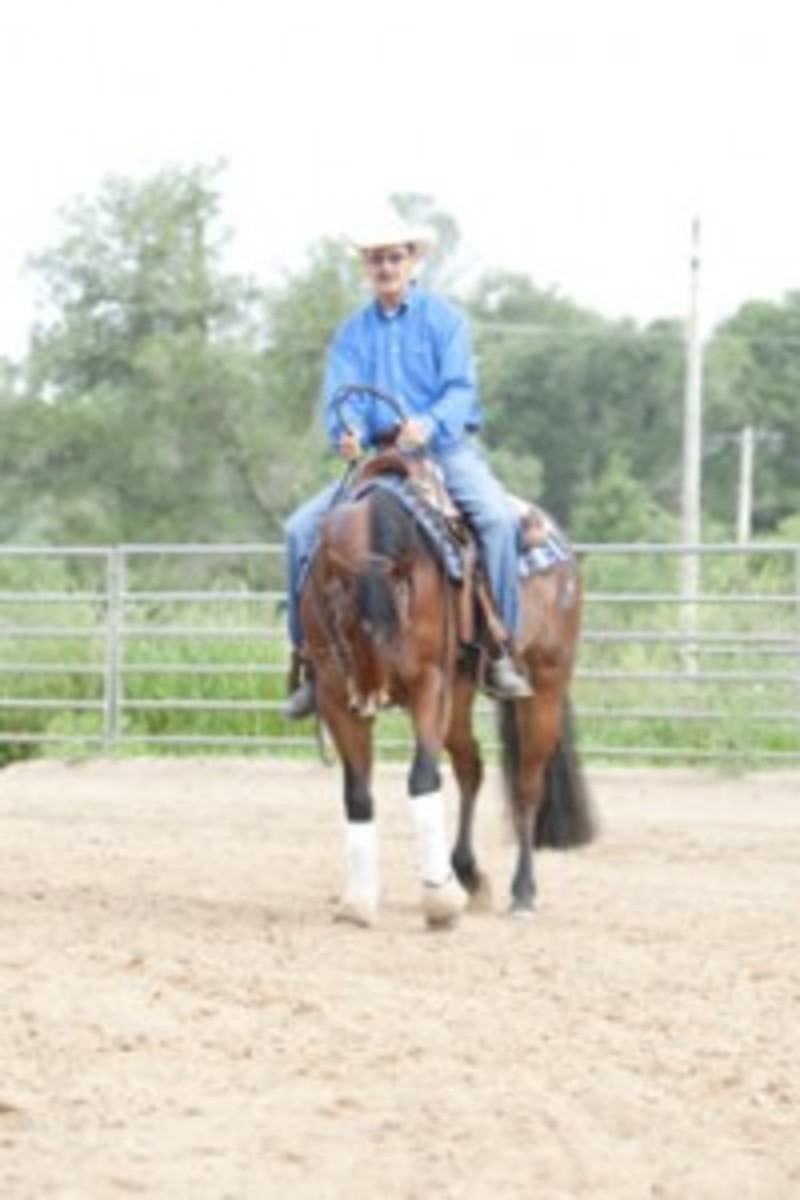
3. My gelding responds by crossing his inside hind leg over in front of his other hind leg. Use your left rein and left leg at the cinch as need be to keep the shoulders from coming over, as well (you’re refining your shoulder control!).
Then, Control Both on a Circle
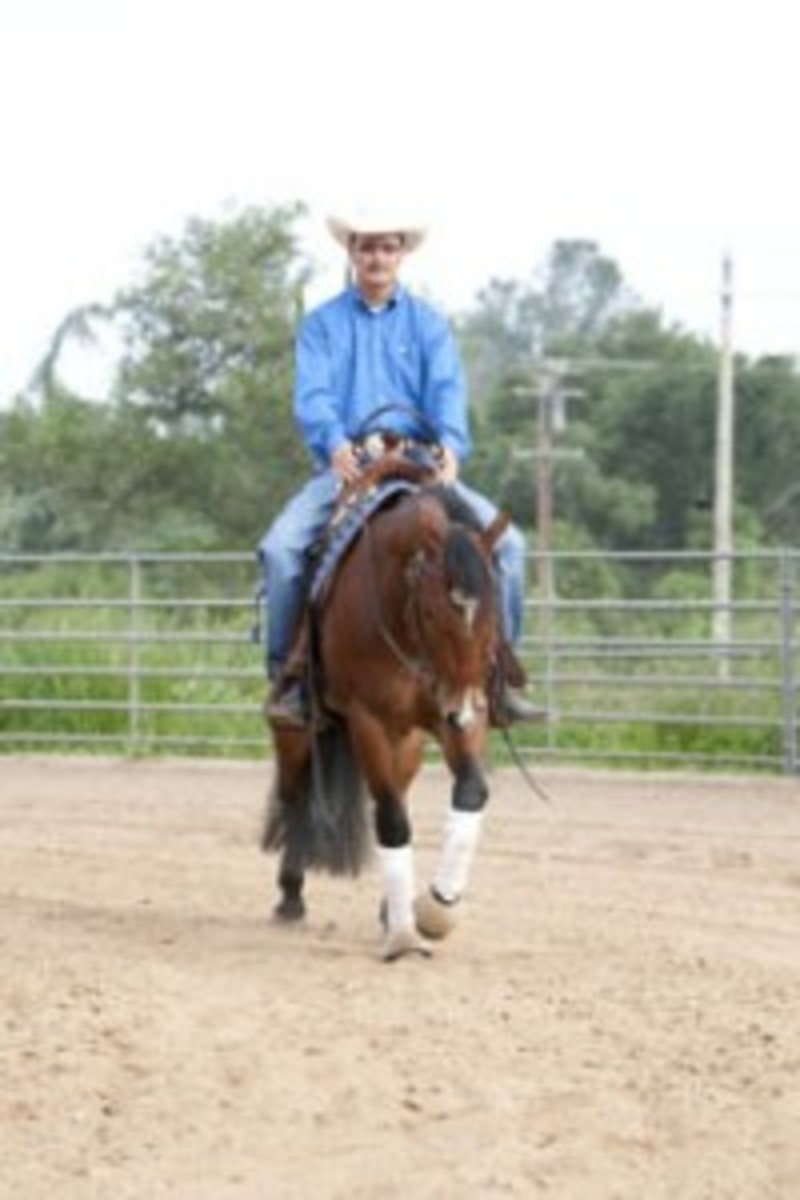
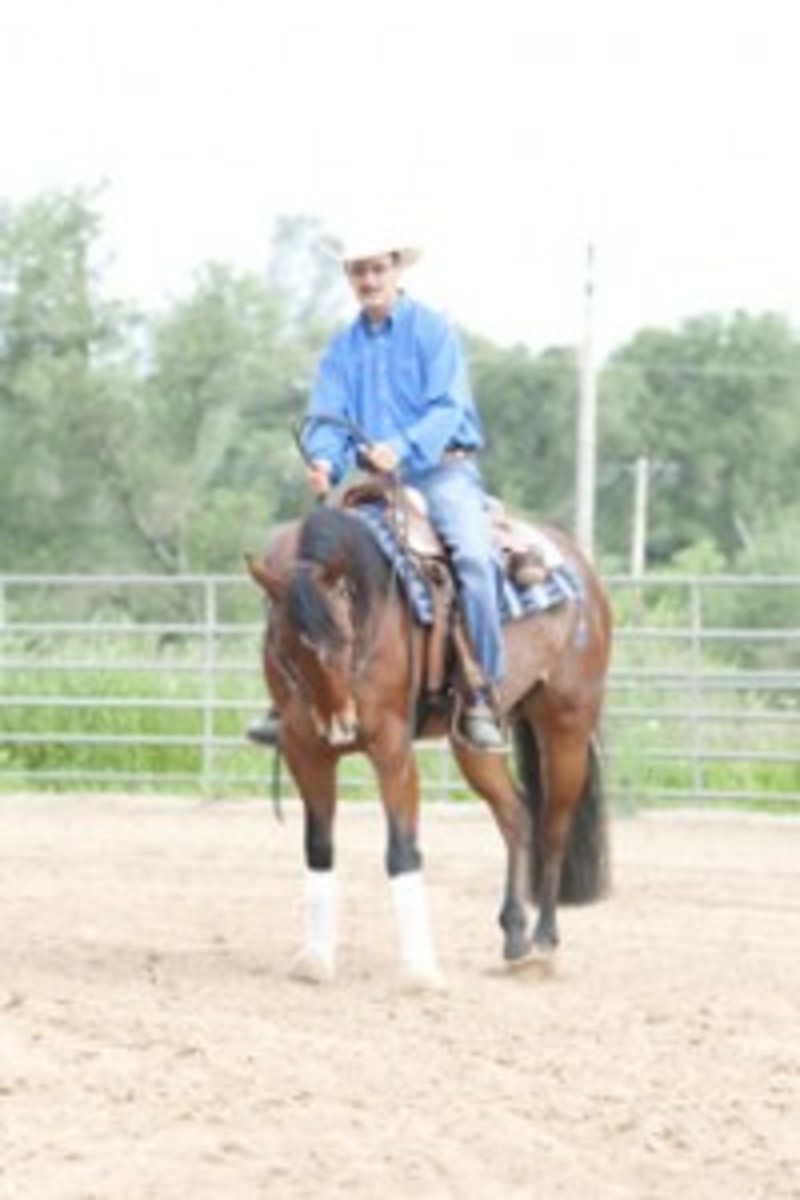
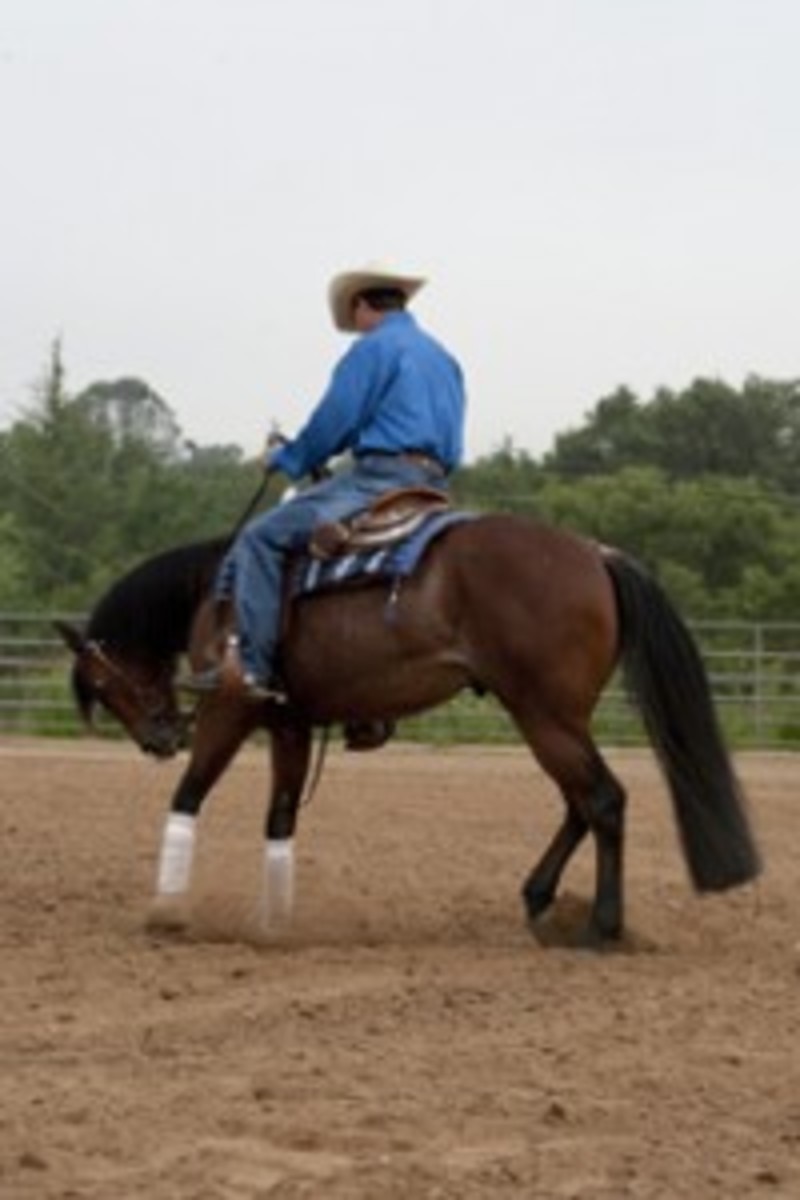
1. Walk your horse straight forward as before. Then apply cues to begin to bring his head and hind end slightly to the outside (left) of your to-the-right circle, while holding the shoulder up and straight or just slightly to the right. specifically: left rein up and lightly against the neck; left leg “holding” at the cinch; right leg pushing well in back of the cinch. Also weight your inside (right) seat bone slightly.

2. My gelding responds by stepping wide to the outside behind, while keeping his shoulders up and straight.

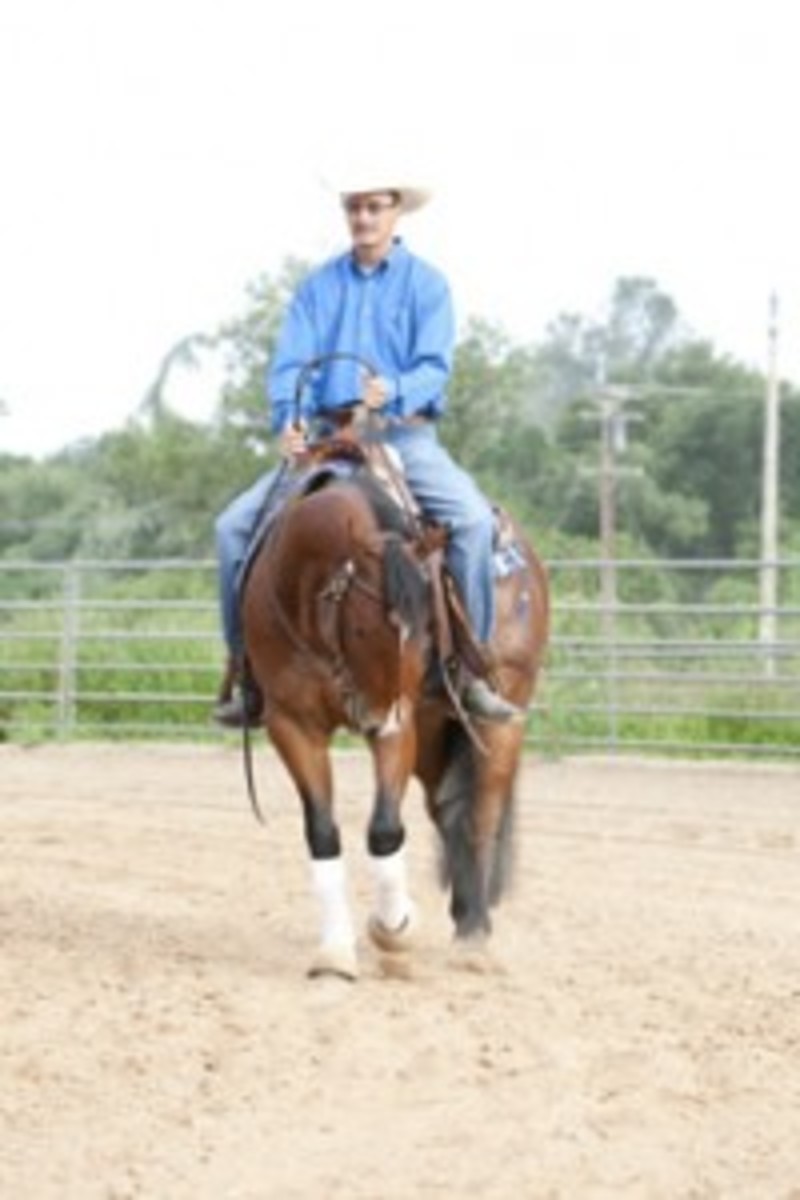
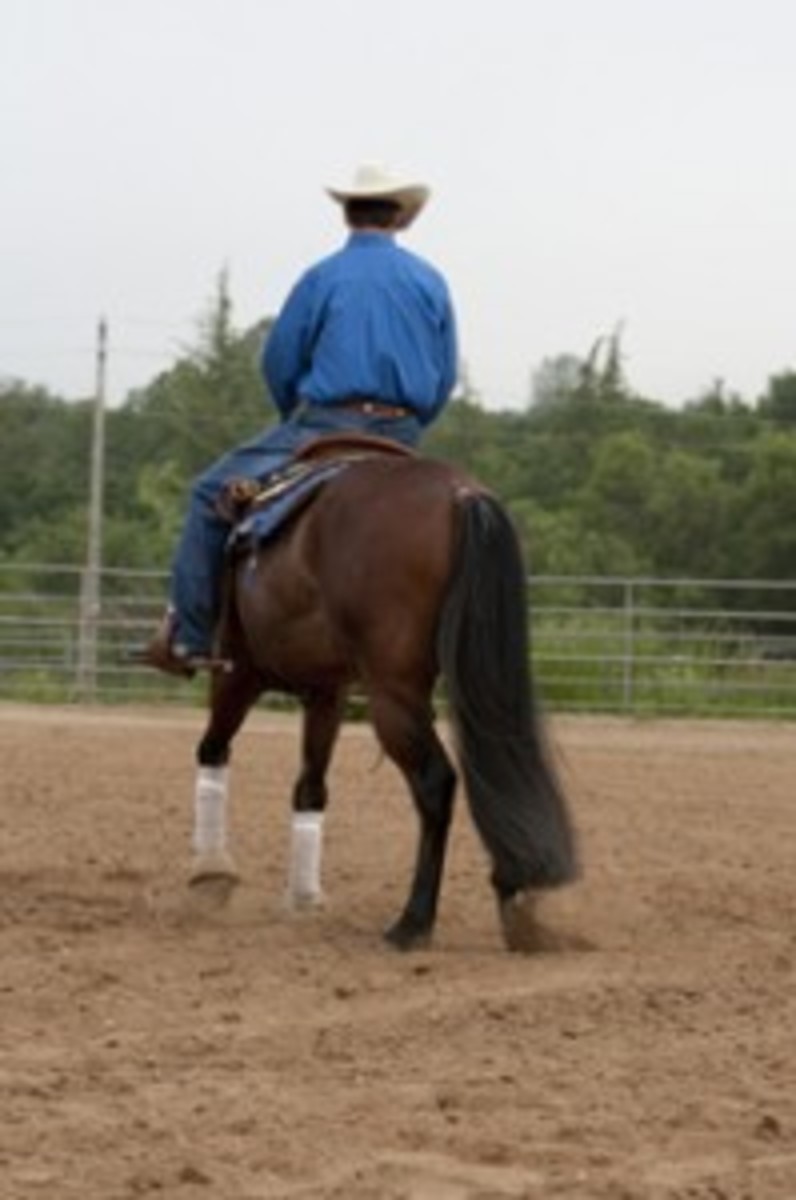
3. I keep my cues in place, and he continues to step wide behind while keeping his shoulders straight and his nose tipped to the outside. here’s a good look at how my weight is distributed in the saddle. keep adjusting your cues slightly as need be to keep building the circle.

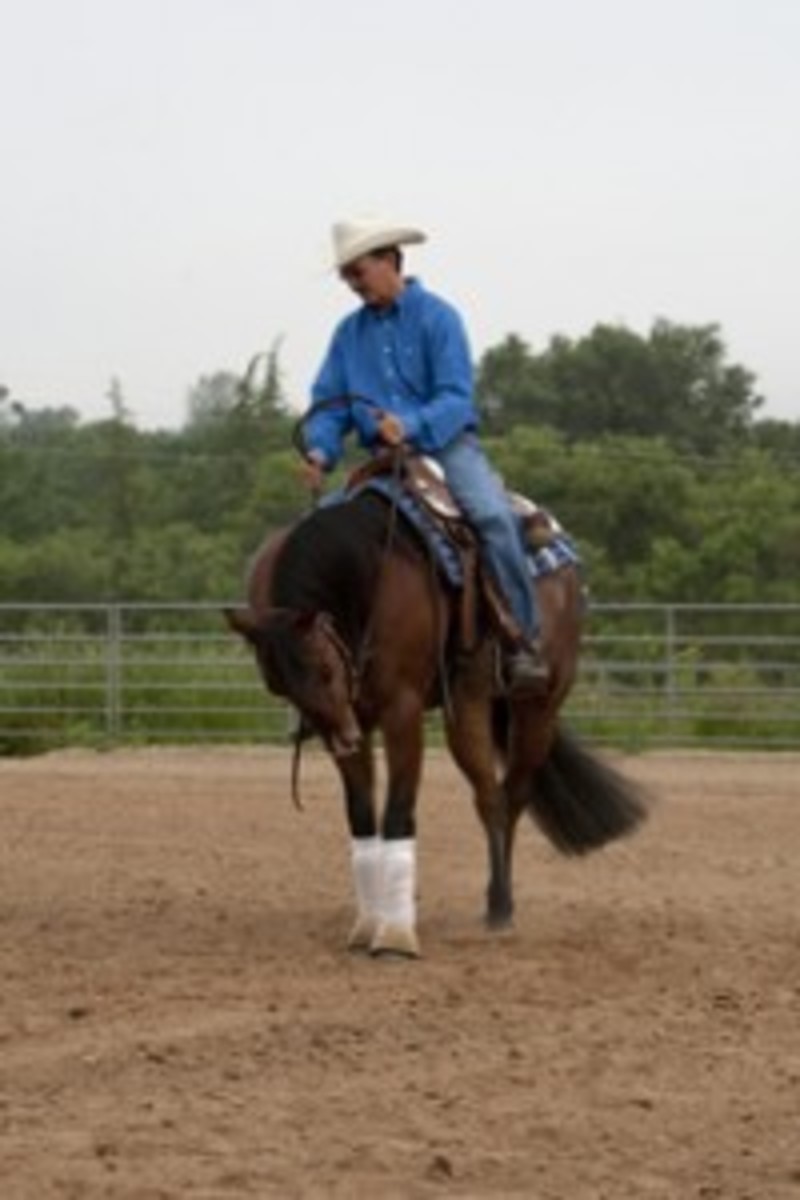
4. My gelding continues to bring his hip to the outside (note the crossover of his inside hind leg) as we move around the circle. Meanwhile, my reins?reinforced with my left leg as need be?keep my gelding’s shoulders up.
5. Note that though I keep my gelding’s poll flexed, my reins are still soft. Never pull steadily on your horse’s mouth; use a give-and-take that creates a flowing response. Also, whenever needed, give your horse time to figure things out. If you have to wait a moment to allow him to find the right answer, do so.

6. Continue around your circle, “feeling” your way and fine-tuning your cues as need be. Your eyes-on-the-ground person will help you know if your horse’s movement is correct.
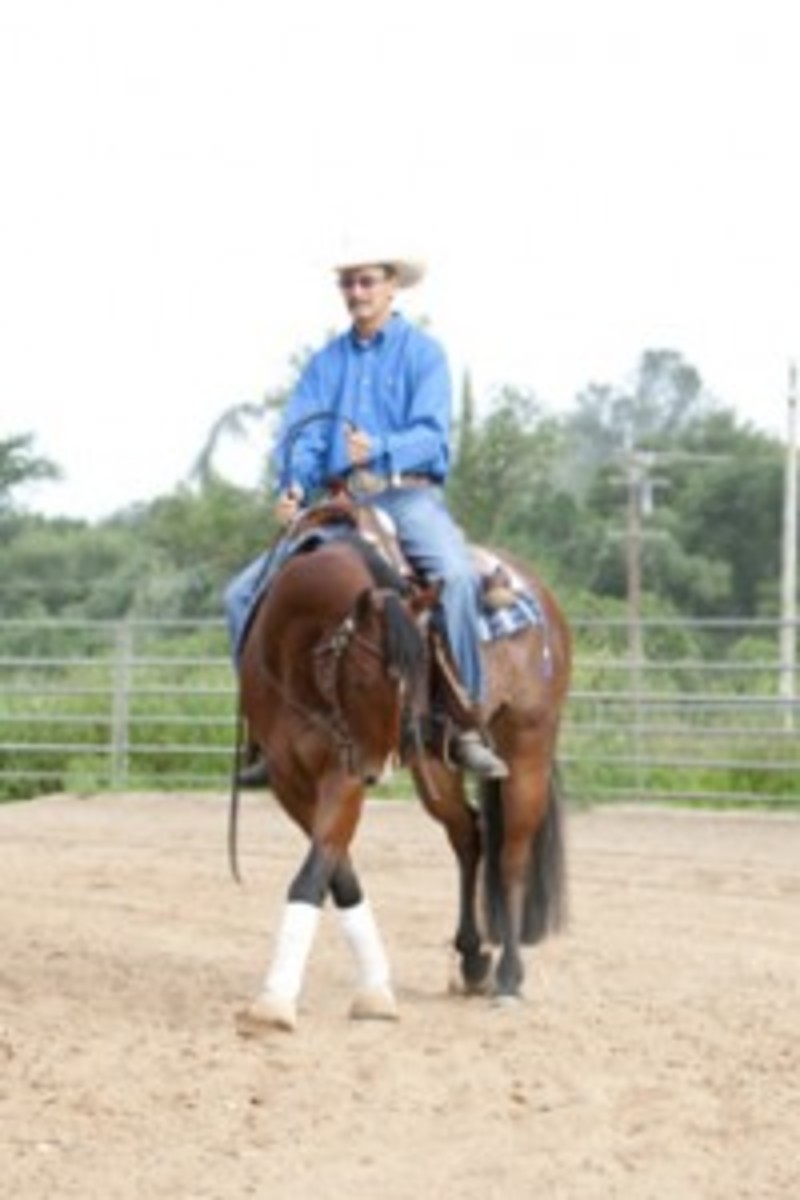
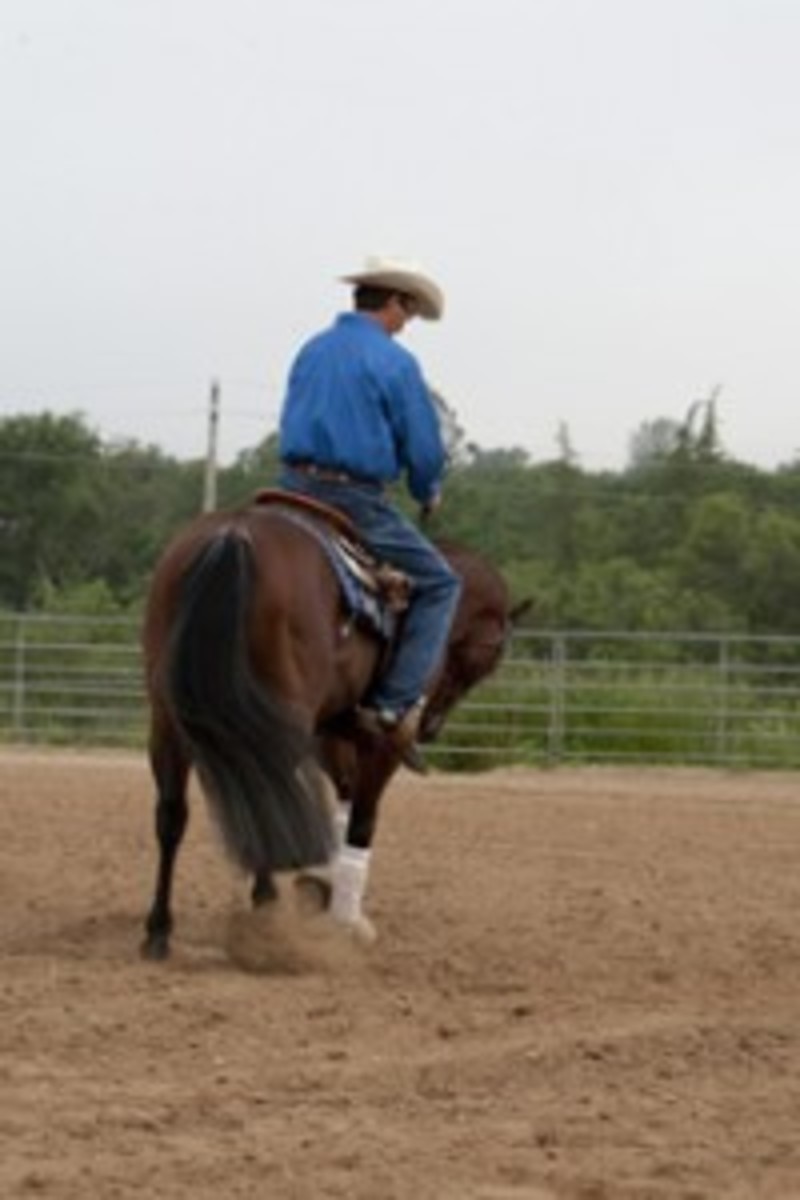
7. Note how my right seat bone is helping to push my gelding’s hips to the left. (Mastering this concept will pay dividends in your lead changes later on, because you must not lean in the direction of the change.)
8. This angle highlights the degree of difficulty of this maneuver?it’s not easy! But the body control you develop as you master this exercise is well worth the effort for both you and your horse.
9. Back to our starting point. remember always to work both ways, putting in extra effort whichever way is toughest.
Cueing Up Close
1. Your right leg well behind the cinch moves your horse’s hind end to the left, while your left rein tips his nose to the left as well.
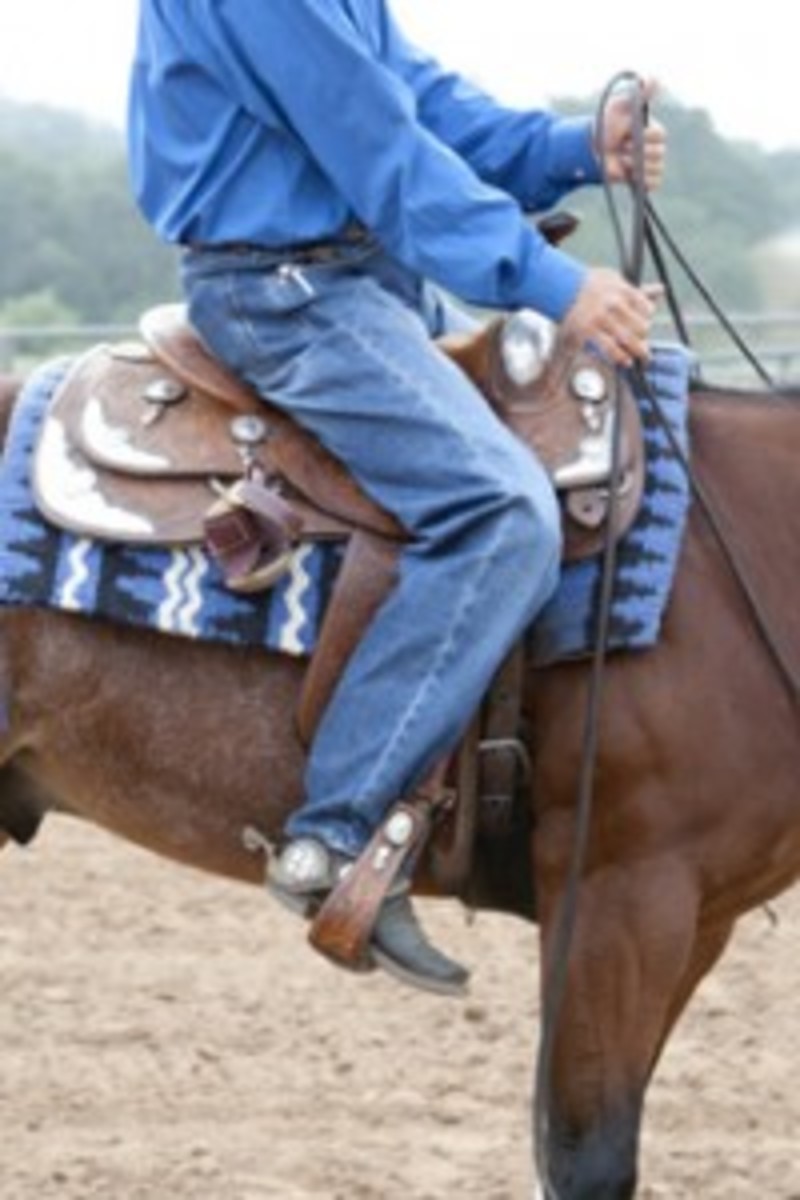
2. Your left leg at or almost in front of the cinch holds the shoulder up or moves it to the right as need be; your lifted left rein against the neck reinforces the leg cue.

Between Practice Sessions?
…do plenty of straight-ahead walking. It gives your horse a mental break from the demands of the shoulders/hips exercise, plus keeps him from becoming wet-noodle-ish from too much lateral and bending work without enough compensating work on a straight line.
A Gift for Instruction
Mike Boyle grew up in California’s San Joaquin Valley, where he competed in stock horse events and rode with master reinsman Les Vogt.
After graduating from Cal Poly, San Luis Obispo, with a degree in animal science, he attended the University of California, Davis. While there, he managed the Western riding program and coached UCD’s equestrian team.
With wife Barbi, he began training for the public in 1984. Mike’s re?sume? includes Western pleasure, reined cow horse, cutting, and all-around competition. Mike began specializing in reining in the late ’90s, and since then he’s coached many non-pros from rookie status to major-event wins.
In 2009, Mike won over $88,000 on Hick A Shine (the gelding in this article), including a finals berth in the NRHA Futurity. He’s been an open finalist in almost every major NRHA event, and is a leading trainer of non-pros. Mike served on the NRHA board of directors for eight years and was the 2007 president.
In 2010, he was inducted into the West Coast Reining Horse Association’s Hall of Fame.