A solid lead change has nothing to do with changing direction. It should be executed going forward on a straight line. But it’s human nature to change direction when you change leads—you’re loping to the left on the left lead, and when you want to change to the right lead, you steer your horse to the right. This mindset causes your horse to drop his shoulder into the lead change and lean in the new direction, which doesn’t make for a lasting, good lead change over a horse’s career.
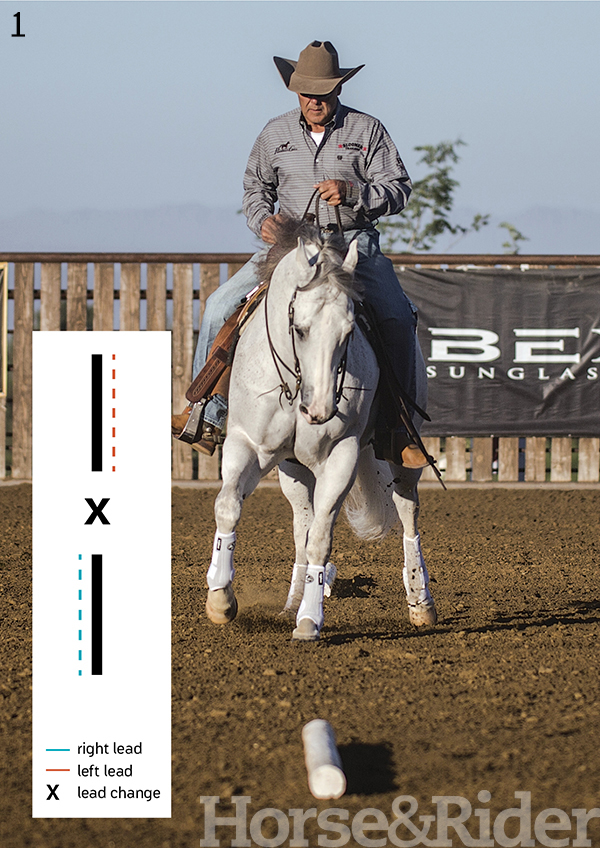
That’s why my best lead-change drill is completed on a straight line in the middle of the arena. There are two prerequisites for this exercise: 1. Your horse must already have a start on changing leads. Your horse will struggle with this lesson if he hasn’t worked on flying lead changes in the past. 2. You’ll require a good amount of body control, especially moving your horse’s shoulders and hips for a two-track.
The Setup
Use two trail-type poles to set the path. You can also use garden timbers or other poles, just be sure that they’re solid, safe, and about 12 feet long.
Set the poles in the middle of your arena in a straight line with 35 to 50 feet between the poles’ ends. The distance between the poles depends on your horse’s comfort level and the time he requires to get set for a lead change. A more advanced horse with a solid lead change can work with less space between the poles. A novice changer will require more space. It’s important to set the poles away from the fence. Placing them parallel to the fence only offers another crutch for straightness that you’ll have to get used to not using eventually.
The Drill
In this article, I’ll describe the exercise going from the right lead to the left lead. Reverse my instructions for a left-to-right change. Be sure to work changing from both sides equally so your horse doesn’t excel at a right-to-left change and need more help in the left-to-right change, for example.
To get the feel for the timing of a change between the poles, first work at a jog. Position your horse’s body as you would to lope on the right lead (nose and hip tipped to the right, left-leg pressure) with the pole on your left side. As you get to the spot between the poles, “clear” your horse’s right side by pushing your horse’s body to the right for a two-track in that direction. Your horse would be set up for a change to the left lead if he were loping. Jog forward and keep the second pole on your left side, with your horse’s nose and hip now tipped to the left and right-leg pressure on. Complete this at the jog a few times to get the feel of the timing, then progress to the lope.
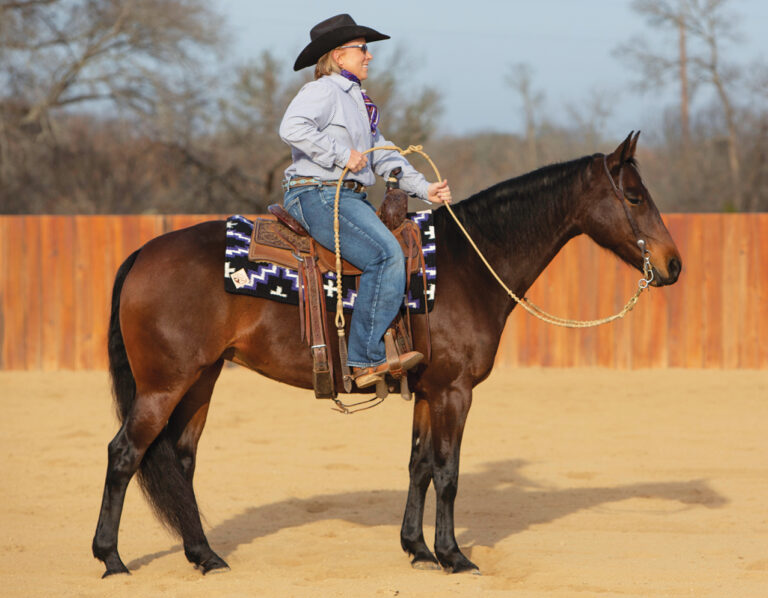
As you can see in Photo 1, I’ve loped down the left side of the pole on the right lead. As my horse approaches the space between the two poles, I’m “clearing” his right side by picking up his shoulders, ribs, and hips and moving them to the right. This results in a couple two-track steps to the right. My horse is on a straight path and ready to change leads.
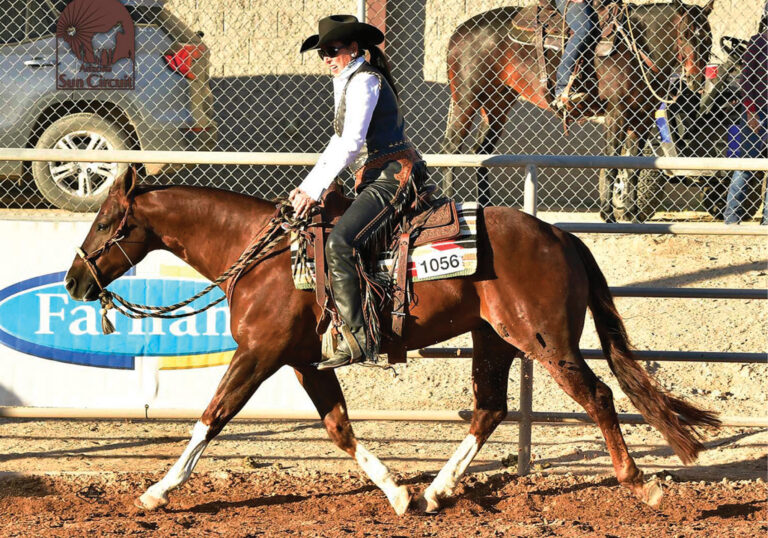
In Photo 2 I’m changing from the right lead to the left. You can see that my horse’s nose and hip are tipped to the left and my right leg puts pressure to cue for the lead change. Notice that my body is facing forward rather than toward the lead change. This helps my horse keep his body straight and his shoulders square instead of diving into the lead change.
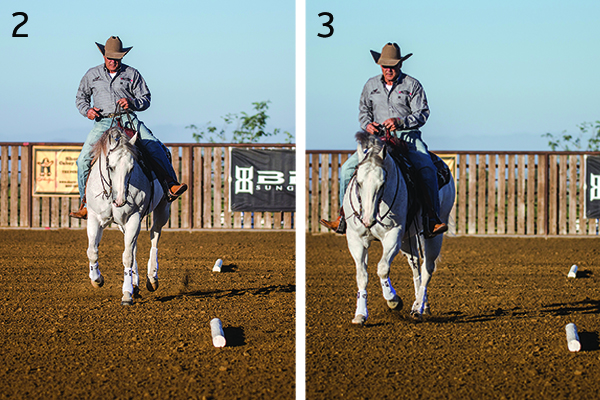
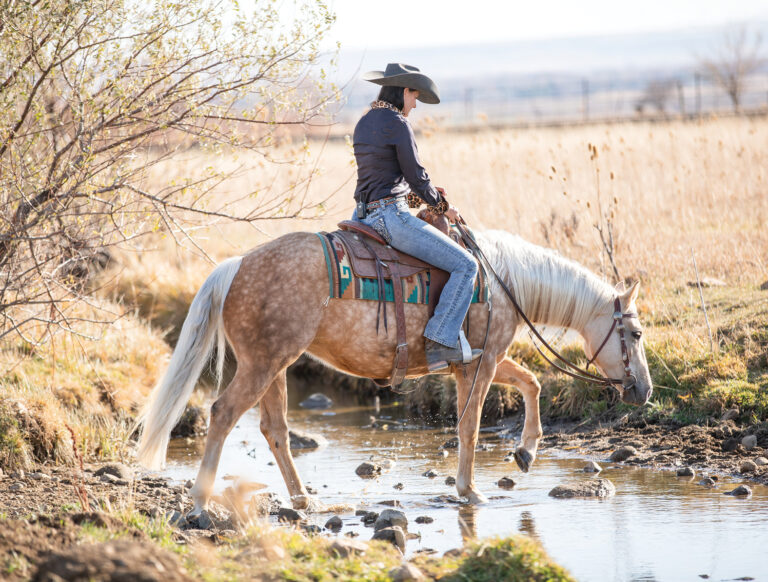
Finally, in Photo 3 I lope my horse straight forward on the left lead. From here, I can lope a long straight line and then circle back to my poles to try the exercise again.
Harder Than It Looks
This exercise sounds very simple—lope a straight line and change leads. But I see riders struggle with it all the time in lessons and at clinics. If your horse drops his shoulder into the lead change or tries to change directions in the change, he’ll either hit the pole or land on the opposite side of where he should be. The poles give you a visual for the straightness that’s necessary for a solid lead change that’ll last instead of your horse developing bad habits that turn into lead-change problems.
A multiple AQHA world champion, Avila has also won three NRCHA Snaffle Bit Futurities, the NRHA Futurity, and two World’s Greatest Horseman titles. He received the AQHA Professional Horseman of the Year honor. His Avila Training Stables, Inc., is in Temecula, California. Learn more at bobavila.net.

