To have success with this obstacle, you must be able to subtly guide your horse in a tight circle over multiple poles with cadence and rhythm from start to finish. Before attempting this, or any trail obstacle, at home I recommend taking time to learn your rulebook so you know the exact distances between each pole. If you’re not familiar with the distances between each pole, it’s going to be much harder to understand how many strides you have between each pole.
[READ: WORK THE TRAIL BOX]
After you’ve taken time to read your rulebook, set up four poles and start on foot walking through the obstacle—a 3-foot stride on foot is the equivalent of an average Western horse’s trot stride. This helps you get familiar with how many steps your horse will take between each pole.
Make sure to set up your trail course with cones!
Products we feature have been selected by our editorial staff. If you make a purchase using the links included, we may earn a commission. For more information click here.
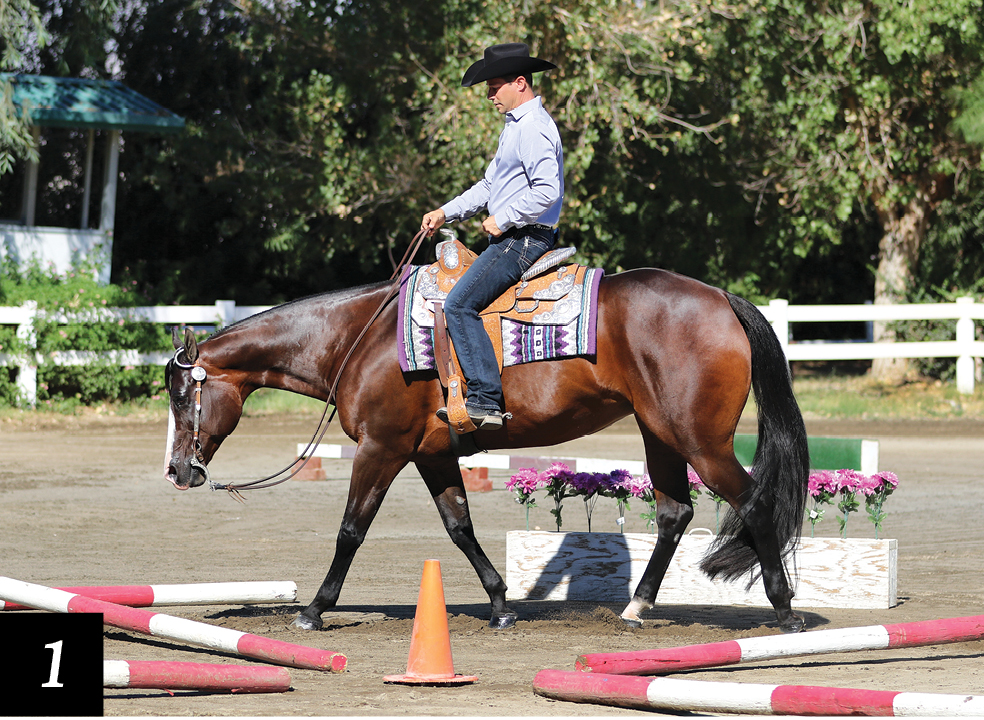
One
Once you’ve gone through the obstacle on foot, start by taking your horse through the pinwheel at a trot. Pay attention to how your horse is landing between each pole. Typically in a pinwheel you want to put three strides between the poles at the lope; at a trot, count six steps in between. Trotting through also gets you in the habit of counting every stride, which helps you develop a better eye for distances and keep a steady pace as you ride through an obstacle.
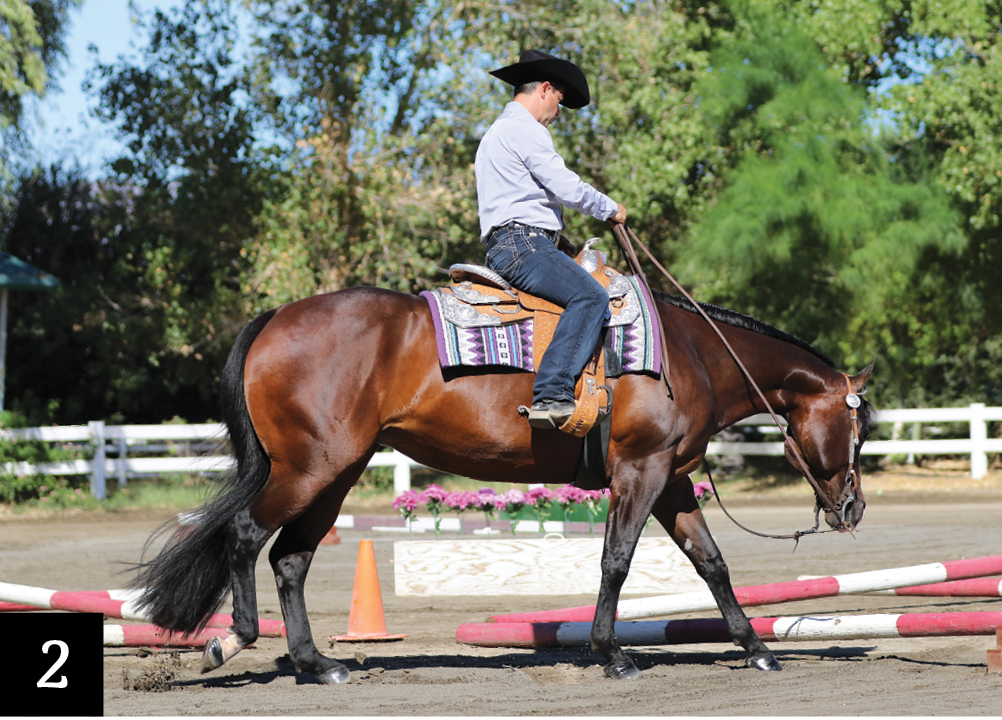
Two
Before you even get to the first pole you should be counting your strides to help gauge your approach to the pole so your horse doesn’t hit the base of it or land too far away from the pole. Ideally his front foot should be within a foot of the pole before going over it. If you feel that you’re not going to approach the pole correctly, stop before going over and back your horse up a few feet. Gather yourself and lope off again. Doing this keeps him from splitting the pole—where the pole ends up between his front or back legs—and also helps him learn how to rate himself. If your distances are off when you hit the first pole, you’ll have a hard time recovering throughout the entire obstacle.
Three
When you trot through the obstacle to find your strides, make note of what color poles you’re going over to help with guiding. It’s always a good rule of thumb to start at the three-quarter mark and adjust where you land
on the pole depending on how short or long your horse’s lope stride is. The stripes on poles can also help you learn how to guide and gauge distances. However, you shouldn’t only rely on a pole’s markings because they’ll vary from show to show. Use the stripes on the poles as an aid in finding your distances.
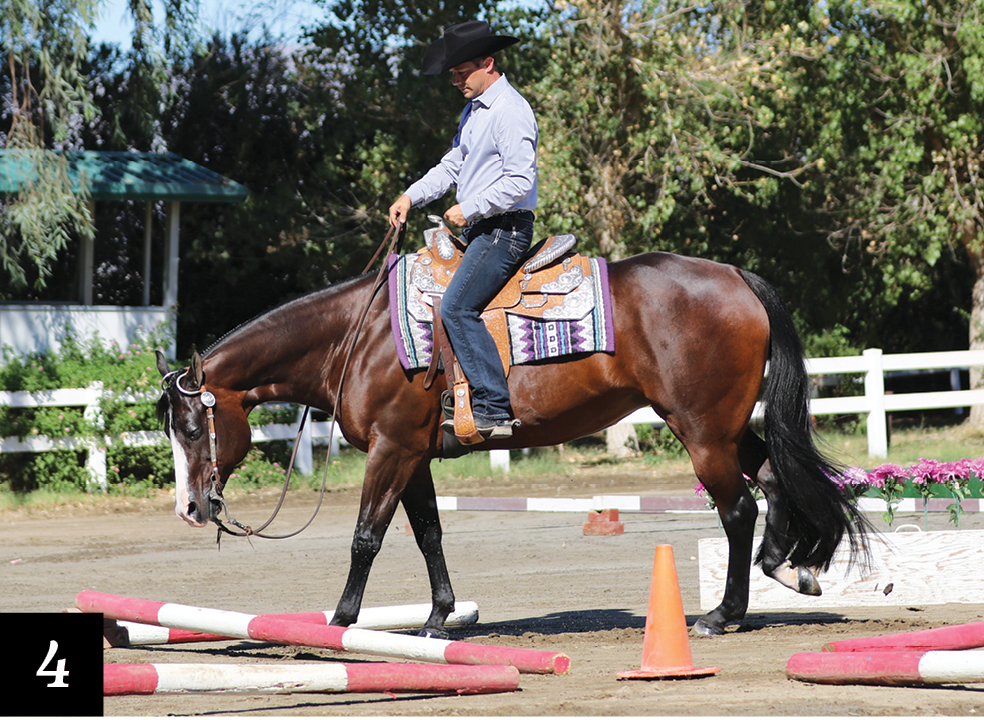
Four
As you’re going through your pinwheel, let the poles come to you. If you start pushing your horse toward the pole, you’re going to lose the rhythm you established earlier and cause him to rush. With a tight obstacle like this, it’s hard to recover once you’re rushing. If you feel you’re rushing and can’t keep a rhythm, stop where you are, exit the obstacle, and try again. It’s better to get off the obstacle and start over than teach him it’s OK to approach the pole wrong. If you’re still have trouble with your distances, remove one or two poles from the mix while continuing to lope the same size circle. Gradually bring the poles back as you gain more confidence.
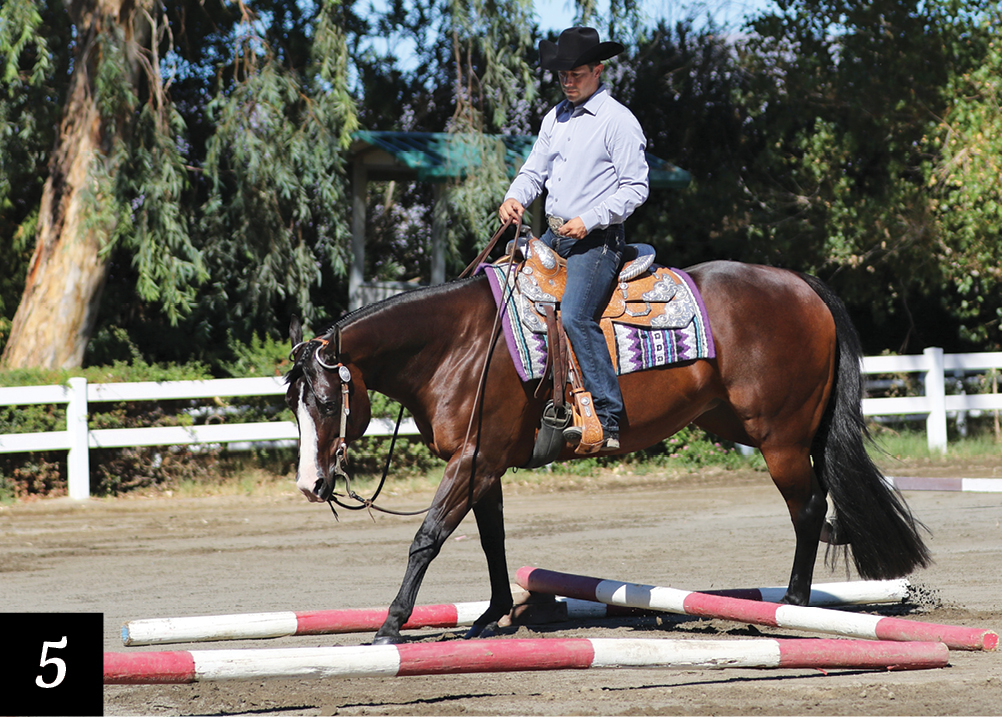
Five
When starting out, it’s easy to want to square off each turn, but this obstacle is nothing more than a small circle. Instead of oversteering your horse trying to make harsh turns after every pole, sit square in the saddle, look ahead at the next pole you’re going toward, and softly guide him toward the next pole. If you look down at the ground or start to lean into your circle your horse is going to follow you to stay balanced, leaving you in the wrong spot.
[READ: ALL-AROUND HORSE SHOW PREP]
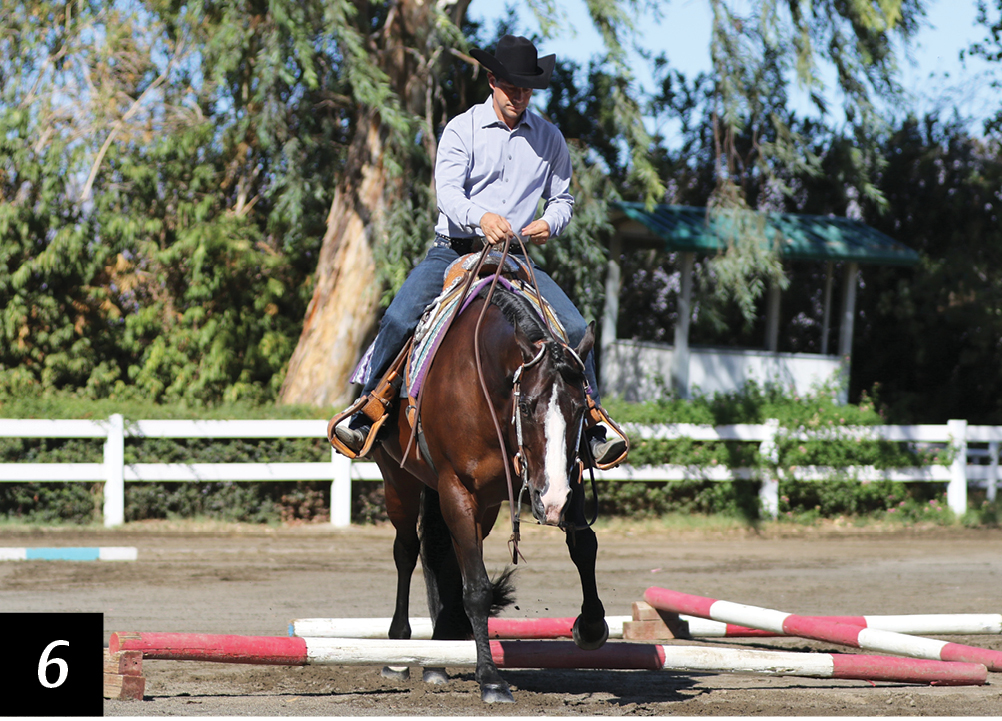
Six
As you get more comfortable doing this obstacle, you can up the challenge by doing two or three circles at a time before exiting. An added bonus to doing this is that your horse won’t anticipate the exit as easily. However, when it comes time to exit, don’t stop riding your horse, because the next obstacle in your pattern will come up fast. Look ahead, so you know where you want to go, stay centered in the saddle, keep counting your strides, and make sure your horse stays rounded and between your legs.