Before you begin, it’s important to note that this drill is designed for horses and riders who are already comfortable performing flying lead changes, and can do several lead changes in a row. If you’re not comfortable doing multiple flying lead changes in a row, work up to that skill set before attempting to do this Western riding drill.
To begin, Set up five cones in a row on the long side of your arena. AQHA’s rulebook states that cones should be between 30 and 50 feet apart. If your horse is newer to Western riding, I recommend keeping those distances closer to 50 feet, so you have more room to steer him through the cones. Then take 10 poles, and place one on each side of each cone.
Going down the line in Western riding is probably one of the most intimidating parts of a Western riding pattern. The changes come up a lot quicker than they do when you’re going through the center of the arena, and it’s where a lot of people run into trouble. This is why I like to use poles to help my newer riders learn pattern placement going through the line.
The poles are here to help you stay straight, as the more you move laterally, the more steering is required to get through the cones, and the harder it’ll become to change leads in the middle of each set of cones.
One
Before you attempt to go through the cones at a lope, trot your horse through them a few times so you can learn your path and your approach. Your approach to your line is just as important as the changes; if you dive around the cone and come in too tight, those changes are going to come very fast. But if you go too wide, you’re going to have a lot of lateral movement, which will force you to have to steer more than you need to. Ground poles work as a guide from start to finish to help keep you on your path.
When you’re trotting your horse through the poles, check in with your horse to see where his body is. He should be soft when you go to your hand and shouldn’t brace against your leg when you ask him to move from one side of the cones to the other. If you can’t trot through the cones, you’re not going to be able to lope through them.

Two
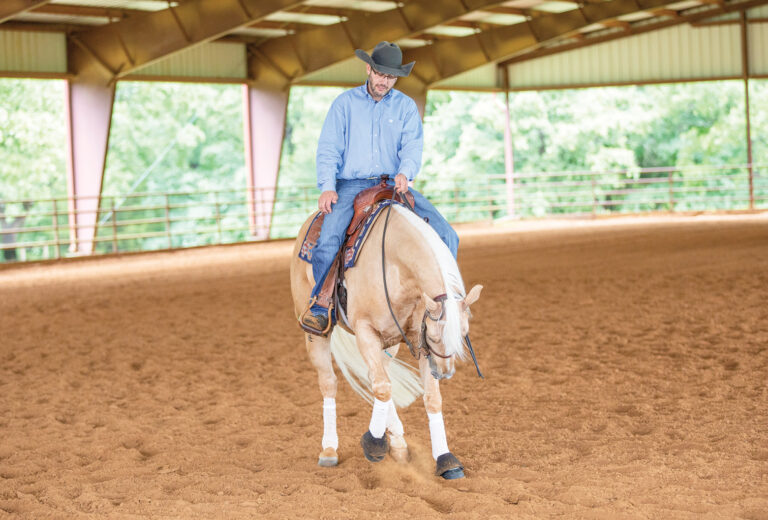
As I go down the line, I try to think of these changes as a series of leg yields. I don’t want my horse to go sideways through the cones; I want her to keep her forward motion with slight lateral motion. Because I’m familiar with this drill, and am used to staying close to my cones, the poles aren’t bothering me, but it’s very common to feel constricted the first couple of times you go through the cones with the poles.
Read More: Pattern Placement in Western Riding
You can decide how close you want the poles to the cones based on your experience level. If you’re new to this event, you might start with the poles a little farther away from the cones, and then push them in as you improve. I tried to stay in a happy medium here, where the poles aren’t extremely close to the cones.

Three
Once I make it through the cones, I loop around and go back down the line again, using my poles to help set me up for a good approach. I continue to go up and down on the line until my horse learns to be centered, square, and has good body position throughout all of the cones.
As I’m going down the line, I’m not just weaving through the cones. I’m holding my horse’s body with my legs to help support her and keep forward motion. My rhythm and cadence from start to finish should be the same, and my horse should have a nice long stride as she changes leads. Counting my strides helps me stay in a steady cadence and also helps me know when to change leads, so I’m changing in between each set of cones.

Four
Pattern placement is a huge part of this event, which is why I recommend you practice your pattern often. People are often afraid to go down the line too many times because their horse begins to anticipate the change, but I like to take it a step further. If my horse wants to anticipate that flying lead change, I keep going down the line until they no longer want to change. I might go 20 minutes without changing leads, or I might just change one or two leads down the line. Don’t be afraid to practice your pattern often and change up how often you change leads.
Learn More: Horse&Rider OnDemand

Five
Your poles are to work as a guide and help you find your path. Once you’re comfortable going through the cones with the poles on each side of the cone, you’re ready to test your skills on a regular Western riding pattern. Imagine the poles being on both sides of your cones to help you stay close to your cones and keep straightness in your pattern.
Read More: Fix Lead Change Anticipation


