
Find out why ranch trail is quickly becoming one of the most talked about events in the country and learn how you can master common obstacles you might see in a class at home.
In the short time it’s been around, ranch trail has exploded in popularity, becoming one of the most popular classes at shows. And it’s no surprise why. Ranch trail is a thrilling showcase of horsemanship, versatility, and teamwork between horse and rider that tests a horse’s ability to navigate a pattern of obstacles that you’ll typically find during everyday ranch work, while being judged on their correctness, efficiency, and pattern accuracy.
However, if you plan on competing in ranch trail at your next horse show, knowing what might await you can help you prepare ahead of time. In this article we’re going to cover the ins and outs of ranch trail. We’ll then go over some of the obstacles you might face while showing in a ranch trail class.
Mastering the Obstacles
Ranch trail is designed to assess a horse’s ability to handle the situations encountered during typical ranch work. The primary judging criteria include the correctness, efficiency, and pattern accuracy with which the obstacles are negotiated. Moreover, the attitude and mannerisms exhibited by the horse are also closely evaluated. The emphasis of judging lies in identifying well-broke, responsive, and well-mannered horses capable of navigating the course accurately and confidently.
A ranch trail course will feature anywhere from six to nine obstacles. There will be mandatory obstacles and maneuvers, including walk-, trot-, or lope-over logs, a gate, a bridge, back-through obstacles, sidepassing, and a drag. There are also several optional obstacles to choose from. These include a small jump, mailbox, slicker, crossing ditches or riding up embankments, throwing a rope at a dummy steer head, and ground tying.
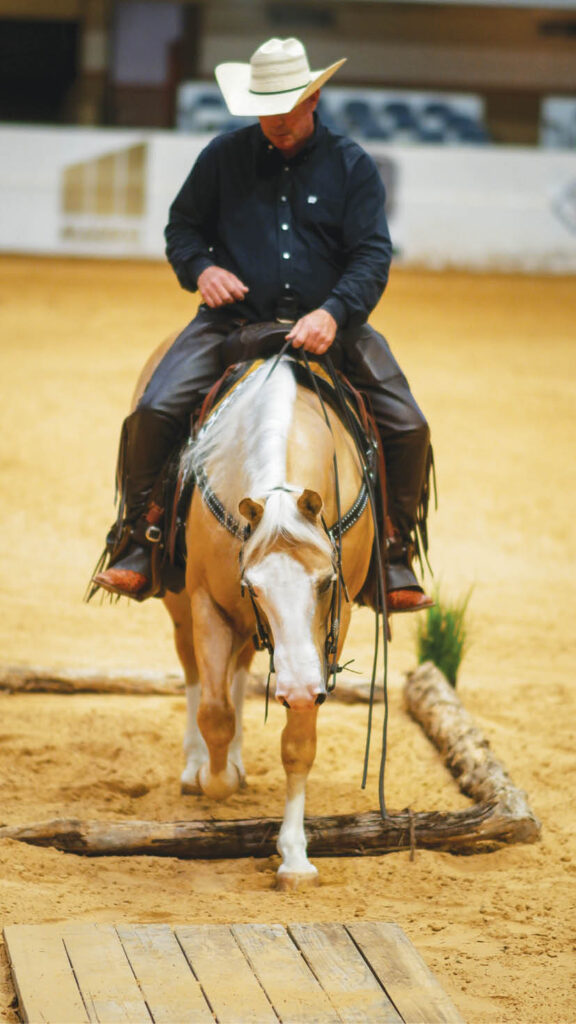
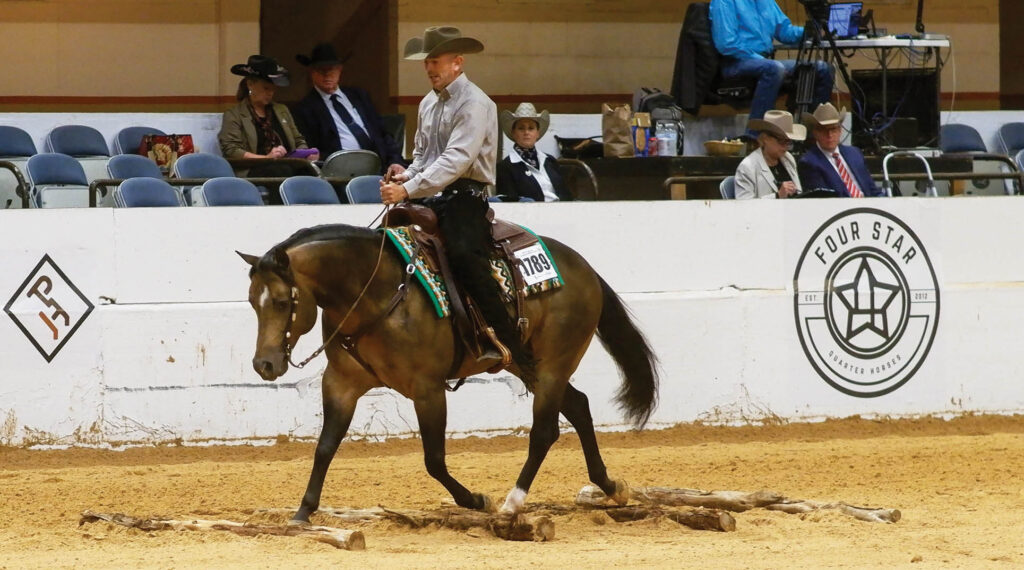
Walk-, Trot-, and Lope-Over Logs:
All the logs you’re required to go over in this class will be natural logs—you won’t see any perfectly placed poles in this class! You’ll be asked to walk, trot, or lope over said logs in straight, curved, zigzagged, or raised formations. For each of these obstacles, there can be no more than five logs at once. And they can be no more than 10 inches high. Walk-over logs must be spaced between 26 and 30 inches apart. Trot-over logs must be spaced between 36 and 42 inches apart. Lope-over logs must be spaced between 6 and 7 feet apart.
Tips for mastering this obstacle: You can’t run before you can walk. If your horse is struggling with going over walk logs, don’t try to increase the difficulty by trotting or loping. Instead, work on getting over one log. Once your horse can get over that with ease, add a second log and try again. Continue building from that. Remember to adjust the distances, though, so your horse is prepared for shorter distances and longer distances.
Walking this obstacle on foot can also help you start to learn distances and the path your horse needs to take to be able to clear the logs without hitting or ticking them in the process.
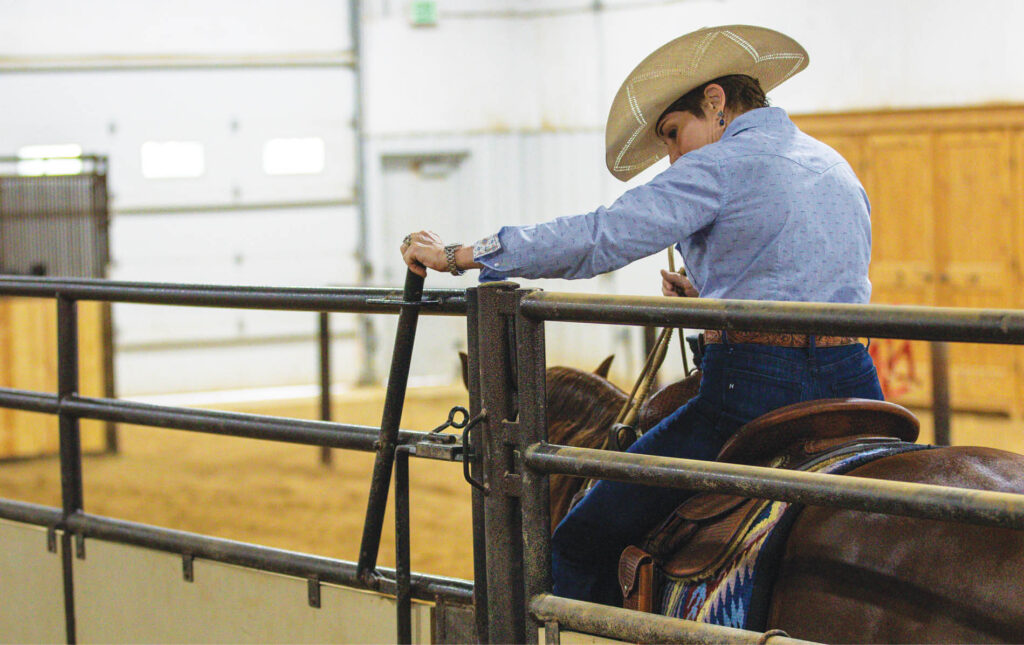
Gate:
The next mandatory obstacle you’ll come across in ranch trail is the gate. In this class you need to be able to safely open, pass through, and close a hinged, swinging gate. The gate used in this class must not endanger horse or rider and requires minimum sidepassing.
Tips for mastering this obstacle: There will not be any rope gates in this class, so it’s important your horse becomes familiar with working an actual gate. You could be asked to open the gate with your left hand, your right hand, or even back through the gate, so practice every scenario. You’ll come across different types of gates depending on the horse show. If you have access to different gates at your riding facility, take advantage of this opportunity. Practice on them so you and your horse are comfortable working with gates of different sizes and lengths.
Patience is the key at this obstacle. During practice, take your time opening, going through, and closing the gate with lots of standing in between each part. You don’t want your horse to anticipate this obstacle and leave you behind while you’re trying to open or close a gate.
Bridge:
Riders must go over a wooden bridge that is sturdy, safe, and negotiated at a walk only. Heavy plywood lying flat on the ground is also an acceptable simulation of a bridge. The suggested minimum width is 36 inches wide and 6 feet long.
Tips for mastering this obstacle: Start from the ground up. If your horse is unsure about of walking over a bridge, start by walking it on the ground with him to help him gain his confidence. Once he goes over it a couple of times with you on the ground next to him, it’ll be easier to convince him it’s safe to go over when you’re in the saddle.
Backing obstacles:
Backing obstacles are to be spaced at a minimum of 28 inches. If elevated, 30-inch spacing is required. You’ll be asked to back through and around at least three markers. You will see back-throughs in the shape of an L, V, U, or straight line and they can be elevated no more than 24 inches.
Tips for mastering this obstacle: You must have control of your horse’s front end and rear end before attempting this obstacle. Take time to teach your horse to sidepass, turn on the forehand, and turn on the hindquarters or hind end. This helps to ensure that you can ask him to maneuver through a backing obstacle. Without having that control of your horse’s feet or body you’re more likely to hit a log when you’re maneuvering through an oddly shaped back-through.
This obstacle also requires a lot of patience. When you’re practicing at home, make sure you spend lots of time standing in between steps, so your horse learns to listen to your cue and not try to anticipate the back through and do it without you.
Sidepass:
Any object which is safe and of any length may be used to demonstrate responsiveness of your horse to leg cues. Raised sidepass obstacles should not exceed 12 inches.
Tips for mastering this obstacle: Similarly to the back-through obstacle, the more control you have of your horse’s front end and hindquarters or hind end will help you master this obstacle. If your horse likes to move forward when you ask for the sidepass instead of moving left or right, walk him up to your arena fence to where his nose is facing it, and practice sidepassing both directions. The fence will work as an aid to deter your horse from wanting to walk forward. Once he can move both directions, take a few steps back and see how he does now that the fence isn’t there to support him.
Obstacle drag:
This obstacle is for open and amateur riders only. You won’t be asked to drag any type of obstacle in a youth or rookie class. Perhaps you might be asked to drag things like a log, a sled, or a dummy steer. Riders may be asked to complete a figure eight in either direction. You must have the rope dallied on the saddle horn (half or full dally) for the duration of the drag.
Tips for mastering this obstacle: Before you attempt to drag an obstacle, make sure you take time desensitizing your horse to a rope so he’s comfortable with something touching his side. You can start by dragging the rope on the ground behind you. You can also acclimate your horse to the sensation of a rope touching his hind end and experiencing the weight of dragging an object by rubbing the rope all around his body.If you’re not comfortable introducing a rope to your horse, or you’re unsure of how to dally safely, employ the help of a professional in your area.
Once your horse is comfortable with that, an easy obstacle to practice dragging at home is a small log.
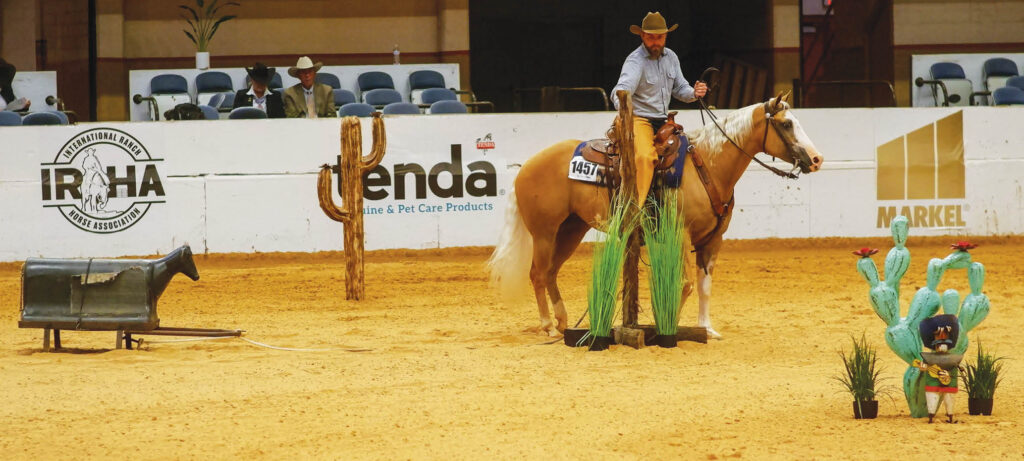
Optional Obstacles
Optional obstacles in a ranch trail class offer a diverse array of challenges. They mirror real-world ranch scenarios, from jumping obstacles that mimic natural barriers to carrying objects symbolizing practical ranch tasks. Walking through water, navigating natural ditches, donning a slicker or coat, ground tying, opening a gate on foot, and swinging ropes at dummy steer heads are activities that replicate tasks expected of your horse on a ranch.
While you won’t always have these obstacles show up in a ranch trail class, it’s important to practice as you can at home. If your horse is afraid of water, wait until the next rainy day and take him outside to go through some of the puddles that might be outside. Or if your horse doesn’t like to stand still when you ground tie, take time to have him stand in the center of the arena while you move around him.
[Learn more about ranch trail HERE]