
You might think that backing straight lines will put your horse on the path to a solid backup, but I disagree. Backing in a circle encourages suppling and collection and really stretches your horse physically and mentally, which nets big dividends in the long run.
[READ ABOUT: Step Control]
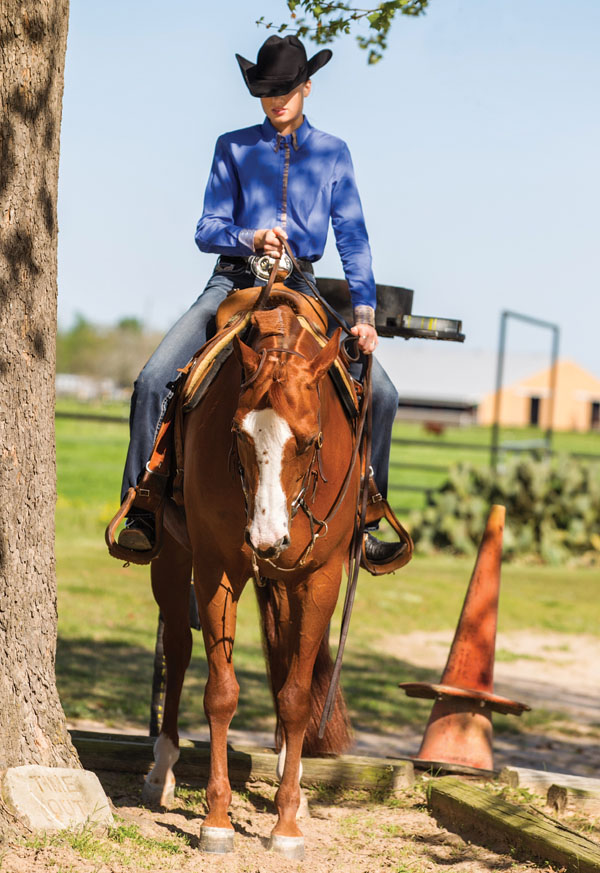
I use a tree at my ranch to teach all of my horses how to back. I guide my horse in a 360-degree circle, which teaches him things he can’t learn backing through straight obstacles or “L” shapes. Here I’ll outline the setup for this drill, the cues, and how to execute the exercise. Outfit your horse in a bit he responds to that you can pull on without scaring him, and ride with two hands. Be sure to pack your patience; this exercise requires time and practice to master.
The Setup
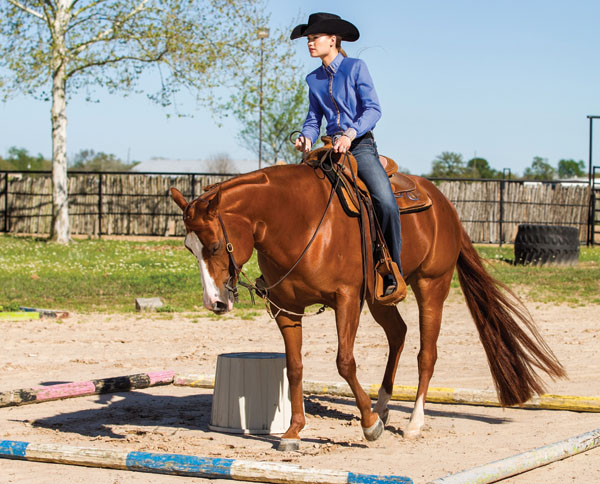
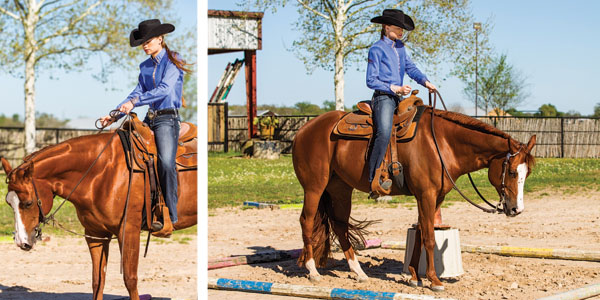
You can use a barrel instead of a tree, but a horse really respects that more visible (less movable) tree. Your horse would probably stomp all over a cone, however, so using something with a larger presence is helpful. Build a “box” around the tree, using 10- or 12-foot poles—or even 7-foot landscape timbers, if that’s what you have on hand. With the tree in the center, your horse has both an inner and outer boundary for his circle. You can do this exercise without the poles, but it’ll be harder to keep your horse on a tight circle.
The box offers guidance, and your horse won’t like stepping over a 4-inch-diameter pole. It’s not that he can’t step over it, because he can and probably will. But after you put him back inside the box a couple of times and he learns to stay inside the area, it’ll be easier to keep him inside the box and on a tight circle.
[READ ABOUT: Trail Course Exercise]
It’s also important that your horse already knows how to back. Backing straight is hard for some horses; backing around something is even more challenging for a lot of horses—especially if they’re not flexible. Your horse must be accepting of and receptive to your aids.
Give the Cues
To keep your horse curled around the tree, you’ll need to have the correct rein/leg position. Riding with two hands on the reins, move your inside rein slightly up and toward your horse’s neck. This keeps his front end curved around the tree, with his shoulder pushed out slightly so that it doesn’t hit the middle object. Hold your outside rein a bit lower, and draw back gently to help your horse take backward steps. Pressure from your outside leg, placed behind the cinch, will keep your horse’s barrel curved around the tree by pushing his hip.
Your inside rein is key in guiding your horse. Thanks to the tree, you’ll work hard to ensure that your horse doesn’t smash your knee against it. If he backs up without curving the way you desire, he’ll get too close to the tree, so you’ll have to press him away from it with your inside rein while moving his hip to the inside, and taking a step back as you go. Strive for continual motion, though it’ll be a start-stop venture to begin.
You’ll probably find that your horse is really good one way and struggles in the other direction. Just like humans, horses are dominant on their right or left side. Your horse might have great control of one direction and lack the same level of finesse in the other. You can work that bad side a little more often, but don’t neglect your good side.
[READ: Trail Course Tips From The ‘Man of the Trail’]
One Step at a Time
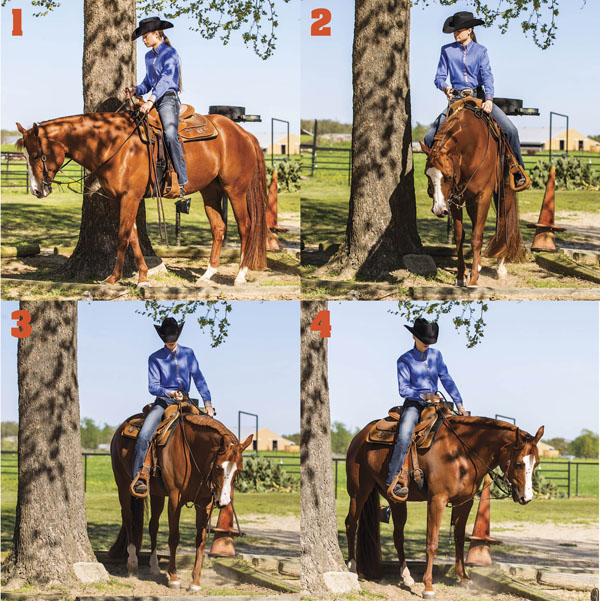
Begin by suppling your horse while walking forward around the tree, within the confines of the poles. Ask for his face with your inside rein, and bend him around the tree with your outside leg. This familiarizes him with the body position you’ll ask for when you travel backward.
After walking a few steps, ask him to stop. Pick up your inside hand a little higher than his neck and place the rein against his neck to move his front end away from the obstacle. At the same time, draw back on the outside rein to ask him to take one step back. Next, move his hip toward the tree, and cue with your reins to step back. Or, you can try moving both the front and hind ends at the same time, taking one step back.
After your initial step back, you’ll need to make adjustments. You can’t hope for five perfect steps all at once. Probably every three or four steps, you’ll have to move your horse’s front end away from the tree, then adjust the back end, then take just one step back—depending on how he’s shifted during that backing step.
Focus on getting one step at a time. Put him where he needs to be until you can blend both ends to move together. You can’t go fast—even once your horse is more skilled with the exercise. The whole goal is to take each step one at a time, smooth like butter. It’s difficult to do, but the rewards are worth it.
Quit While You’re Ahead
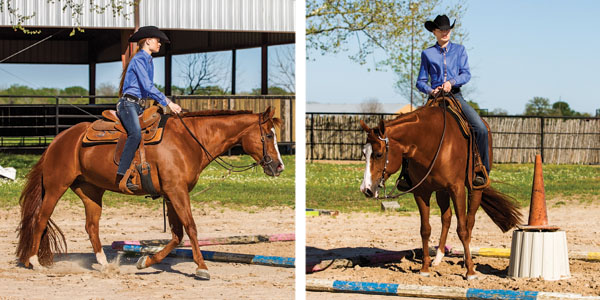
Pay attention to your horse’s demeanor while you execute this drill. If he gets antsy or upset, step outside the box, walk around for a little bit, then walk forward through the box one time before trying the backing again.
The best time to quit this exercise is when he does the maneuver better than he did it the last time you tried. He need be only slightly better, as long as he improved. But don’t hope for instant gratification. Be prepared for your horse to get confused and frustrated. Proceed slowly and patiently, one step at a time, and he’ll figure it out. If you get after him, though, he’ll come to dread the maneuver. If your horse gets stiff, supple him away from the box. Draw his neck to the left and right to loosen him up outside the box, then return to the exercise.
Transition to One Hand
Once you and your horse master this maneuver two-handed, move your hands closer together as you practice so it becomes more like riding one-handed. That way, when you do advance to performing the exercise with one hand, it won’t feel completely unfamiliar to your horse. No matter if it’s one-handed or two-handed riding, the inside rein is still the most important cue in this exercise.
Nancy Cahill is an AQHA Professional Horsewoman with more than 47 years’ experience guiding youth and amateur riders in all-around competition. She’s won several AQHA world championship titles, and her clients have competed successfully at the state and national levels. She resides in Madisonville, Texas, with her husband and near her two children and grandchildren.