Understanding the parts of your saddle and how each part affects your saddle fit will allow you to select a saddle and pad combination that allows your horse to feel and perform his best. Even if you believe your saddle fits, including a saddle fit check into your regular riding routine helps you to adjust your tack and gear as your horse’s weight and body condition changes as he exercises and ages.
Saddle Terms for Saddle Fit
Tree
The tree is the skeleton for Western saddles. The remaining terms are all based on the tree that your saddle is made on. There are fiberglass and wood trees, which type you use will depend greatly on the type of riding you plan to do with your horse. The tree is designed to distribute your weight evenly across your horse’s loin muscles—the purpose of the tree is to create a larger surface area to distribute weight and pressure.

Gullet
The gullet of the saddle is the tunnel shaped area under the horn and pommel that creates space for your horse’s withers. If the tree of the saddle is too narrow or wide, you’ll notice it in the gullet area first.
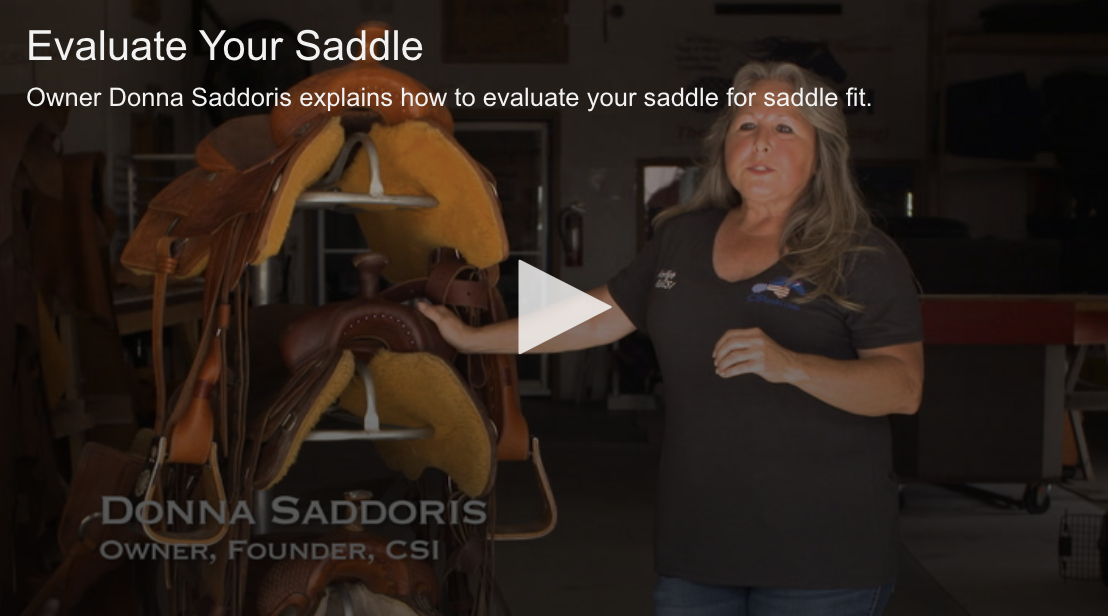
An easy test to see if your saddle fits through the gullet is to have a friend hold your horse, then place the saddle on your horse’s back without a saddle pad and don’t secure the front cinch. With the front cinch undone, place approximately 60% of your weight in the stirrup. If the saddle holds in place without digging into your horse on the offside, it’s probably a good fit. If the saddle rolls over, then it’s too narrow through the gullet. If your horse steps over as you put your weight in the stirrup or if it’s sitting down on directly on your horse’s withers, then it’s too wide through the gullet. With a perfect saddle fit, you should be able to mount from the ground without a front cinch attached.
Bars
The bars are the only part of the tree that are actually in contact with your horse’s back. The flare of the bars dictates how much shoulder room your horse has to move—or how much of the shoulder is restricted because of the tree. The rock of the bars is usually low, medium, or high, which indicates how far the bars are going to be away from your horse’s loin. Most saddles that aren’t custom made are going to be a low rock, which is why several horses get sore in the low back area.

Testing for Sensitivity
Having your hand in a “C” shape, you’ll do this exercise three times down your horse’s back on both sides. With your thumb on one side of your horse’s spine and your fingertips on the other, you’ll start up toward the withers and make your way all the way past the croup slowly each time. The first time down your horse’s back will be very light as you close your hand down on your horse’s skin/muscle—you’ll usually get a little quivering or twitching, like when a fly lands on his back.
Once you’ve gone past your horse’s croup, start at the withers again. The second time through will be stronger—you’ll close your hands down with a medium grip. As you go down his back this time, you’ll be able to see if he’s in pain or maybe even feel muscle spasms. A muscle spasm will have the density of a boiled egg under the skin. If you do feel this, you’ll want to make a note of it so you can help relieve the muscle spasm on your next, and final, pass through.
Again, once you’ve gone completely down your horse’s back and past the croup, you’ll proceed with the third pass down your horse’s back. This time, you’ll squeeze your “C” together with a strong grip—you’re trying to see if there’s a lot of pain in his back. (Note: The goal is not to cause pain to your horse, it’s to see if he’s in pain. So, adjust your grip as needed.) As you go down your horse’s back this time, remember where the muscle spasm was when you went through the previous time. Now, once you reach the muscle spasm, apply approximately two pounds of steady pressure over the area for about a minute—you may have to do this a few times a day for a couple of days before the muscle spasm goes away.
After you’ve evaluated your horse for sensitivity, you can indicate where your saddle is likely applying more pressure and create a plan for changing your tack to better fit your horse.
For assistance determining if your saddle fits, email photos of your horse’s back to CSISaddleFit@gmail.com. Click here to learn how to take photos to be submitted for review.
ENTER THE CSI SADDLE PADS GIVEAWAY


