
From the very beginning of training, steering is important—it’s right up there with stopping in terms of being an essential element of control. The pivot maneuver builds on the concept of steering, because cueing your horse to pivot is asking him to move left or right by steering. In the show pen, a good pivot will line you up for the rest of your pattern. A bad pivot can set off a chain reaction for further mistakes—missed markers or crooked departures that take away from the rest of your pattern—resulting in a poor score.
Here I’ll explain what a correct pivot looks like, the steps to get there, and troubleshooting tips in case you encounter roadblocks in your pivot training.
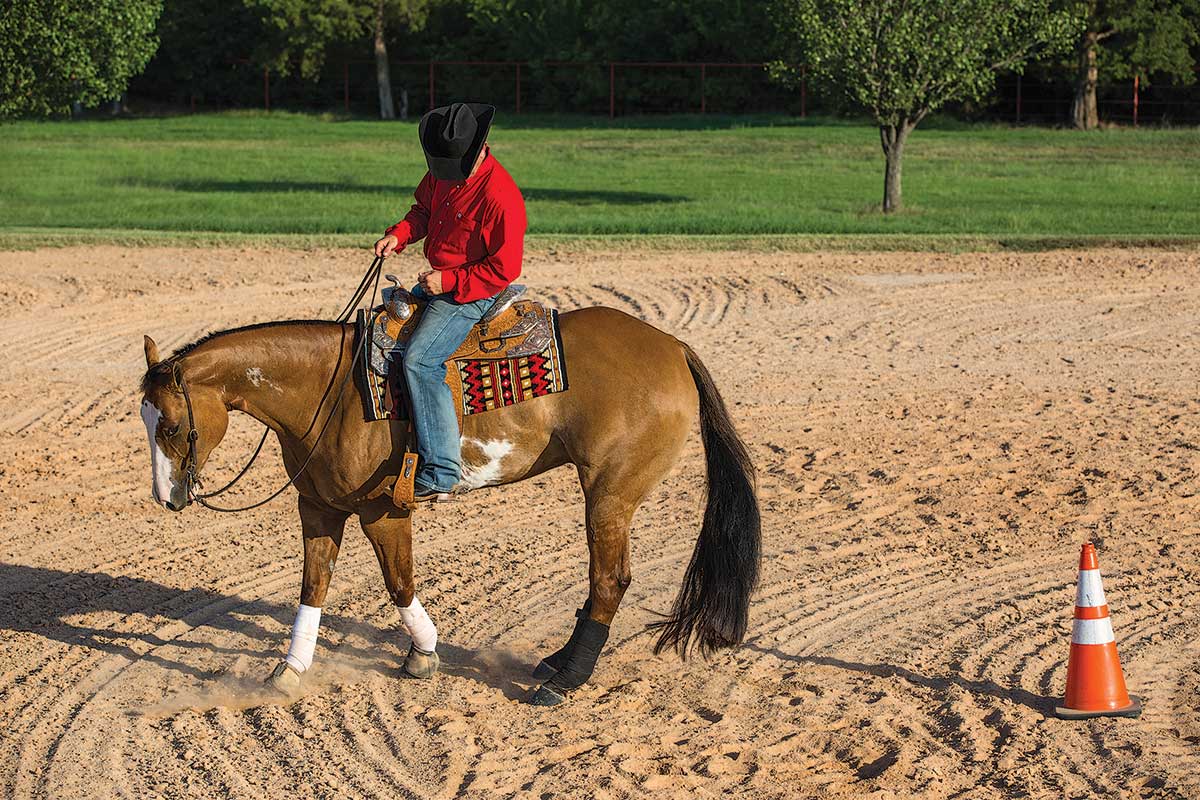
What to Look For
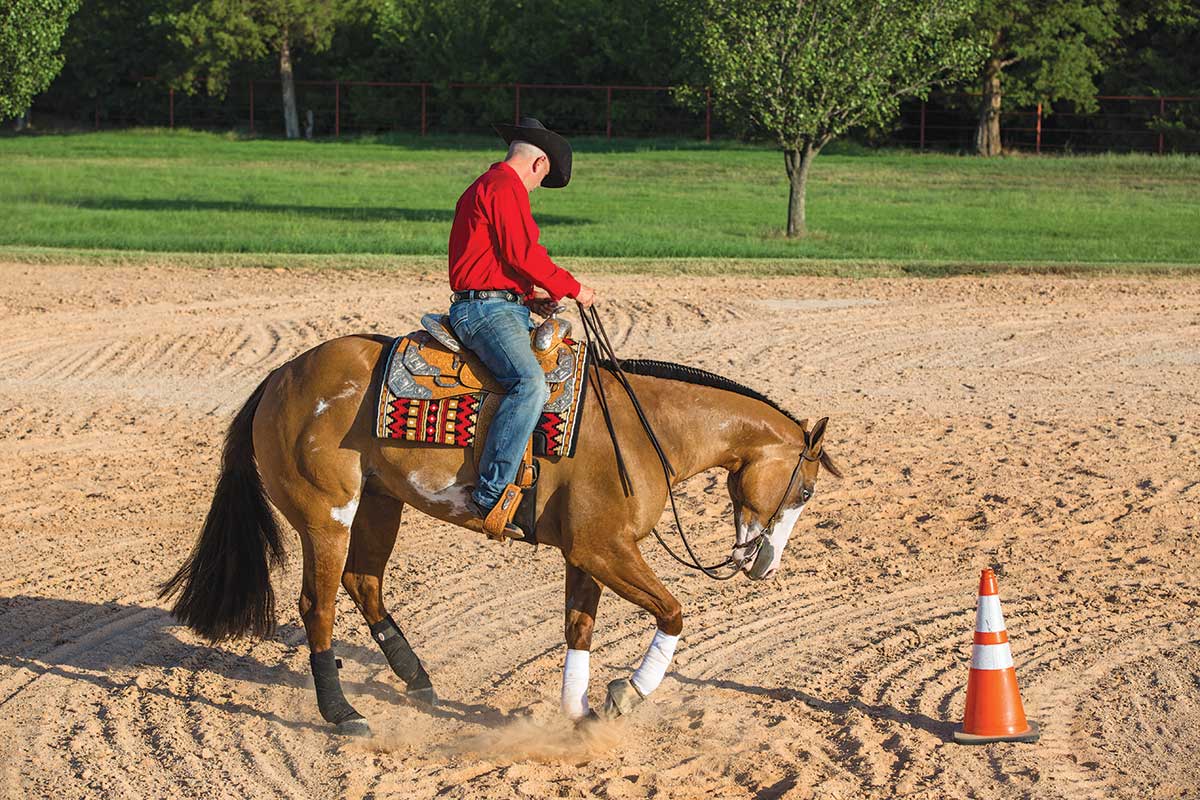
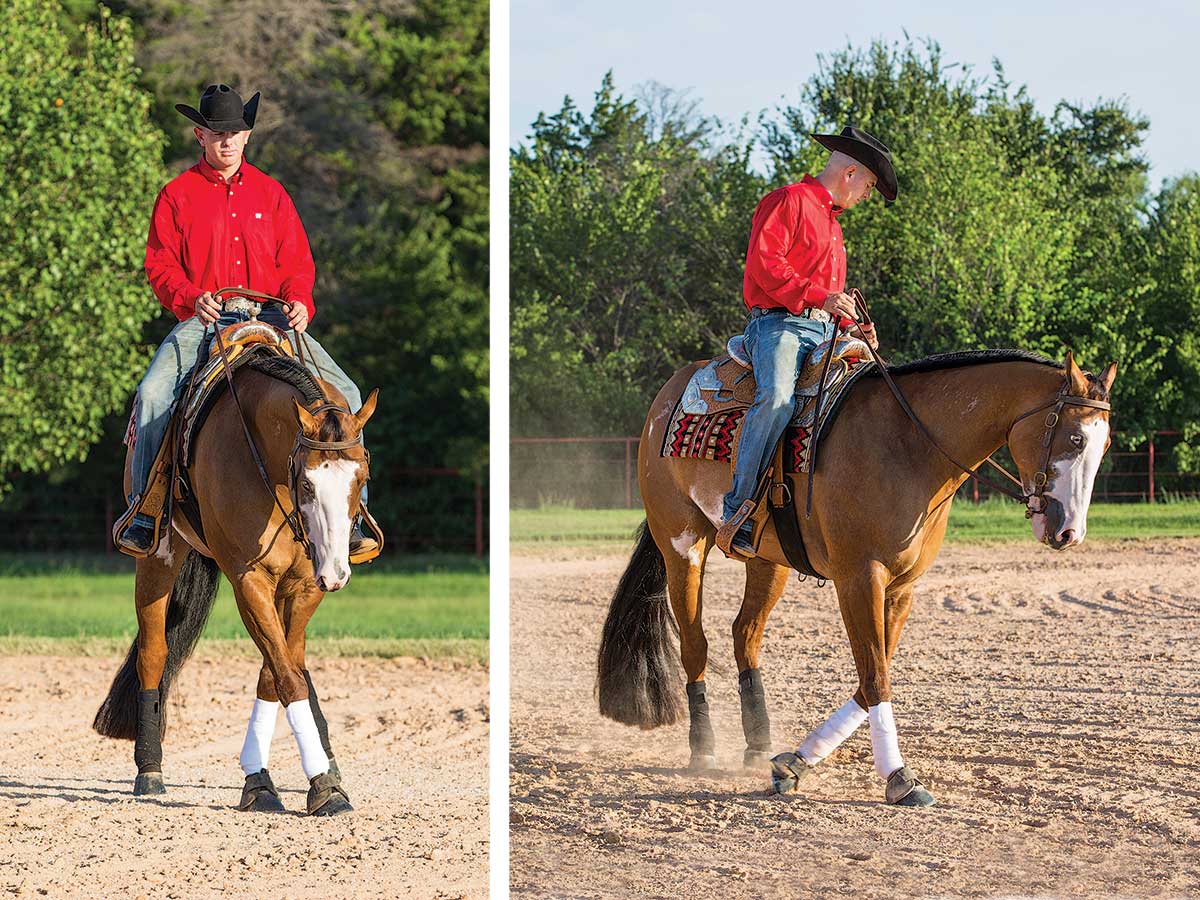
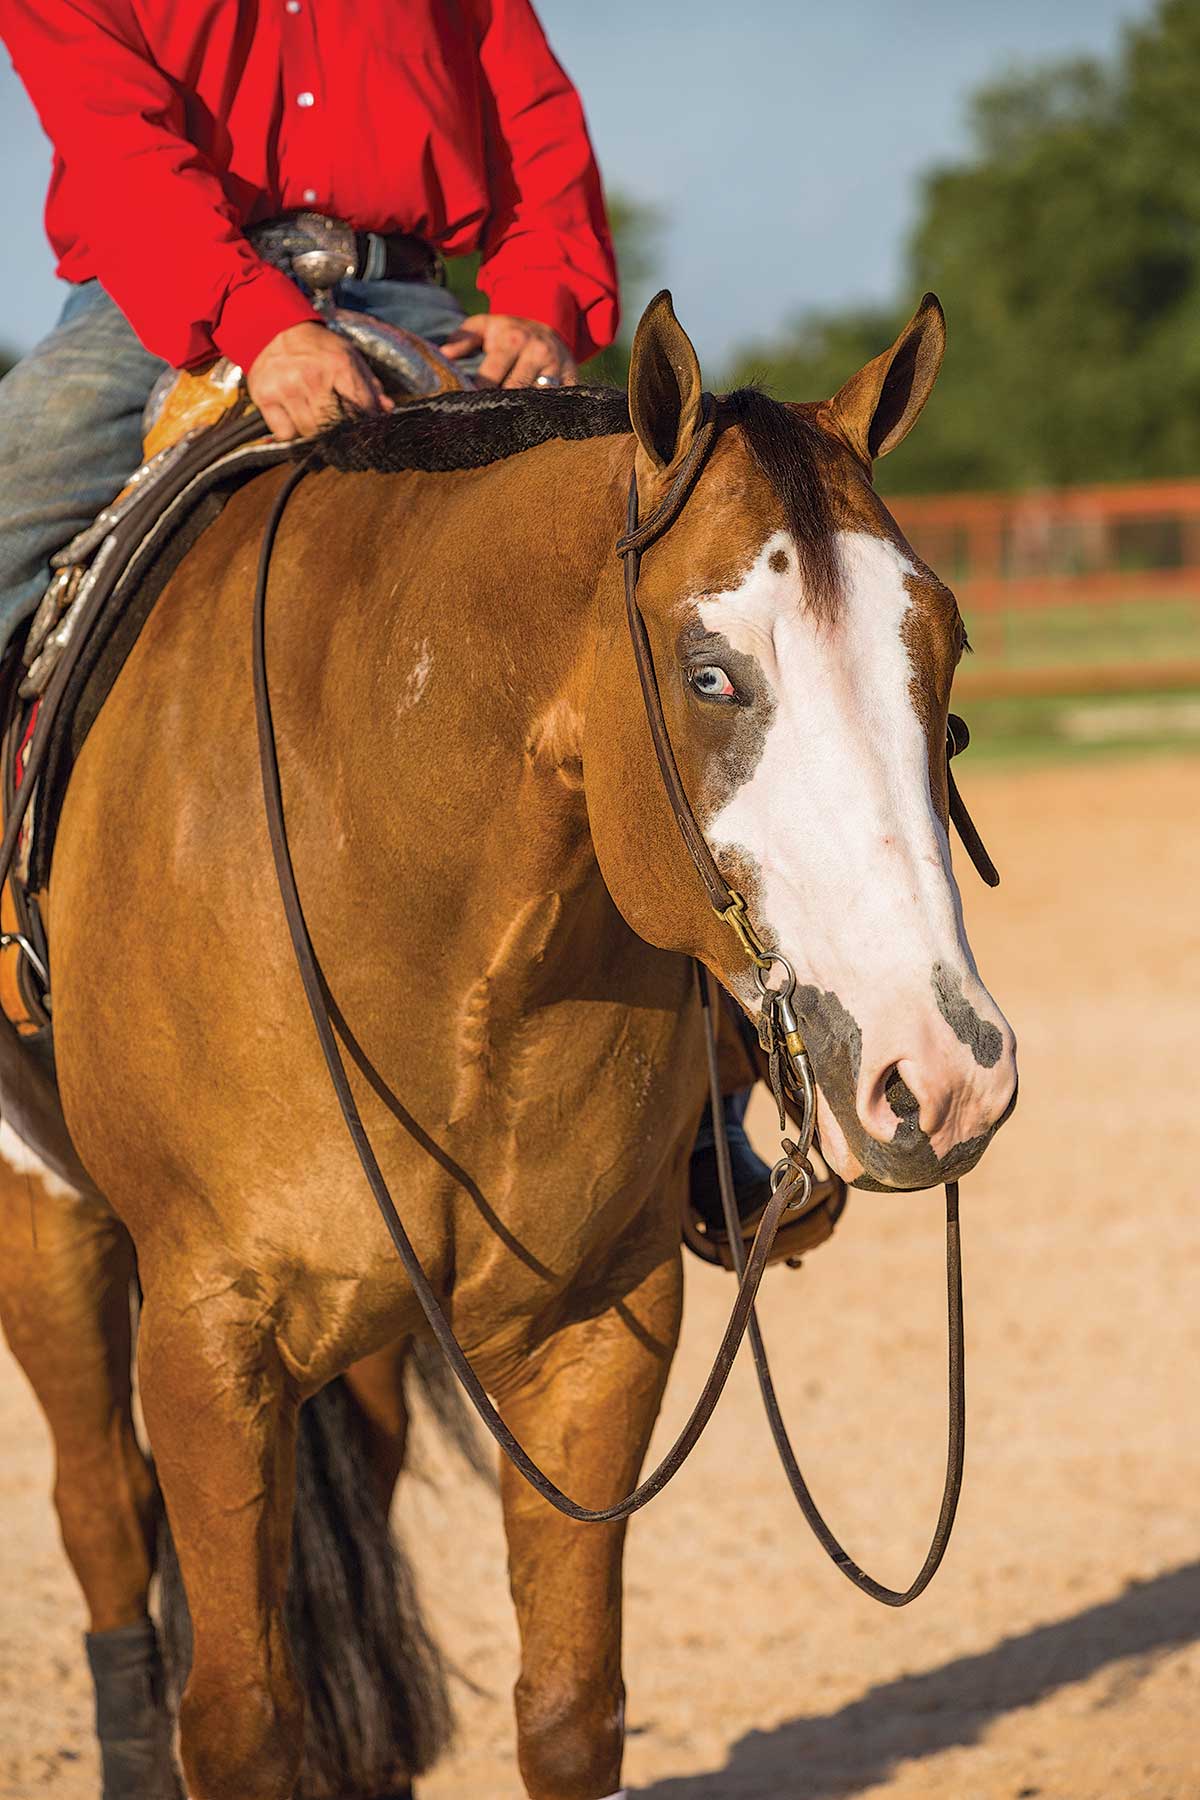
A correct turn on the haunches starts with your horse stepping across with his front feet, while planting his rear foot on the inside of the turn. You want your horse to maintain a frame with his head straight out from his body—not too low, high, poked-out, or overbridled—and you want him to stay in the maneuver without backing up or jumping out.
From the ground, a pivot should look a lot like a showmanship turn, with your horse maintaining straightness, except for his neck being slightly tipped in the direction of the turn.
As a rider, you should feel a two-beat rhythm as your horse steps across with his outside front foot and holds the ground with his haunches. He should plant his inside rear foot without picking it up as he rotates.
Practicing the Pivot
Keep these six tips in mind when practicing pivots at home or schooling before you show.
Choose proper equipment. To work on a pivot at home, I advise you to start with a snaffle bit, riding with two hands for control and correctness. As your horse progresses, move up into a small correction bit, and work on bringing your hands closer to one-handed show position until you’re ready to try it one-handed.
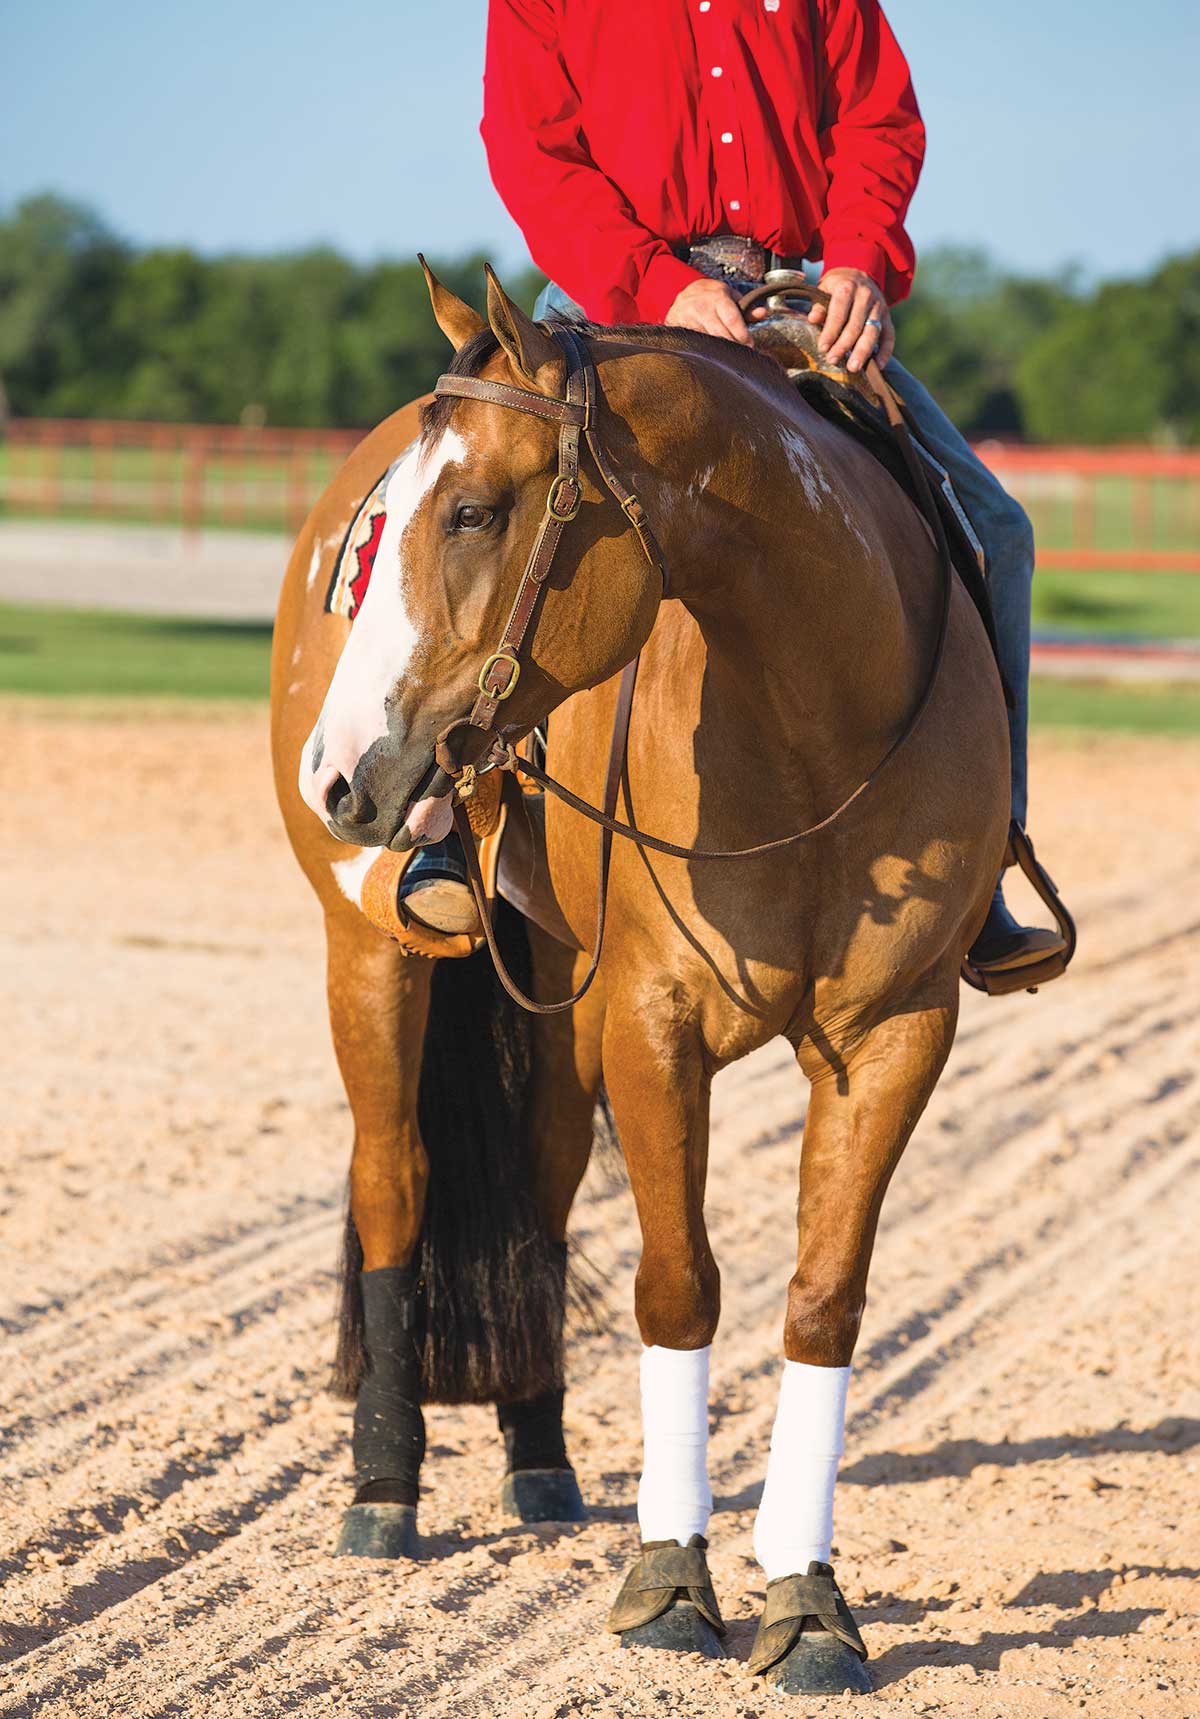
Leg wraps or boots and bell boots are important to keep your horse from nicking his legs or tripping. They help keep his confidence up instead of building his apprehension if his feet interfere.
Start with lateral movement. To start the turn, begin by teaching your horse to sidepass and move laterally off of your legs and hands. Start with asking your horse to move away from your leg on a circle. If you’re going to the right, use your inside—right—leg to hold your horse’s shoulder up through the circle and your outside—left—leg to drive his body laterally.
Hold your hands hip-width apart in front of the saddle horn, and use them to gently block forward movement as you ask your horse to move sideways. If you’re moving to the right, slightly open your right leg to encourage movement in that direction, and ask your horse to move over using your left leg and calf, until you feel him cross over with his legs as he moves to the right.
Once your horse understands the sidepass, move your left leg forward toward the girth, and ask him with that leg to only move his front end around to the right. Keep his inside back leg still while maintaining forward motion and rhythm. Your outside (left when going to the right) hand keeps him from overflexing toward the inside rein. Keep your horse’s head and neck straight. If he overflexes in one direction or the other, there’s a good chance he’ll either step forward out of the pivot or back out of it.
When your horse can perform these basics each time, and you feel that you can execute a 90-degree turn correctly, with your horse’s inside hind foot planted and front feet crossing over, then add more to the turn revolution. You can move up to a 180-degree turn, a 270-degree turn, on to a 360-degree turn, and then add speed to your pivot. Add more steps in the turn and speed incrementally to increase the degree of difficulty to see if your horse can do more.
Stick to the basics. When you’re having trouble in the turn, going faster rarely helps. Break the maneuver down, take your time, and work on the basics of lateral movement and forward motion. Go back to the sidepass. Ask your horse to two-track (sidepass with forward motion) off your legs instead of turn, so he doesn’t anticipate always turning. Make sure your horse can do the maneuver correctly, slowly.
Master the two-track turn. Two-tracking ensures that your horse’s body is straight in his shoulders and back and his legs are crossing over. After two-tracking a few strides, ask for a 90-degree turn. If you feel your horse tends to back out of the pivot, swings his hip toward your leg during the turn, or turns on his belly (doesn’t stick a pivot foot), use the two-track-turn exercise.
Be consistent. When it comes to horses, consistency builds confidence. The more times you practice your turn, the more confident you and your horse will be when you get to the show pen. This maneuver doesn’t happen overnight. Always ask for your turn on the haunches the same way, and keep your instructions clear. Practice like you’re going to show, and show like you practice. My riders practice the pivot for a short amount of time every time they ride. This leads to successful training without burnout or overtraining.
Have a plan. Don’t keep turning your horse until it goes bad. Have a plan of where you’ll start, how far you’ll turn, and when you’ll stop. Don’t let your horse decide when to stop. Find something to look at, such as a marker or a fencepost, as a stopping point. This principle applies when you show, so practicing at home will hone this skill for competition.
When you’re ready to stop the turn, say “whoa,” stop cueing your horse to turn, and release your legs. Remember, your horse is moving four legs—it might take him longer to stop than how quickly your brain works, so ask for the stop a little earlier than when you actually want to end the maneuver.
Troubleshooting
Following are some common errors I see associated with the pivot.
Turn on the belly. When a horse moves both its front and back legs as he turns, making the belly the center of the turn instead of the hindquarters, it’s called “turning on the belly.” It’s incorrect. It’s likely your horse is crossing under/behind with his outside front leg instead of over/in front because he’s moving backward. Related problems include backing up and swinging a hip out of the turn. These issues can be helped by asking your horse to move laterally off your leg while moving forward and making sure your horse always moves forward off your leg instead of backward.
If your horse starts swapping ends while you’re showing, slow down your pivot to try to get it correct. But if he’s anticipating the move, it’s really something you need to fix in the warm-up pen and at home. Again, ask your horse to move off your leg and sidepass instead of doing the turn in practice. Make sure he doesn’t back up or jump out of the turn.
Backing out of the turn. Your horse shouldn’t inch backward as he turns; he should stay in one place. A horse might back out of the turn because he anticipates a stop and a back-up at the end of the pivot. It could also be that you’re holding your hand too high, which can make your horse want to back up as he turns.
Make sure your horse’s first step into the turn is always forward and lateral—not backward. If your horse anticipates a stop and back in the pattern, incorporate breaks as you work with your horse. Ride around and stop—then do nothing. Don’t stop and back, or stop and turn. Stop and sit for a minute. This helps teach him to wait on you for the next cue.
After you’ve done that a few times during your ride, stop and ask him to start a turn, crossing that front foot over just once, and then walk out of the turn. Do the same thing every time. Don’t react to your horse by changing up how you’re asking for the turn. If your horse backs up, ask him to go forward in the turn. You don’t want him to automatically think about going backward every time he feels the pressure of your hand.
Jumping out of the start of the turn. I’ve seen this happen when the rider tries to train the turning process too fast, instead of breaking it down into pieces. If you just introduce the whole 360-degree turn at once, the horse could get scared and eventually start jumping out of the turn. This is why I recommend starting with teaching your horse to sidepass, then adding a 90-degree turn, then the 180, and so on. It keeps your horse from worrying about the maneuver.
You also want to start the turn slow and end slow for a controlled start and stop. You can add speed in the middle of the maneuver once your horse has mastered the turn.
Anticipating the turn. Whoa means whoa. Take the time to ensure that your horse understands that sometimes he’s not expected to do something right away after you stop. Drape your reins and relax. Let your horse know that “stand here” is the current cue; there’s not another maneuver coming up right away. If your horse is anticipating, after that short break, you can ask for a sidepass for a few steps instead of a turn.
Horses are creatures of habit. The more you keep your cues consistent, the better your horse will understand. Make everything black and white, and keep it simple. We don’t speak the same language as our horses, and we’re asking for complex maneuvers. Don’t react to your horse’s reaction. Don’t change your cues; just keep asking until your horse understands.
Jeffery Gibbs operates Gibbs Show Horses out of Collinsville, Texas. He trains all-around, Western pleasure, and futurity horses and coaches youth and amateur riders. He and his clients have won more than 50 APHA and PtHA world championships and all-around titles. Learn more at gibbsshowhorses.com.