
Q What’s a good, go-to pre-ride warm-up before my horse and I hit the trails? I’m looking for something that’ll show me he’s listening and focused, as well as ready for the physical challenge.
Ann Ridgeway, Vermont
A Completing a solid warm-up routine with safety checkpoints is a great way to start any trail ride. I like to take it one step farther, and encourage riders to be sure that they can perform my routine in the confines of an arena before they venture out into wide-open spaces. Working in an arena first removes some of the anxiety and uncertainty that horses and riders can experience at a trailhead or other open area.
The first three of these six pre-ride checkpoints ensure that your brakes are ready when needed. The second three respect the horse’s natural instinct to move his feet when he’s unsure. But, most important, they let him move his feet in a way that keeps you safe rather than putting you in danger when he bucks, bolts, or rears. Grouped together, they give you a reliable toolkit for anything you might encounter on a trail ride.
[RELATED: STOP A SPOOK ON THE TRAIL]
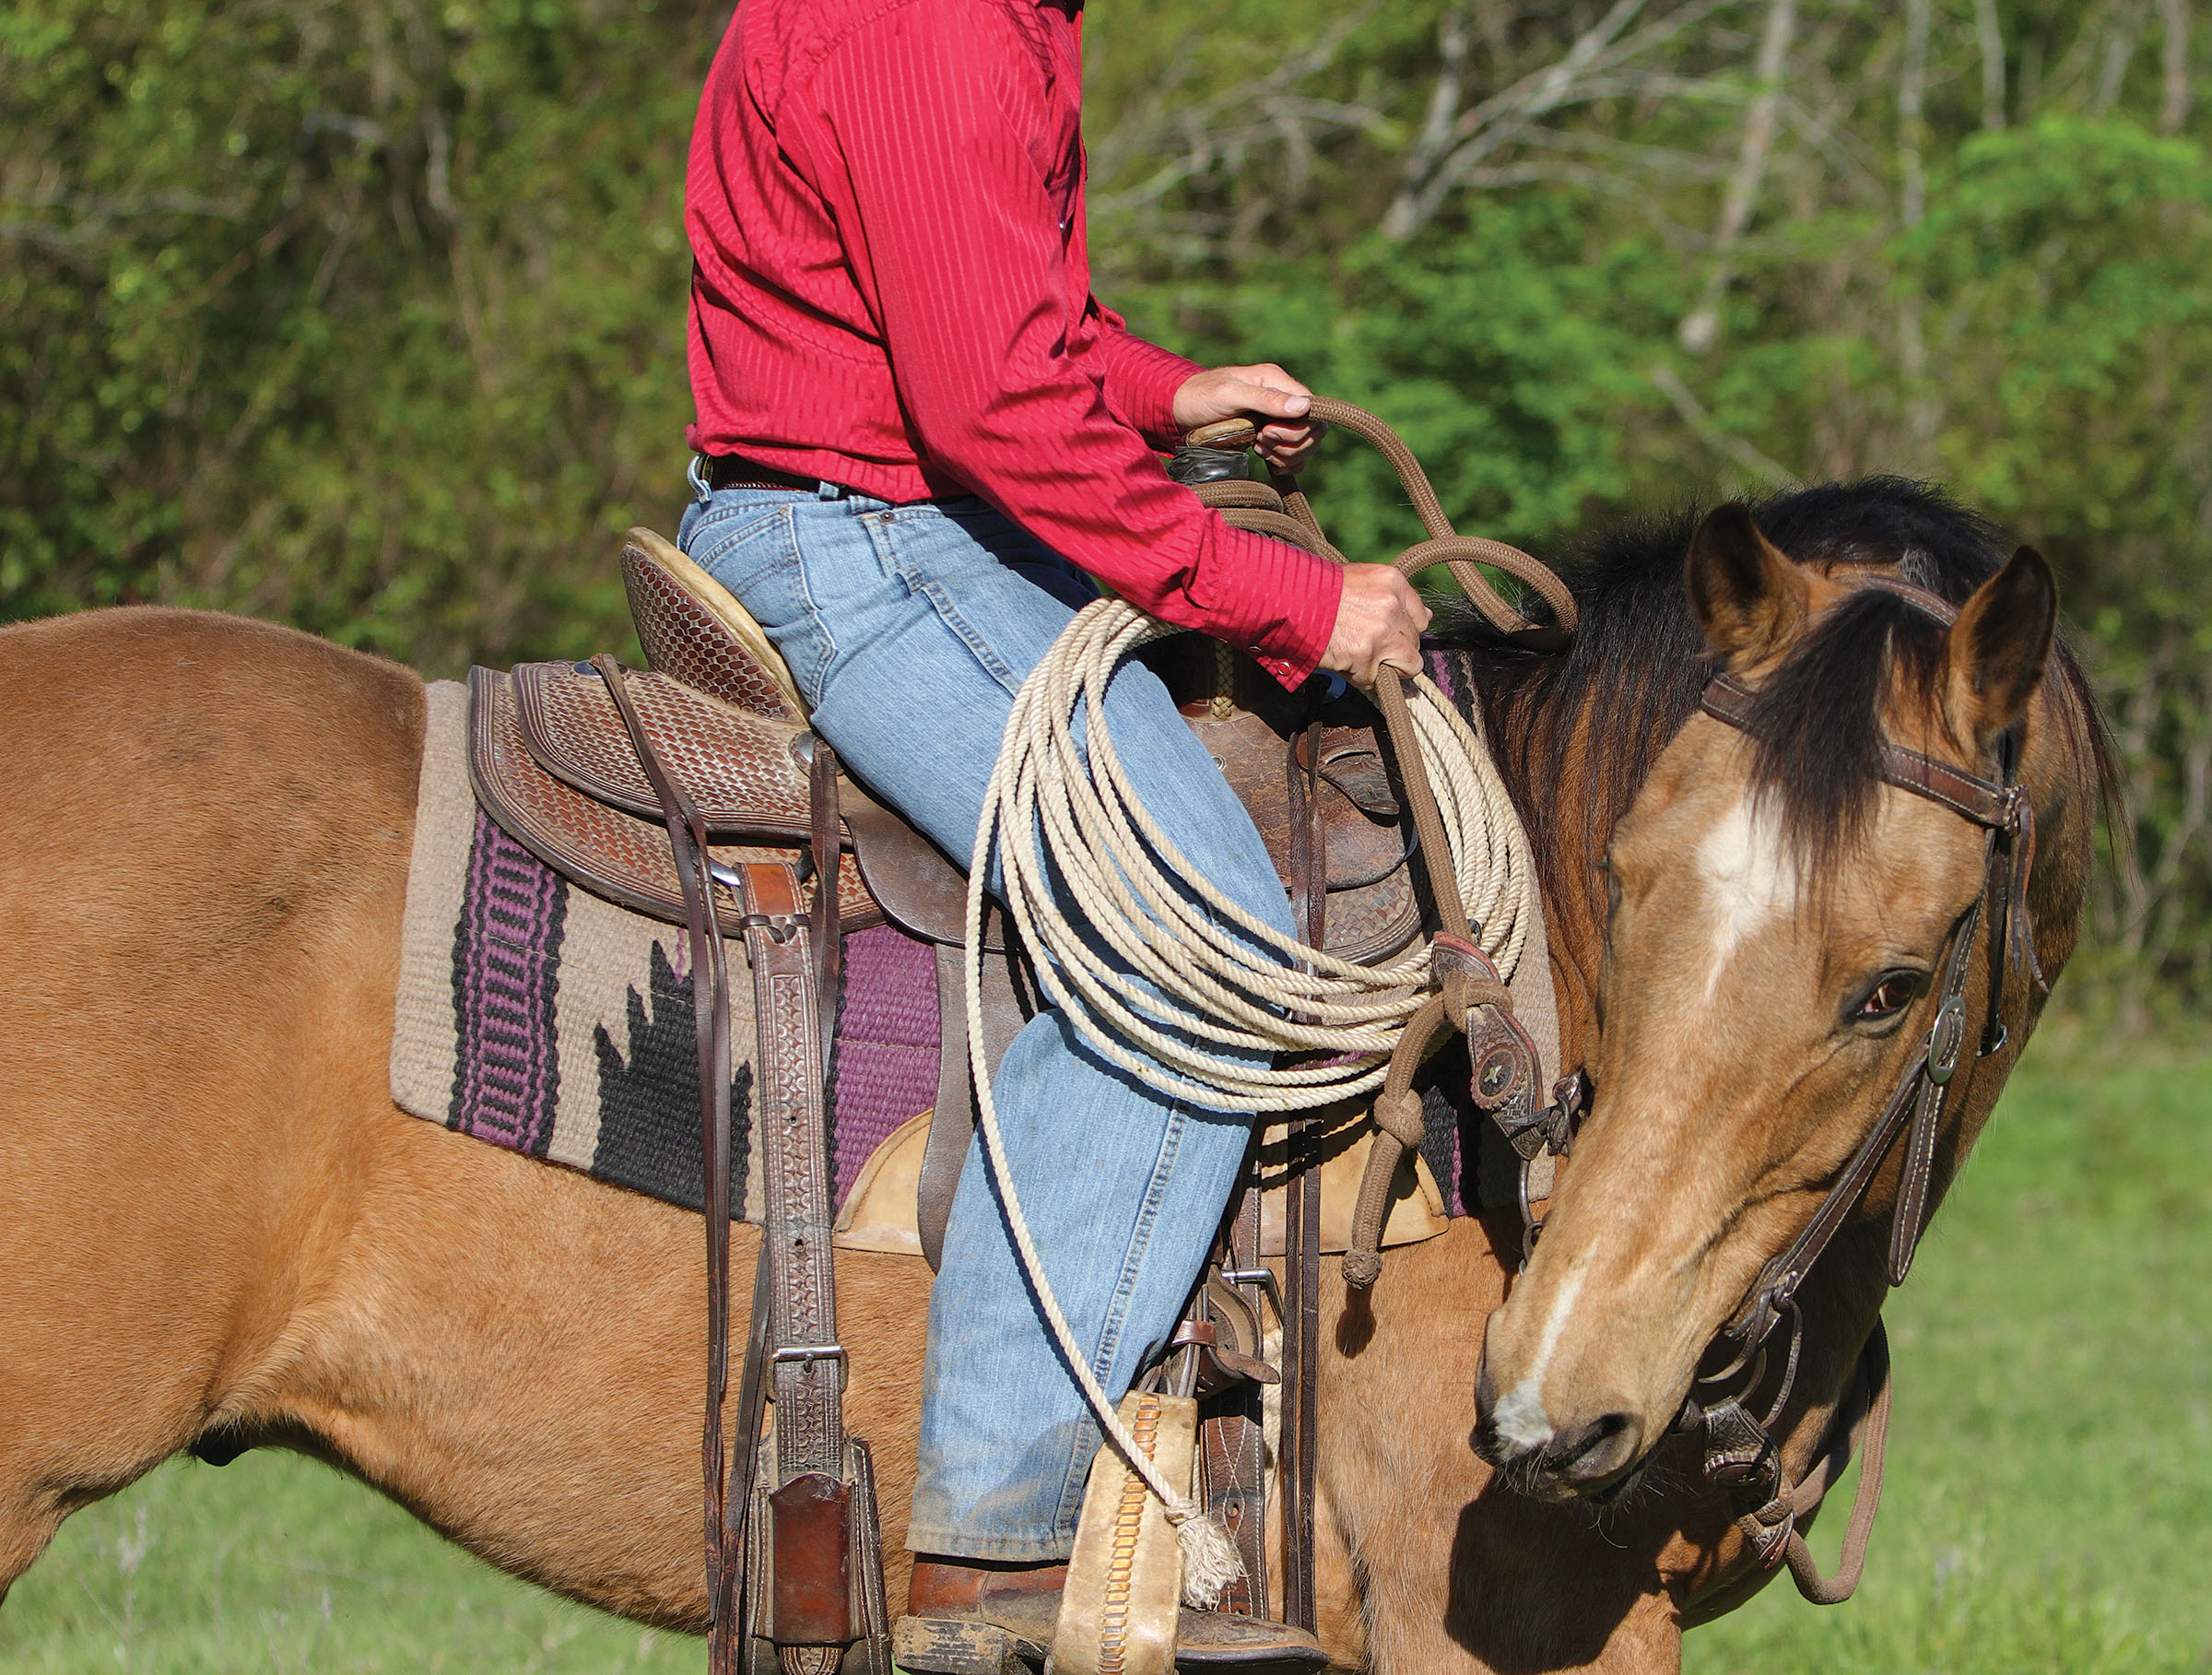
Checkpoint 1: Lateral Flexion
The action: At a standstill, slide your hand down one rein, make light contact with your horse’s mouth, and bring your hand and rein back toward your knee. Hold in that position—but don’t pull or jerk—until your horse gives to the pressure.
The benefit: This helps soften your horse’s response and is an easy way to encourage him to stop without too much pressure on his mouth. This is more of a benefit to you than your horse. It allows you to build your finesse and muscle memory when you must perform a one-rein stop in an emergency or when you’re practicing before a ride.
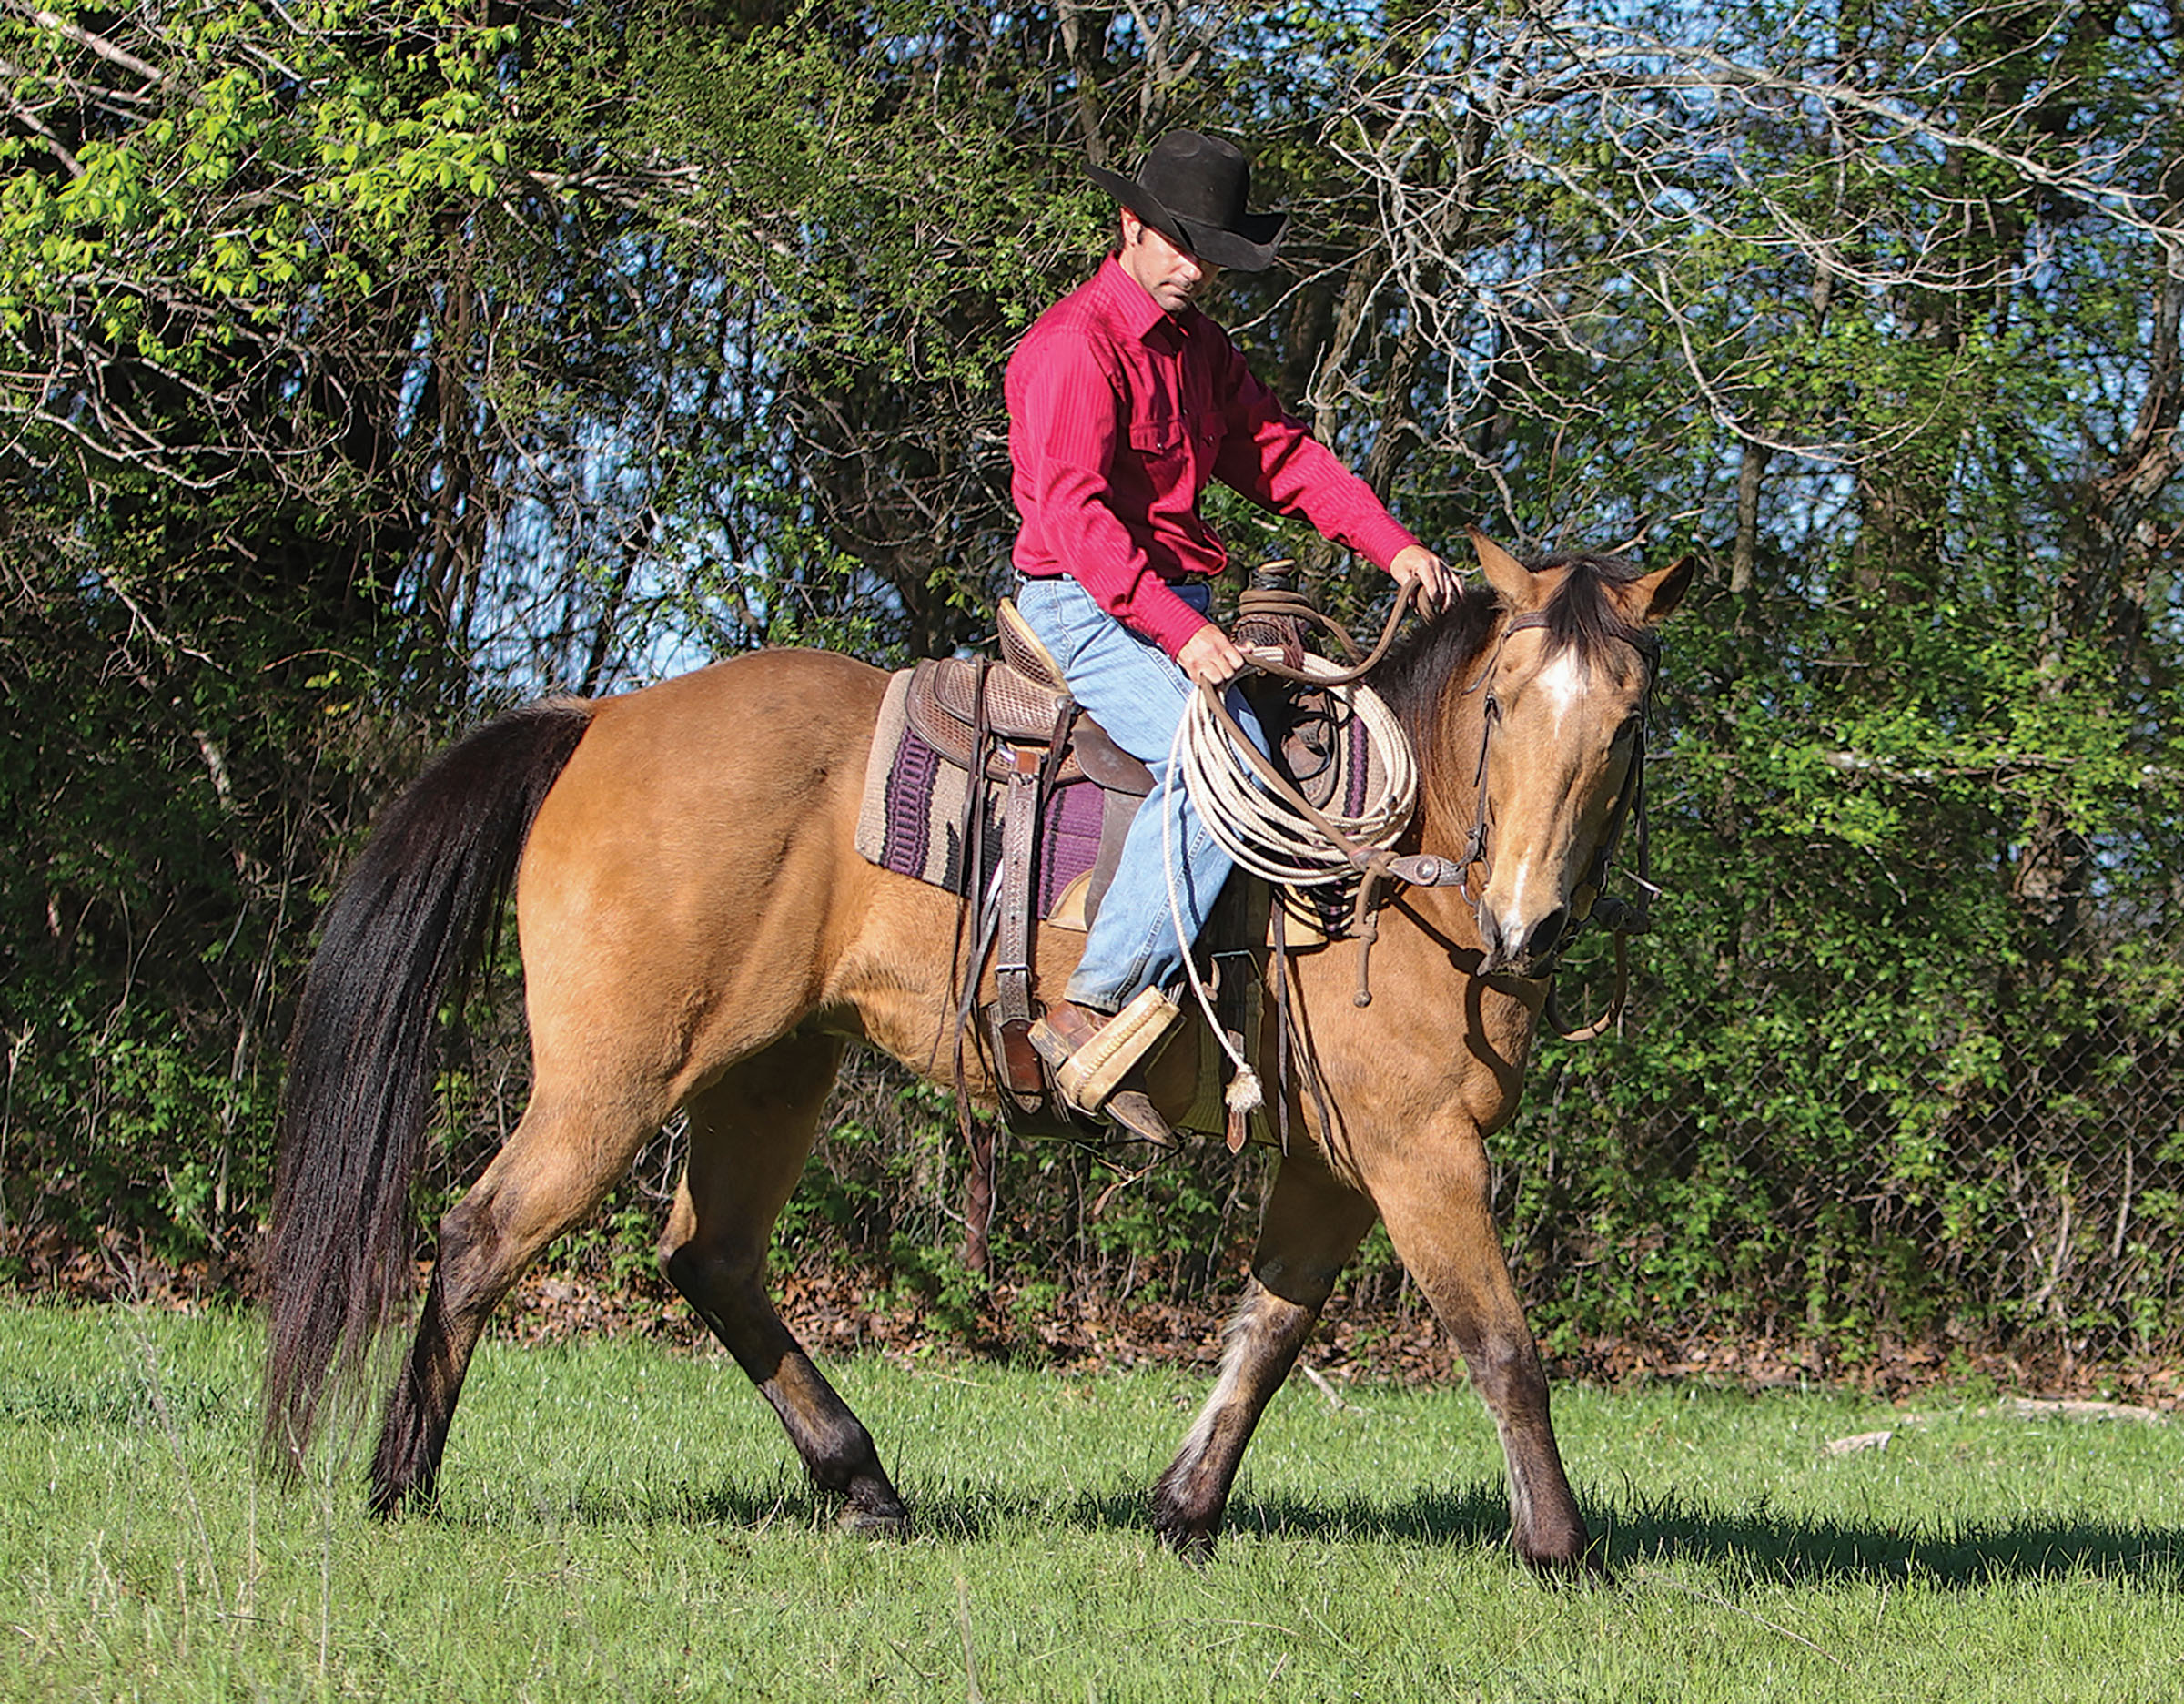
Checkpoint 2: One-Rein Stop
The action: You probably know the basics here. Start walking, sit deeply in your saddle, say “whoa.” If he doesn’t respond, slide your hand down your rein, make contact with your horse’s mouth, and bring your hand back to your knee. It’s just like Checkpoint 1, but with forward motion. Practice this at a walk, jog, and lope.
The benefit: When your horse understands this motion, because you’ve practiced it at home, this serves as an emergency brake in almost any situation on the trail.
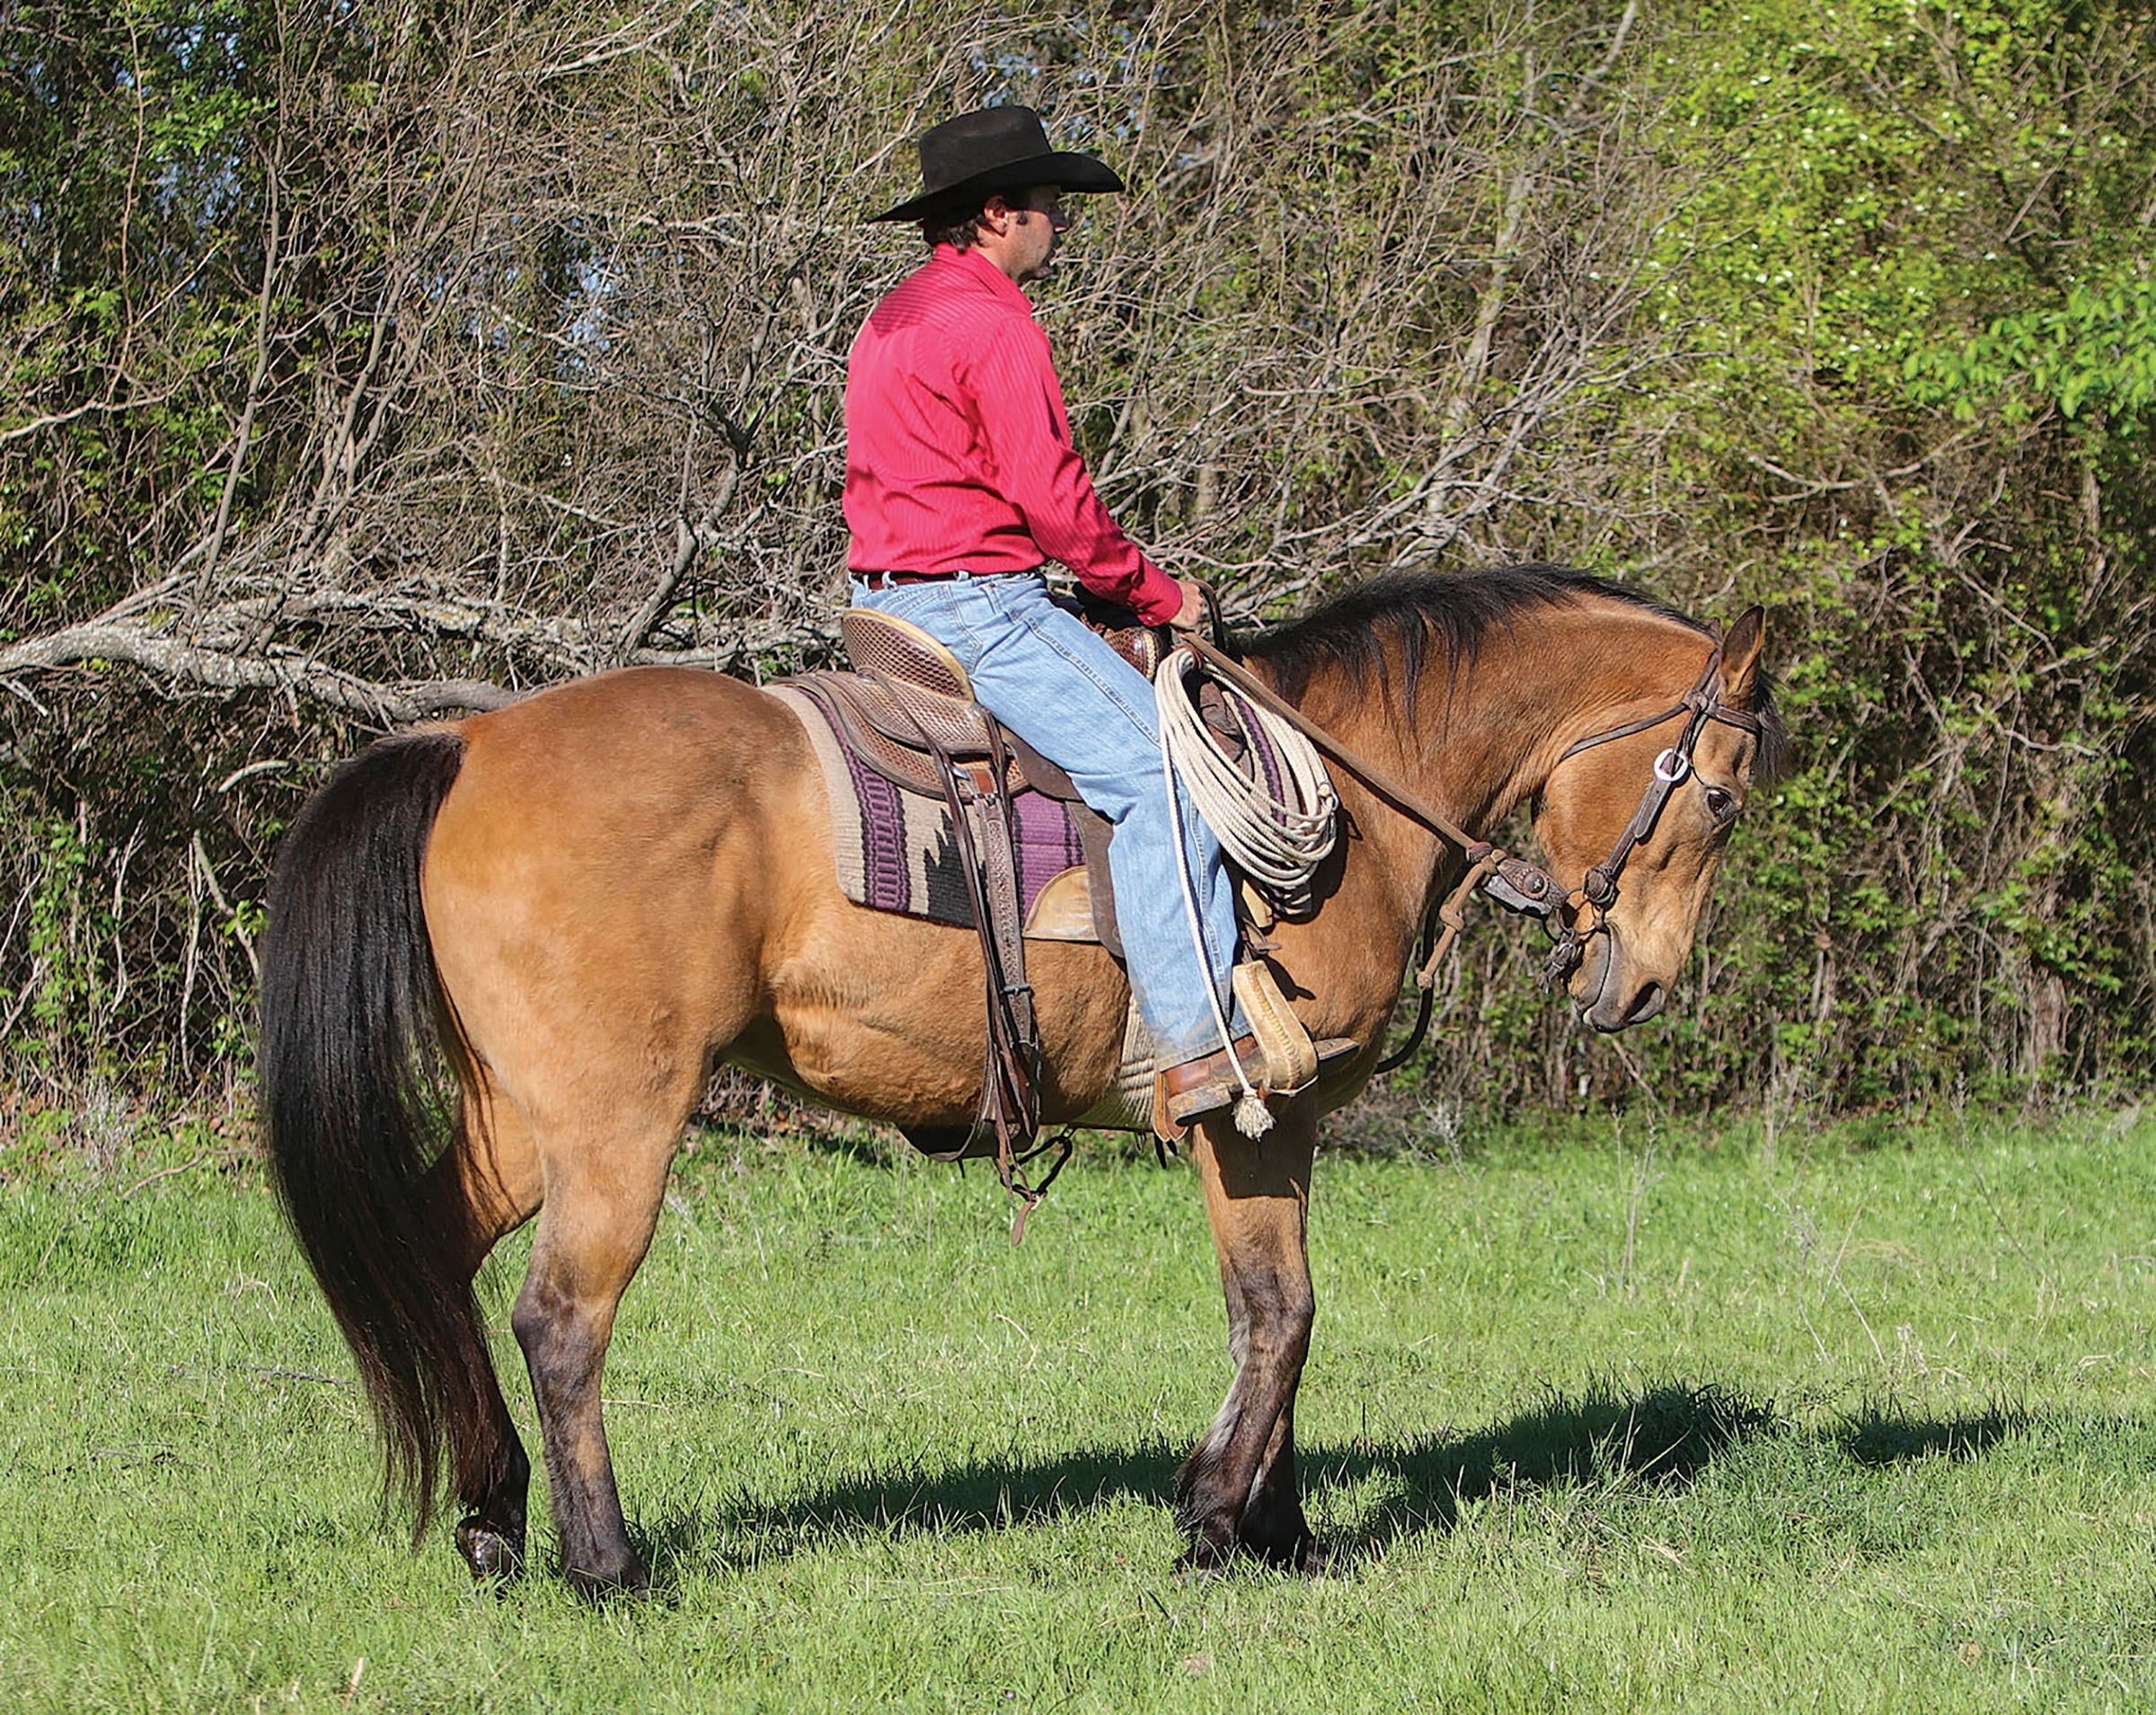
Checkpoint 3: Two-Hand Stop
The action: From any gait, sit deeper in your saddle so your body tells your horse you’re ready to stop. Reinforce that cue by making soft contact with the bit, stopping, and asking for a step backward. Then release.
The benefit: This reinforces your ideal of the lightest contact necessary for a response. Just like with the first two checkpoints, you’ll use the least amount of bit pressure possible to get the desired response. It’s a benefit to your horse, because he stays light and soft rather than bracey, and it helps your horsemanship because you don’t immediately go to full pressure to start.
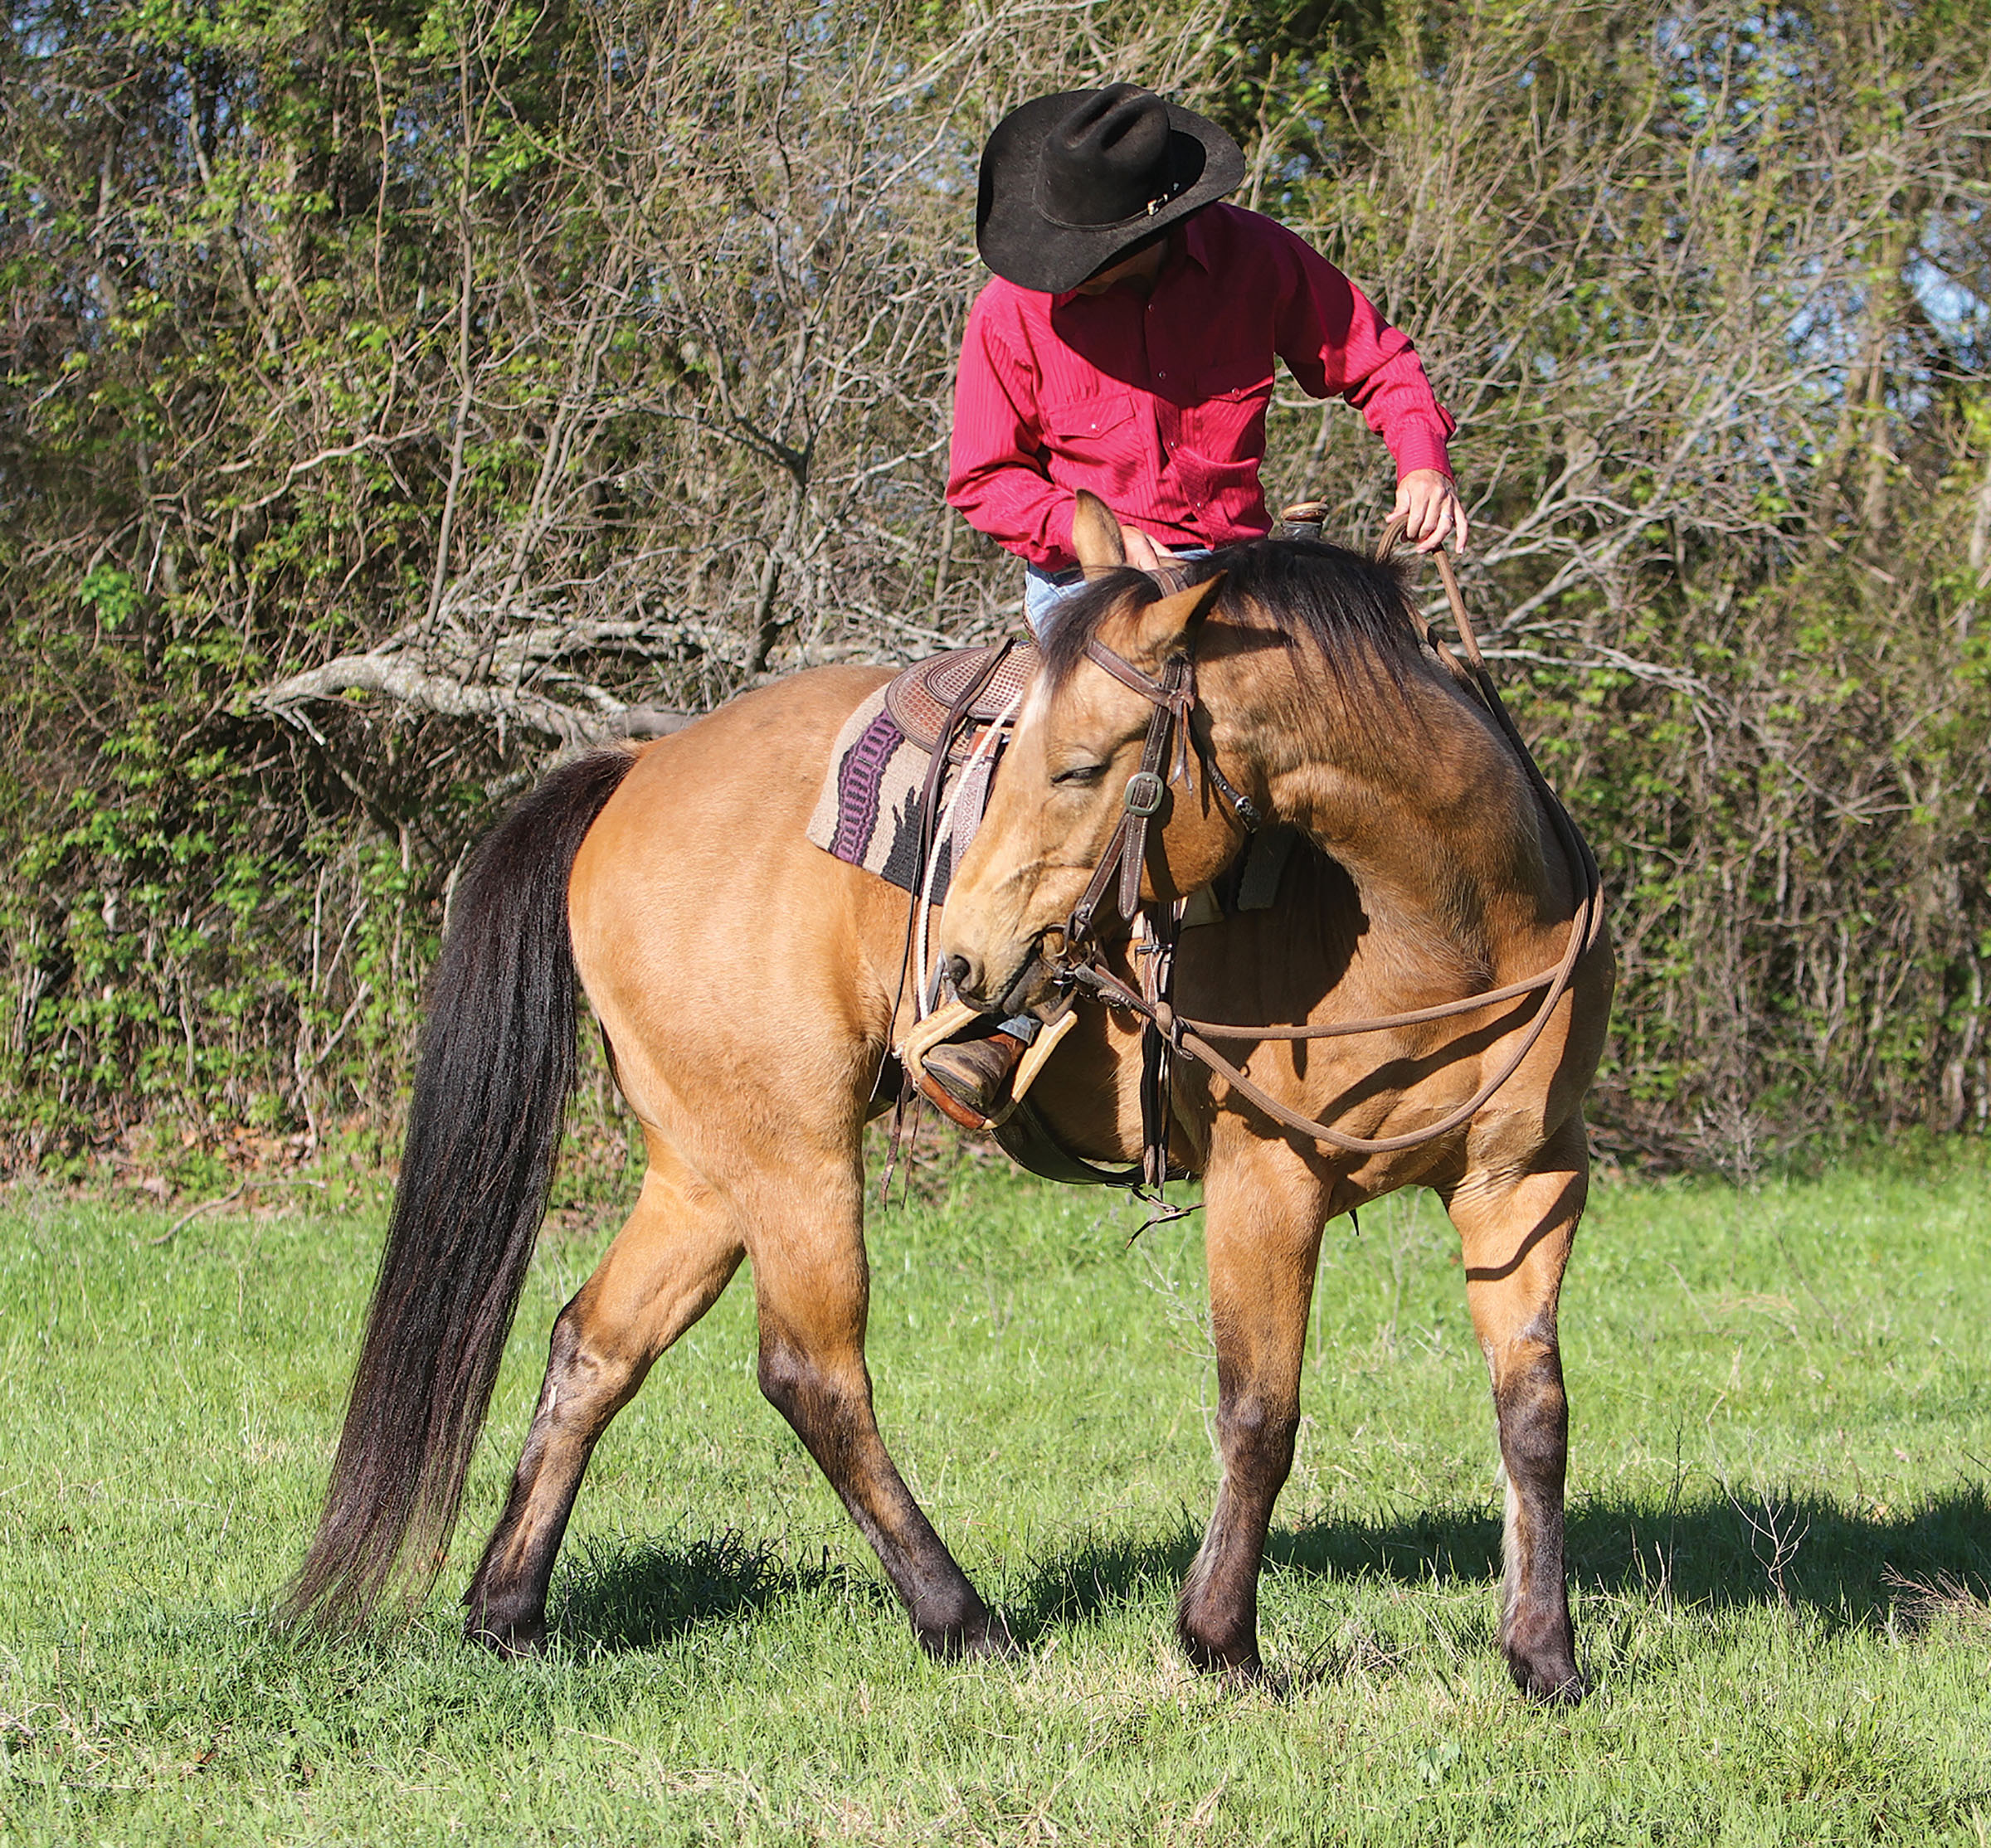
Checkpoint 4: Moving the Hindquarters
The action: This is also called “disengaging the hindquarters.” It involves the back, inside leg stepping across and in front of the outside hind leg. Slide your hand down one rein for soft contact to get the flexion you achieved in the one-rein stop. Place your same-side leg slightly in front of your back cinch, and use enough pressure to get one step. Then release.
The benefit: With this motion, you “unbalance” your horse in a natural manner—it’s natural for him to step in this way—thus removing his ability to buck, rear, or run. He can’t put you in a dangerous situation because he can’t use both of his legs when they’re crossed. →
Checkpoint 5: Bending Circles
The action: At a working trot, bend your horse in tight circles in one direction, then the go the other way. Keep the energy high, so it’s a lot of work for him. When he softens to one side, change directions. As your horse relaxes, make your circles slightly larger so he understands that it’s less work when he’s relaxed and focused.
The benefit: Nervous horses can be difficult to get back on track, but this exercise makes it pretty simple. Instead of thinking about what’s causing him anxiety, he must focus on your cues, moving forward with energy, and tracking small circles.
Checkpoint 6: Hindquarters Out
The action: Move your horse’s hindquarters 180 degrees in one direction, and then ride off in the opposite direction. Here’s an example: Move his hind end a half turn to the right by making soft contact with the bit (to keep him from walking forward) and using pressure from your left leg, placed ahead of your back cinch. Once you complete the turn, ride off on an arc to the left by putting your hands forward and encouraging him forward and to the left with additional right-leg pressure. Stop and repeat in the other direction.
The benefit: This is another great exercise for redirecting your horse’s attention back on you and away from whatever scary object is causing his nerves. Keep his feet moving to keep his attention.
[RELATED: TRAIL RIDING CONFIDENCE]
Steve and Amanda Stevens, Weatherford, Texas, train horses and offer lessons for amateur and youth riders. They strive to keep riding fun, safe, and educational through weekend group lessons that include pattern clinics, trail-ride preparation, and problem-solving. Visit their Facebook page, Stevens Natural Horsemanship, to learn more.