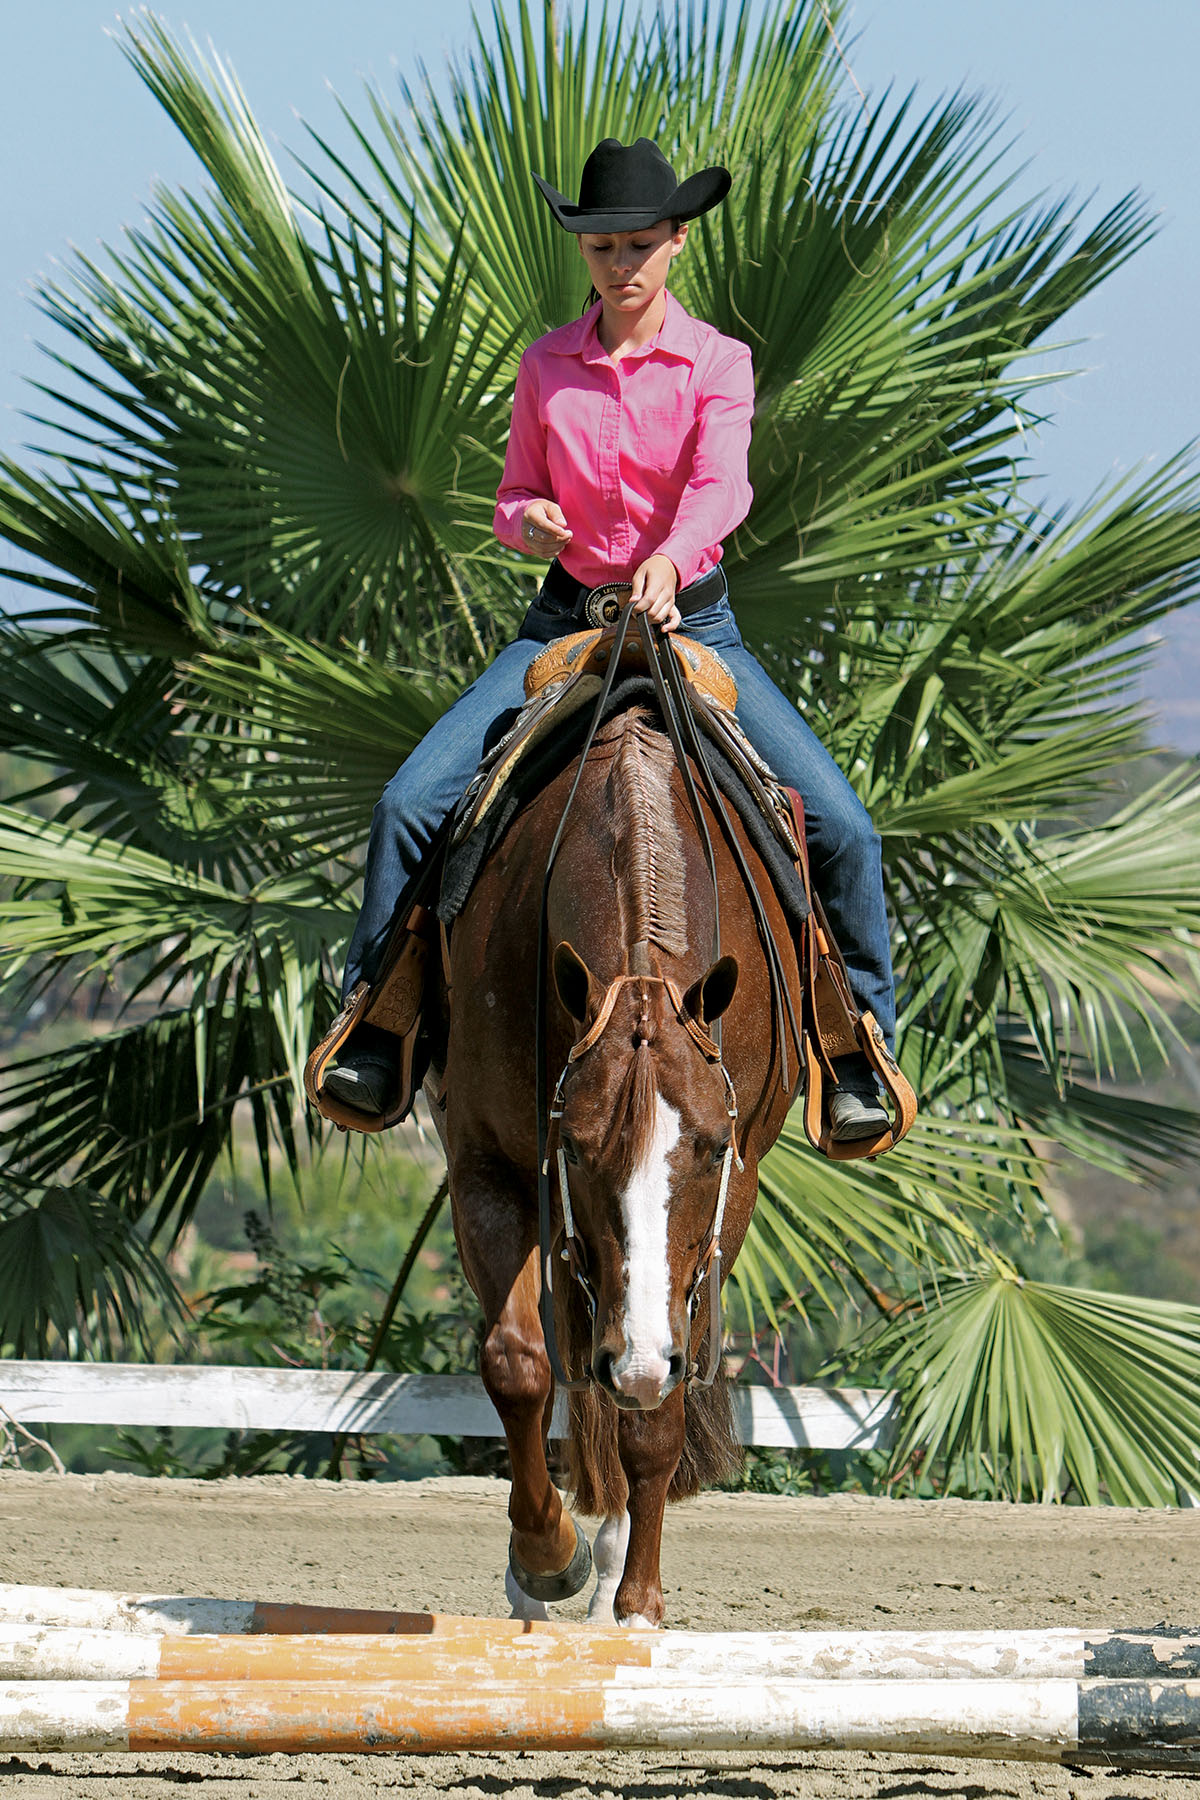
Foot placement is crucial for precise navigation of any obstacle, whether it be poles or logs in a trail or ranch riding pattern, working through tires in an obstacle course, or navigating unsure footing on a trail. Where your horse’s first foot lands right before you enter the obstacle can make or break your execution. Here I’ll give you tips to ace that placement every time.
[READ: 10 Tips for Ranch Logs]
When practicing foot placement at home, outfit your horse in a bit he responds to well. You can ride one- or two-handed during practice, with a rein drape that suits your horse’s training level. Set up your series of four poles or logs, placed 2 feet apart for walking or 3 feet apart for jogging. These narrow poles are elevated on one end to encourage the horse to pick up his feet higher as he navigates the obstacle. Larger logs, as used in ranch riding, have a similar, higher-step effect.
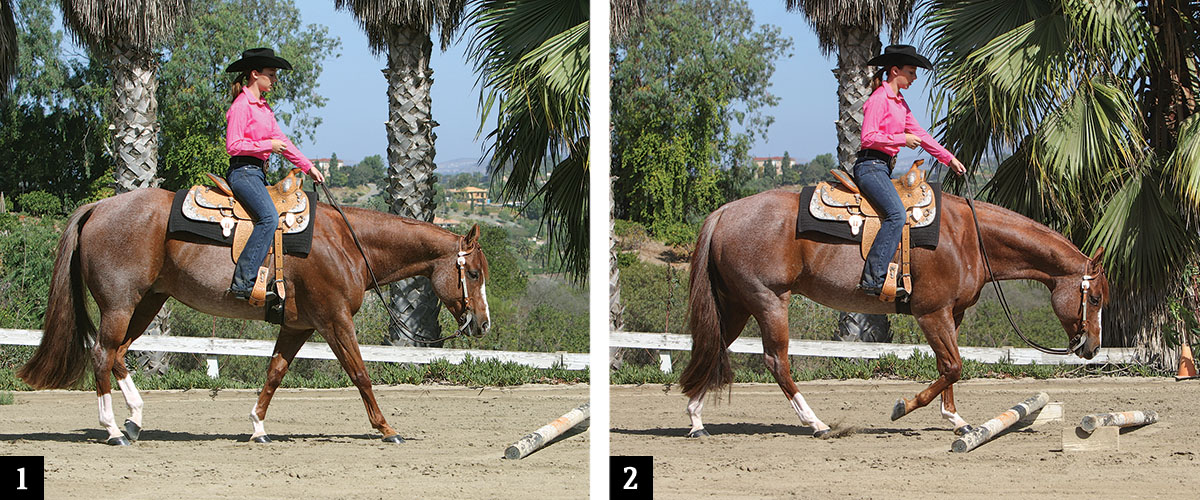
One
The rider approaches the poles looking ahead, and her horse is focused on the obstacle. She’s centered on the pole (one way the paint is helpful—it helps you find center), and her horse is moving at a cadenced, forward walk.
Two
Here’s where the problem starts. The horse’s final step leading up to the obstacle landed too close to the first pole. We call this “getting under the pole.” This tight foot placement will throw off the horse’s entire progression through the obstacle, leading him to push poles with his front feet or drag his hind feet over them.
[READ: Ranch Riding Transitions]
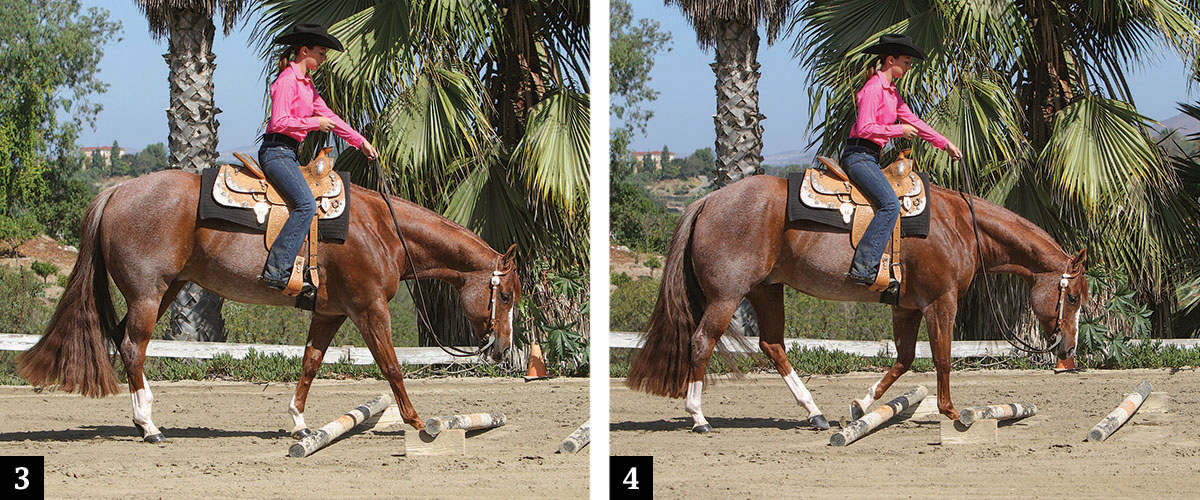
Three
The horse’s first step into the obstacle lands dangerously close to the second pole. His hoof is literally under the edge of it. His hind legs must reach farther to clear the poles. Both of his front feet are in danger of hitting the poles when he lifts them to advance his stride.
Four
And there it is: The first foot-to-pole contact of this obstacle, made with his left front foot. It’ll continue as the horse works through the walk-overs. The horse’s cadenced, even stride means his feet will land under the pole with each forward stride, forcing his subsequent footfalls to tick or hit a pole. This can all be prevented with the rider paying attention to her horse’s stride when they approach the obstacle.
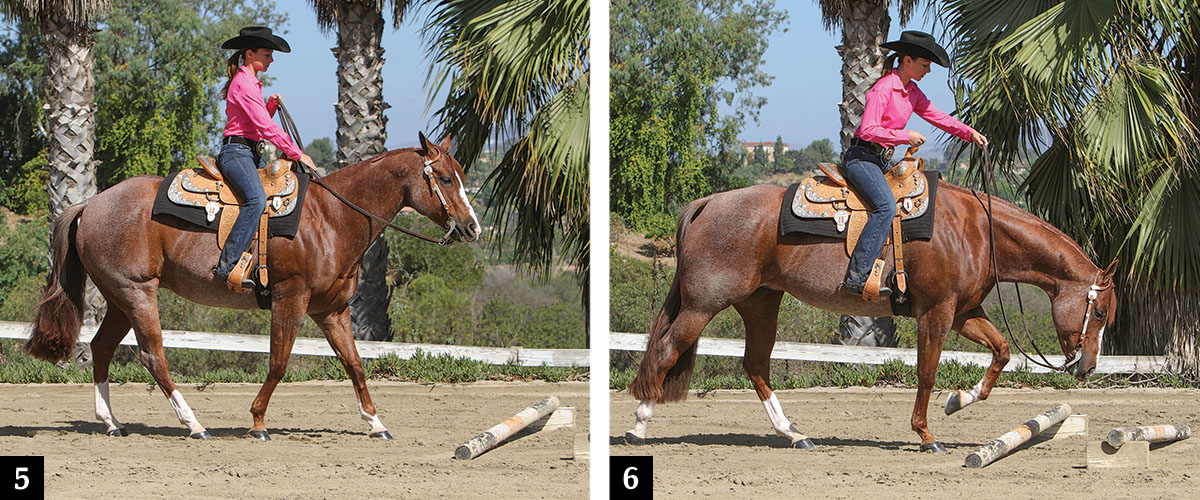
Five
When the rider noticed her horse’s stride wasn’t properly paced to enter the obstacle in Photo 1, she should’ve stopped and backed her horse, as she does here. She shortens her reins by pulling slack with her right (non-rein) hand and quickly backs her horse a few steps to teach him to stay back from the first pole. With repetition, he learns that stepping too close means more work in stopping and backing quickly.
Six
This first step before the obstacle is farther off the first pole than in Photo 2. There’s distance to allow the horse to step between the poles to successfully execute this obstacle. Note that the horse lowers his head to look at the poles in his path.
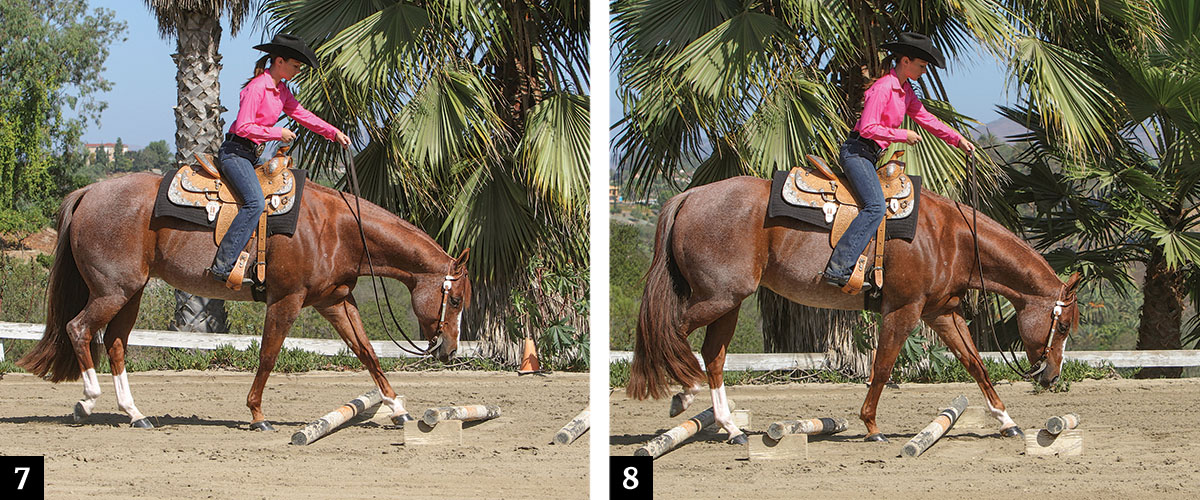
Seven
Bam! The first foot in the obstacle lands squarely between the first two poles. The horse should maintain this footfall placement, so he won’t tick or hit any of the poles.
[READ: Turn Your Reiner to a Ranch Rider]
Eight
There’s a foot placed equally between each pole in the obstacle. The horse’s symmetrical stride pays off when he approaches the obstacle correctly. The rider must remember to stay with her horse’s movements all the way through the set of four poles—until the last foot crosses the last one—before she starts thinking about the next obstacle or quits riding.
Liz Place, Del Mar, California, trains Western all-around horses for open, amateur, and youth competition from Sunset Horse Ranch. She’s a lifetime horsewoman, with AQHA world and reserve championships. Learn more at lizplaceperformancehorses.com.


