
Body control is an essential skill for every rider. The more you can influence your horse’s movements, the greater overall control you’ll have. That control gives you the tools you need to handle challenges, whether you’re approaching a spooky obstacle on the trail and need your horse to move his feet or you need the finesse to compete in an event like reining.
These tools in your toolbox are going to be applied differently depending on the day and what your horse is struggling with. One day you might be struggling with your turn and have to work on fixing a shoulder. The next day your horse might be tight in his front end, causing him not to stop properly. Either way, it’s the same set of tools—you’re just applying them differently depending on what your horse needs that day.
Step One: Start with a Simple Warmup Circle
When I start my warmup, I like to begin with something simple: trotting my horse in a circle. This gets his body moving, loosens up his muscles, and gives me a chance to see where he’s at for the day. Is he relaxed and soft, or does he feel fresh and tight? From there, I’ll go through a quick checklist, testing his shoulder, hip, and ribcage to see if there’s any stiffness or resistance that might affect the rest of our ride. I use this same warmup whether I’m working with a green 2-year-old or a more finished derby horse, because it sets the tone for everything that follows. In this session, we’ll take a closer look at how I check and improve shoulder control, since that’s one of the biggest keys to body control overall.
Step Two: Understanding Inside and Outside Shoulder Control
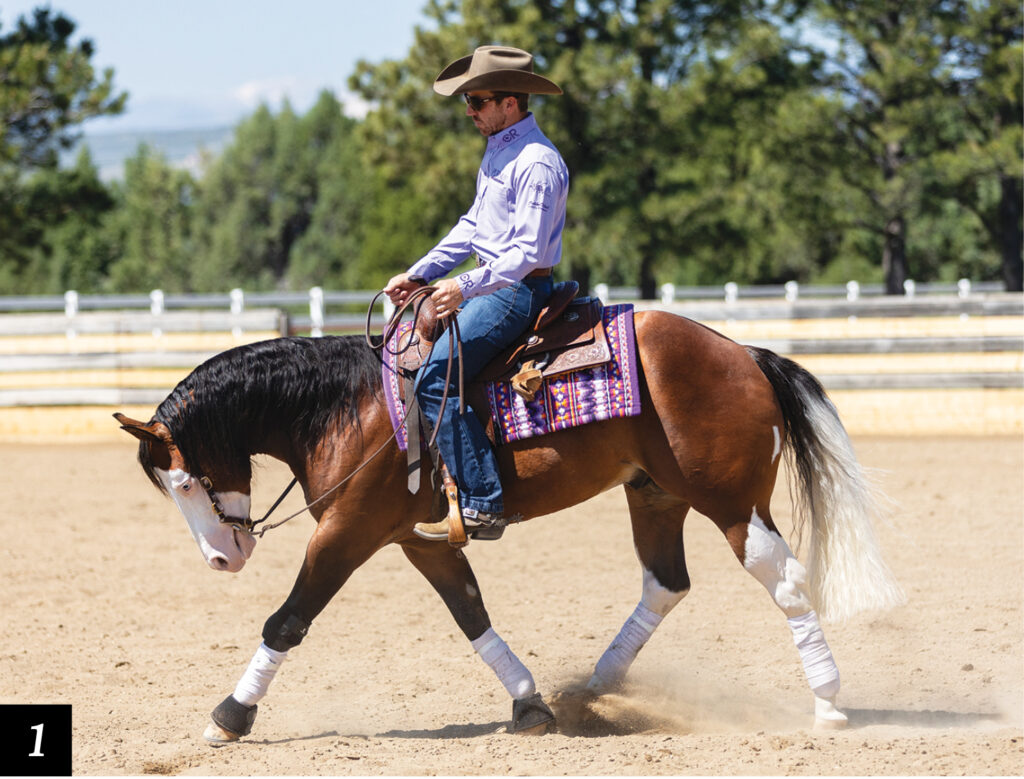
When I think about controlling the shoulder, I’m focused on being able to move it both to the inside and to the outside. If I want control of the inside shoulder, I’ll ask my horse to flex around my inside leg and stay soft through that shoulder. When I do this, a couple of common things can happen. One is that the horse will try to drop or fall into the circle, leaning through the shoulder instead of staying upright. The other is that he might resist by pushing his body out, avoiding the flexion and bracing against my leg.
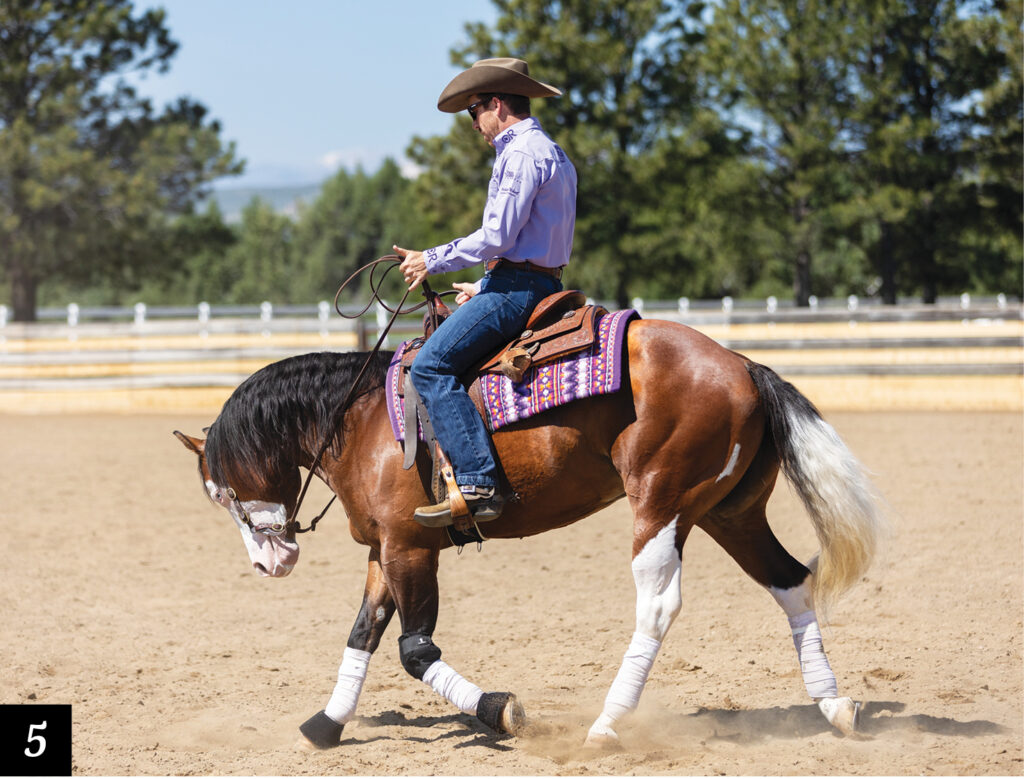
Step Three: Correcting a Horse That Falls Into the Circle
Here my horse is trying to fall into my circle when I ask him to bend around my leg. To correct it, I’ll go to my hands to bring his head slightly to the inside, then use my inside leg to push his shoulder back out where it belongs. As I do this, he needs to stay soft in his chin and neck, and continue flexing around my inside leg. If I don’t get a response from my leg at first, I’ll gradually increase the pressure until he chooses to move away from it.
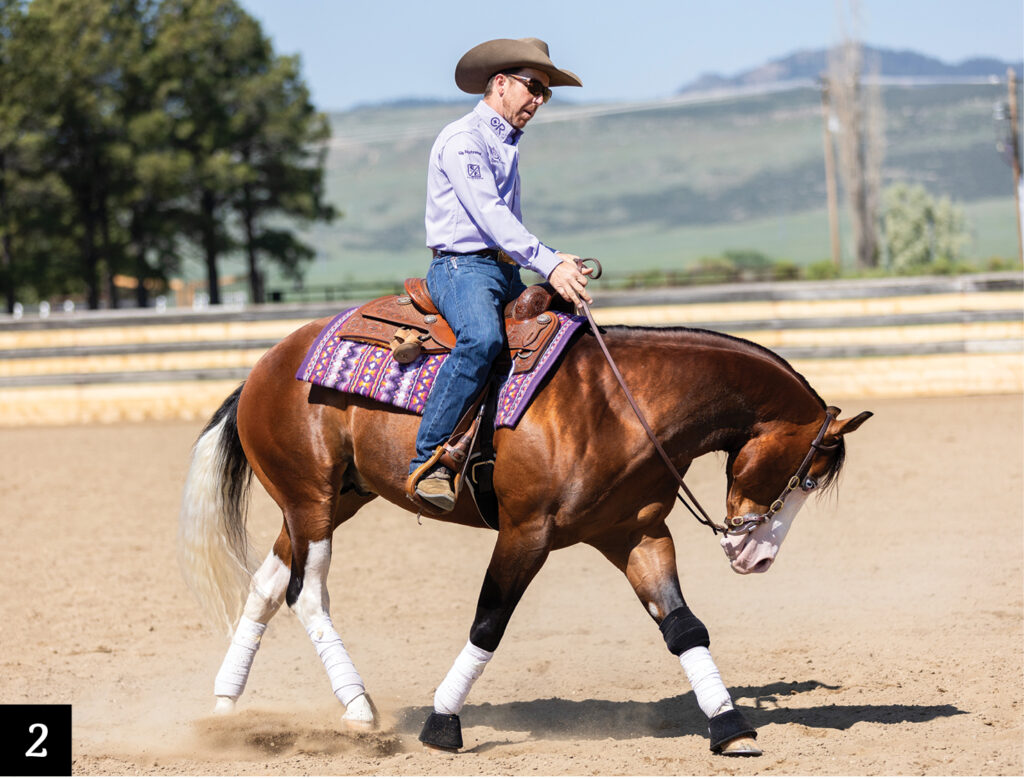
Step Four: Reward the Right Response
The moment I feel my horse give to the pressure, move away from my leg, and start to flex around that inside leg, I’m going to release and let him trot around on a loose rein for a couple of strides. This is my way of rewarding him and letting him know he found the right answer. If I continue to stay in and ask for more without any kind of release, I’m just going to confuse him.
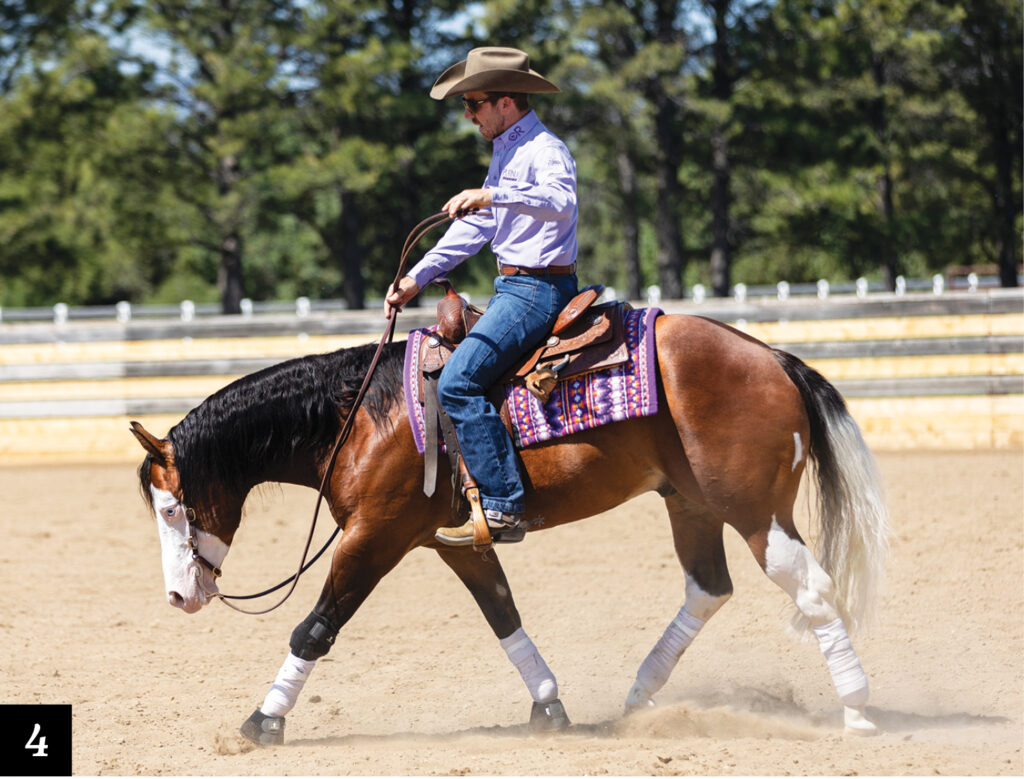
Step Five: Warm Up Both Directions
Once my horse is soft flexing to the inside the first direction, I’m going to move on to the other side and test where he’s at. It’s very common for a horse to be softer one direction over another, so it’s always important to warm up both sides and see which one is easier to see for your horse and which one you need to spend more time softening up.
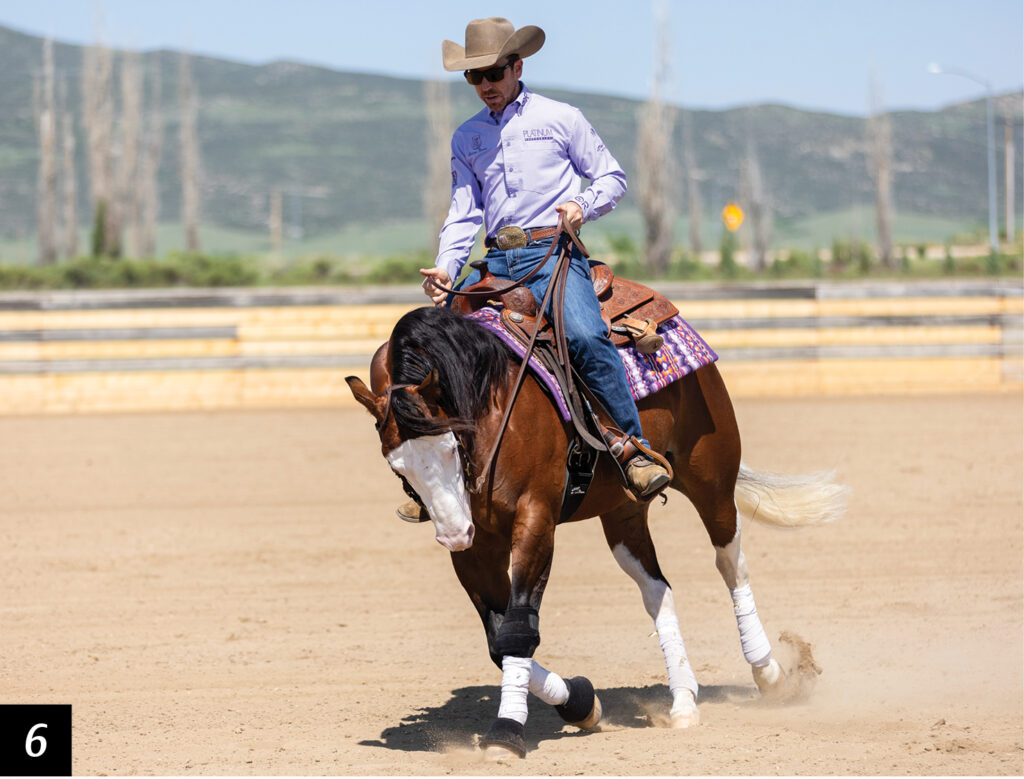
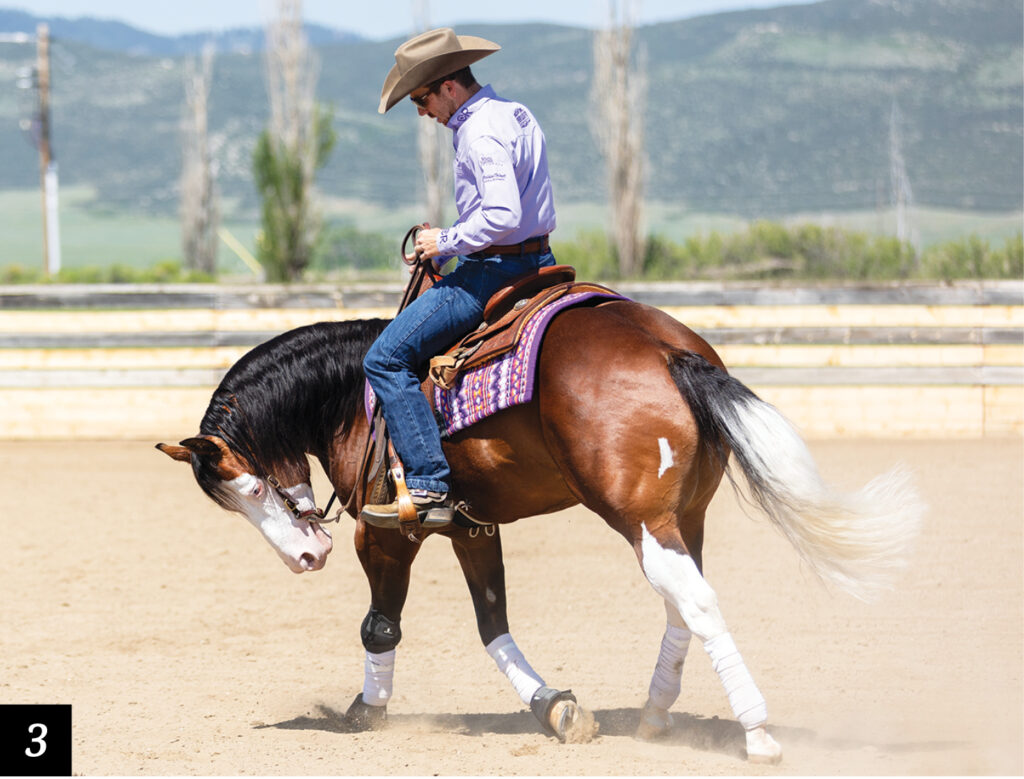
Step Six: Add a Counter Arc to Advance Shoulder Control
I’ll start to raise the degree of difficulty by incorporating a counter arc to further test shoulder control. In the counter arc, I tip his nose to the outside of the circle, and use my outside leg to ask him to stand up through his shoulder and flex around my outside foot. Sometimes a horse will brace against that pressure, pushing back into my hand and leg instead of softening. When that happens, I don’t rush the correction—I continue riding a small circle until he relaxes and gives to the pressure.