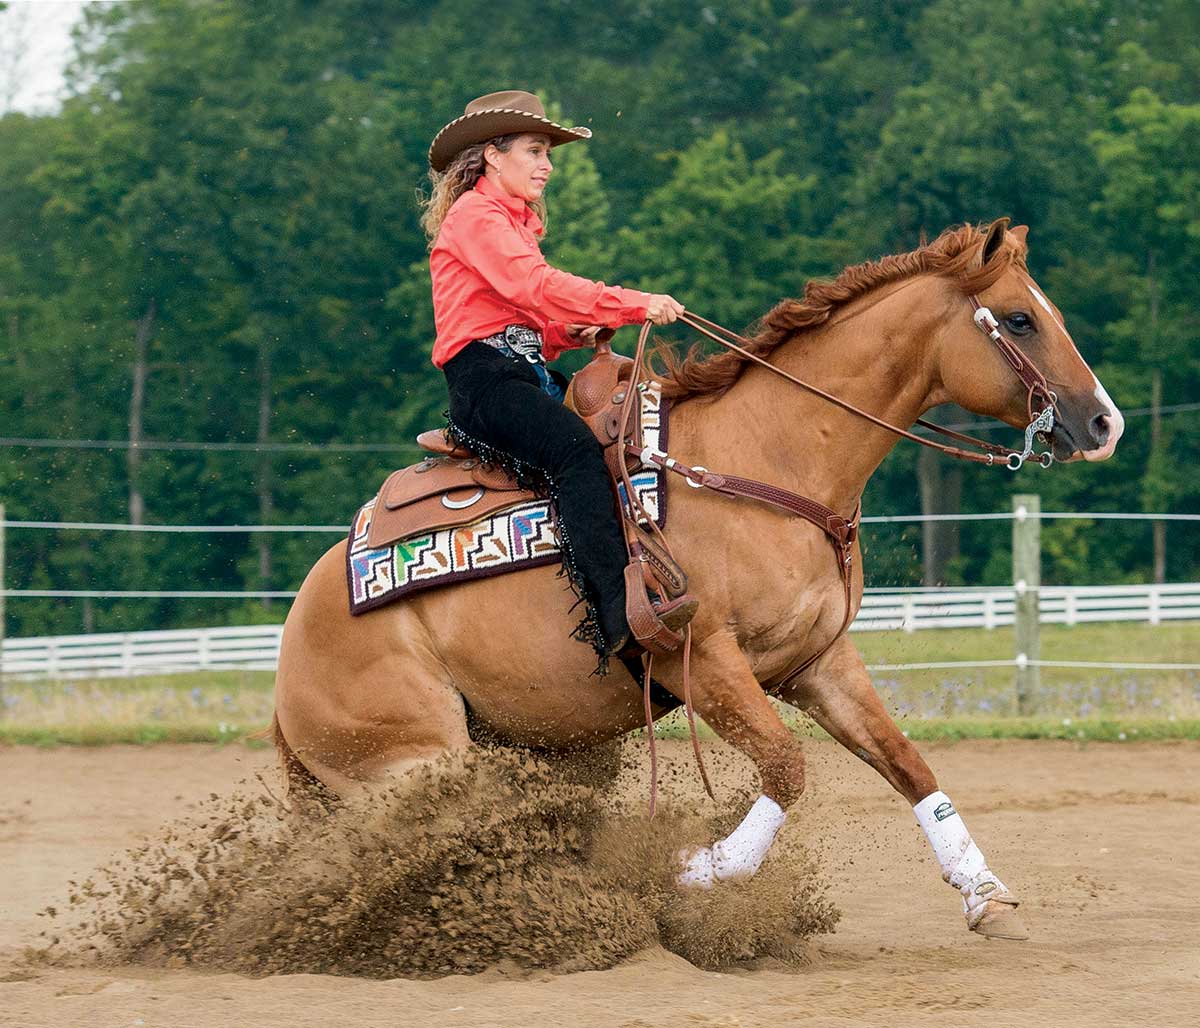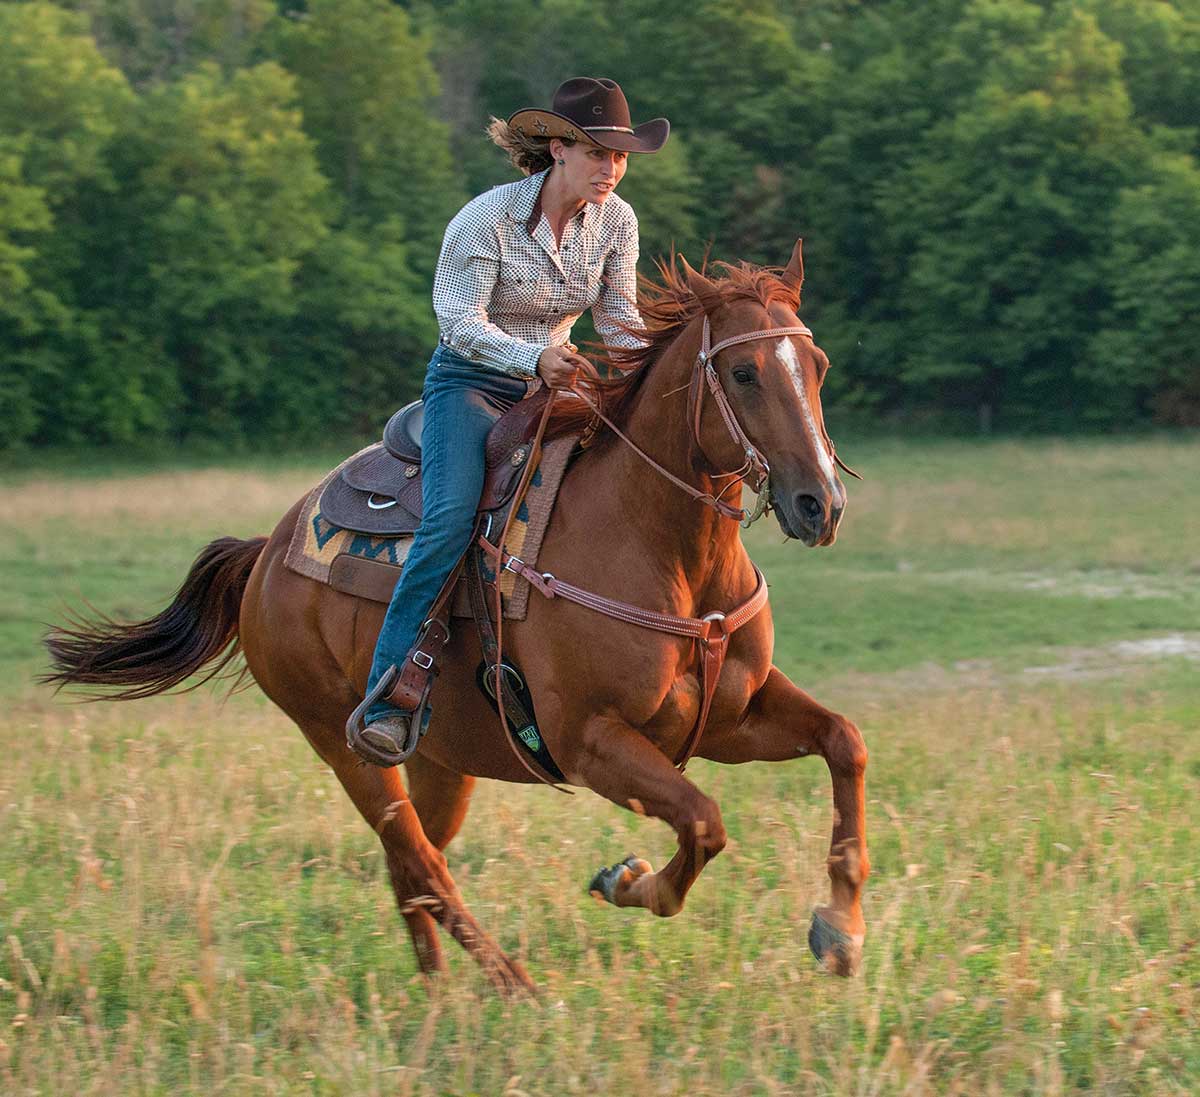
You’ve bought a show horse with the idea of having a trail horse with a solid training background. Or you’re ready to transition your current campaigner to be your full-time trail partner. Most horses with a background in showing can make solid trail horses. Your show horse is likely well-trained, has traveled to unfamiliar locations and is used to trailer travel.
Read More: Where-to-Ride Guide
We ride all our show horses on the trail. While we make sure that our horses are both trail- and arena-trained from the start, we understand that many show horses are trained only in the arena.
Your transition to the trail might be easy—or require a few extra steps, depending on what your horse did in the arena and the type of training he had.
Here we’ll give you four steps to transitioning your former show horse to a reliable trail horse.
Step 1: Know His Background
If you’ve just purchased a show horse, ask the previous owner how the horse was trained and what events he was trained for, so you’ll know how much retraining the horse will need for the trail.
For instance, if your horse was trained to accept contact with the rider’s hands (what we call connecting) and learned to control his emotions (so he’s not reactive even if he’s excited or around excitement), he should make the transition without much fuss.
We recently rode with a friend who’d just purchased a former show horse. The horse thought that any bit pressure meant that he should put his head down and behind the bit—tucking his chin down and toward his chest. As we rode down a hill, our friend gently pulled back on the reins to ask her horse to slow and rock back onto his haunches to balance.
Instead, the horse’s weight shifted forward and he automatically lowered his head more and more in response to her rein aid. He had to choose between raising his head to balance and obeying a learned show-pen cue. He chose to respect his previous show-ring training. Lowering his head in this situation threw him out of balance—causing anxiety for both horse and rider.
The scene continued: My friend felt her horse falling forward so she pulled on the reins; the horse dropped his head more and more. The situation quickly escalated; we had to find an emergency solution. We arranged the horses below the unbalanced horse so they would block him from cart-wheeling down the hill.
My friend needed to teach her former show mount that bit pressure could do more than cue for a low headset. She also needed to teach her horse that she’d be his guide and trail partner to keep them both safe.
Doing It All
You can do it all: show your horse competitively and go on exciting trail rides with him. Riding on the trail promotes balance for your show horse—figuratively and literally. Visiting new and natural scenes with your horse can provide a mental break and give him a way for him to stay in excellent shape.
If you have an expensive show horse, you may think the trail is off limits and be reluctant to try—the terrain varies and you can’t control the environment. Something might happen to spook or injure him. You might also feel that you can’t work riding on trails into your busy competition schedule.
While these are valid concerns, think about what your horse might be missing in education and in conditioning if you don’t leave the arena. Working only in the arena can also cause burnout. Your horse is a living being. When he can experience open space, he experiences life in a different way.
To keep your show horse ready for competition and to have time for the trail, trail ride during the off-season and right after a big show when your horse is ready for a change in routine. Keep training him on the trail by ensuring that he’s paying attention to your cues. When it’s close to show time, work more in the arena, and allow your horse to cool down with a quick ride around a field.
When our horses have built muscle on the trail, we notice that their length of stride is longer. They extend their gaits easily, and we can feel their improved range of motion—all great for the show pen. This happens because they have to reach under themselves to travel up and down hills. If you only work in the arena, you have to train hard to get the same results that come naturally on the trail.

Step 2: Connect With the Reins
As you evaluate your horse’s training, find out whether he’ll allow you to connect—that is, accept direct contact with the reins and allow you to turn him in any direction, help him slow down to balance, and stop him.
To teach your horse to connect, outfit him in a snaffle bit and his usual working tack. Pick up a rein in each hand and test his responsiveness to your rein cues.
In the process of becoming more sensitive to riders’ aids for the show pen, horses sometimes become worried when they feel their riders hold light rein contact. Completing a figure-8 pattern will help teach your horse to accept contact while staying relaxed.
You’ll trot a 20-foot circle to the right then to the left to complete a figure-8 pattern. Begin by completing one full circle to the right, then pick up your left hand to move your horse’s nose to the left. Complete a circle to the left keeping your left hand slightly elevated and contact with both reins. When you reach the middle of the 8 again, pick up your right hand, and lower your left hand. While your body will naturally apply leg and weight cues as you look in the direction you want to go, you’ll lead with rein cues to help your horse remember his direct-reining responses.
Next test your horse’s stopping power. In the show pen, he might’ve been taught to read and react to the slightest shift of the rider’s body. Because of this, he might be rusty when it comes to stopping with direct rein pressure alone. You need to remind him how to stop with direct pressure. If something unusual happens on the trail (such as hikers approaching), you’ll need to be able to stop your horse even if he spooks and bolts. You’ll do this by using direct rein contact, as well as a weight shift, to turn and stop him.
Test your “brakes” by trotting three 20-foot circles to the right. Then quickly and smoothly bring your horse to a halt by pulling evenly on both reins. For now, resist the urge to use your seat, legs, or voice cues. You’re isolating your horse’s reaction to the reins to find out how he responds to a smooth-but-quick halt command.
If your horse responds well and doesn’t seem worried or agitated (shaking his head, becoming stiff, or avoiding contact), he understands how to respond to your cues. This skill will help you work together and navigate obstacles on the trail.

Step 3: Introduce Obstacles
If you’re unsure of your horse’s past or aren’t sure how he’ll react to new trail experiences, start with groundwork in the arena. When you know how to send him toward a new obstacle on the ground, you can use the technique under saddle on the trail, such as when you introduce your horse to a water crossing for the first time.
First, find and scatter interesting objects, such as a folded tarp (a must), large yoga ball, pool toys, old tires, shavings’ bags, and a jump standard, around one part of your arena. Choose objects your horse has likely never seen before or that you can arrange in a new way that gets his attention.
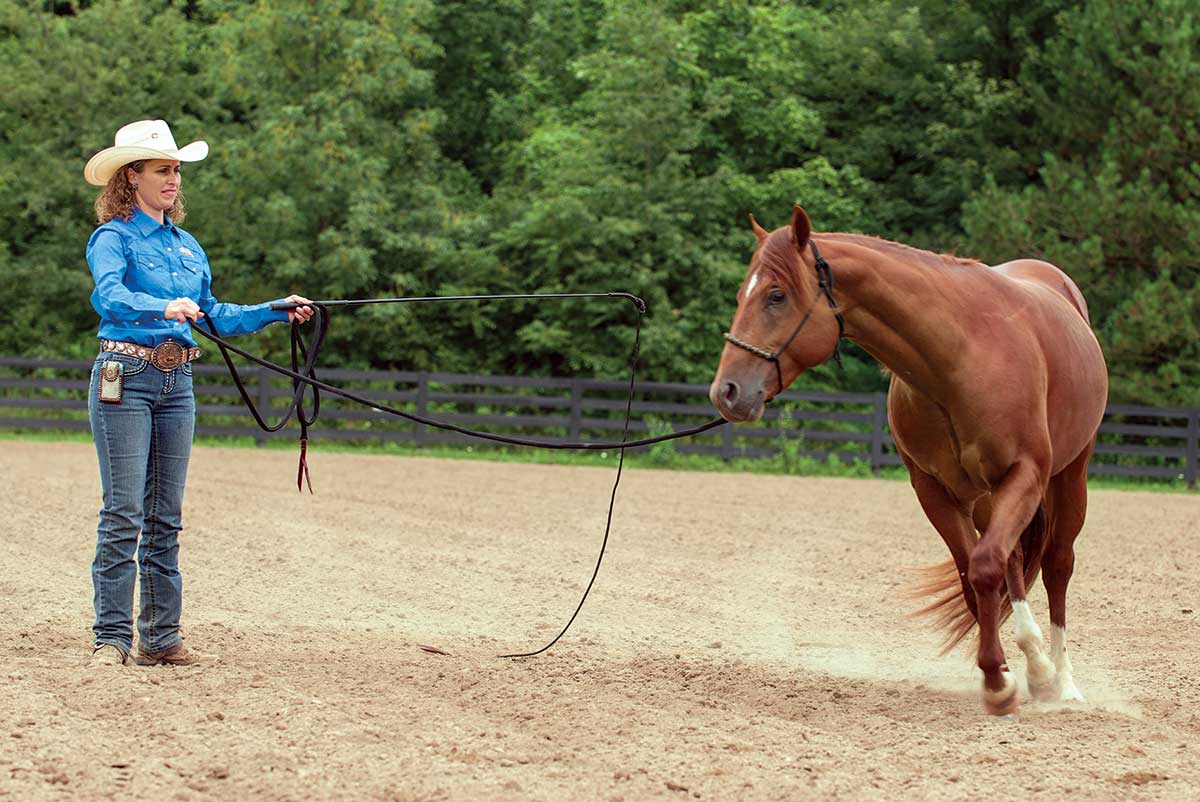
Outfit your horse in a rope halter and 24-foot lead, and lead him to the part of your arena that’s open but within sight of the obstacles. Hold the longe line in one hand and excess line and whip (or stick) in the other hand, as an extension of your arm. Ask your horse to longe. If he’s calm or just mildly excited, send him around five times at the trot, then reverse direction, and repeat. Stop and reward him by letting him stand.
If your horse has a big reaction—such as trotting half a circle and then rolling back to flee from the new environment and the objects—pull on the longe line, and ask him to return to the direction he was traveling. (Watch his movements to make sure he respects your space. If he comes toward you, be ready to use your whip to push him from your space.) Repeat this maneuver until he longes calmly.
Read More: Trail Riding Emergencies

When your horse works calmly in the obstacle-free zone, move closer to the folded tarp. Longeing him near the tarp instead of leading him toward it requires him to accept your cues while you stand safely out of the way of his reaction. Your ultimate goal is to send him up to the tarp and ask him to cross it—but you’ll work up to that.
Hold the longe line in your left hand and the slack and longe whip (or stick) in your right hand. Standing close to the tarp, ask your horse to turn toward you to focus his attention on the tarp. Then send him back out, and longe him in a circle to the left.
After three laps, ask your horse to turn to the inside as soon as he passes the tarp. To accomplish this, pass the whip to your left (lead) hand, and reach farther up the lead with your right hand. Take one step back, and pull steadily as you bring the whip across your body and to your left.
After your horse makes several good turns, step back from the tarp, and continue to longe him. In this position, he’ll turn closer to the tarp. Repeat the turns as soon as his hindquarters pass the tarp. Continue to turn him back and forth near the tarp.
Ideally, your horse will begin to do a figure 8 and always turn back toward the tarp. If he shows signs of curiosity (even glancing at the tarp), remove all go-forward cues, and let him look at the tarp. When his attention wanders, repeat the exercise. With consistency, he’ll sense the release when he glances at the tarp and look at the tarp longer and longer. Step back farther to bring his turns closer to the tarp.
Eventually, your horse will begin to see the tarp as a reward. If he looks at it or shows interest, he gets to stop. Keep drawing him closer to the tarp until he trots over it. Continue on to all objects that are safe to cross and approach. When your horse easily approaches them, he’ll be ready to approach any new obstacle on the trail.
Training a YoungsterIf you’re starting a young horse, train him for trail maneuvers at the same time as you start his show training.
Work your young horse in the arena first, then take him out on the trail. That way, he’ll use his brain in different ways. If he’s been on the trail and has seen obstacles from the beginning, you’ll give him a good, fun experience that’s making him a better, well-rounded horse.
With consistent training, you won’t have a sudden switch from the show arena to the trail in the future. You’ll have fewer training challenges when you want trail riding to be your horse’s No. 1 sport.
Step 4: Ride on the Trail
When you take your horse on his first-ever trail ride, go with a buddy, and don’t go far. If he becomes worried, consider ponying him from a seasoned horse first. Start by looping around a field or riding around the pasture. Apply the groundwork lessons by asking him to approach anything that worries him and allowing him to stop when he looks at what worries him.
On your next ride, go a little farther, then head back on the same path. When you ride in the same location, your horse’s confidence will boost because he’ll know the terrain and what to expect. Keep taking longer and longer trail rides that you know well to build his confidence—and your confidence that your show horse is becoming a calm, reliable trail mount.
When your horse is tuning in to your cues and responding well, you’ll have a horse that you can ride anywhere and have a fun and relaxed ride.
Read More: Trail Riding Confidence
Stacy and Jesse Westfall, Loudonville, Ohio, train horses and riders for the arena and the trail. In 2006, Stacy was the first woman to win the Road to the Horse colt-starting challenge; in 2012, she was inducted into the Cowgirl Hall of Fame. Jesse holds an NRHA judge’s card and has won numerous NRHA and AQHA year-end awards. Learn more at westfallhorsemanship.com.

