
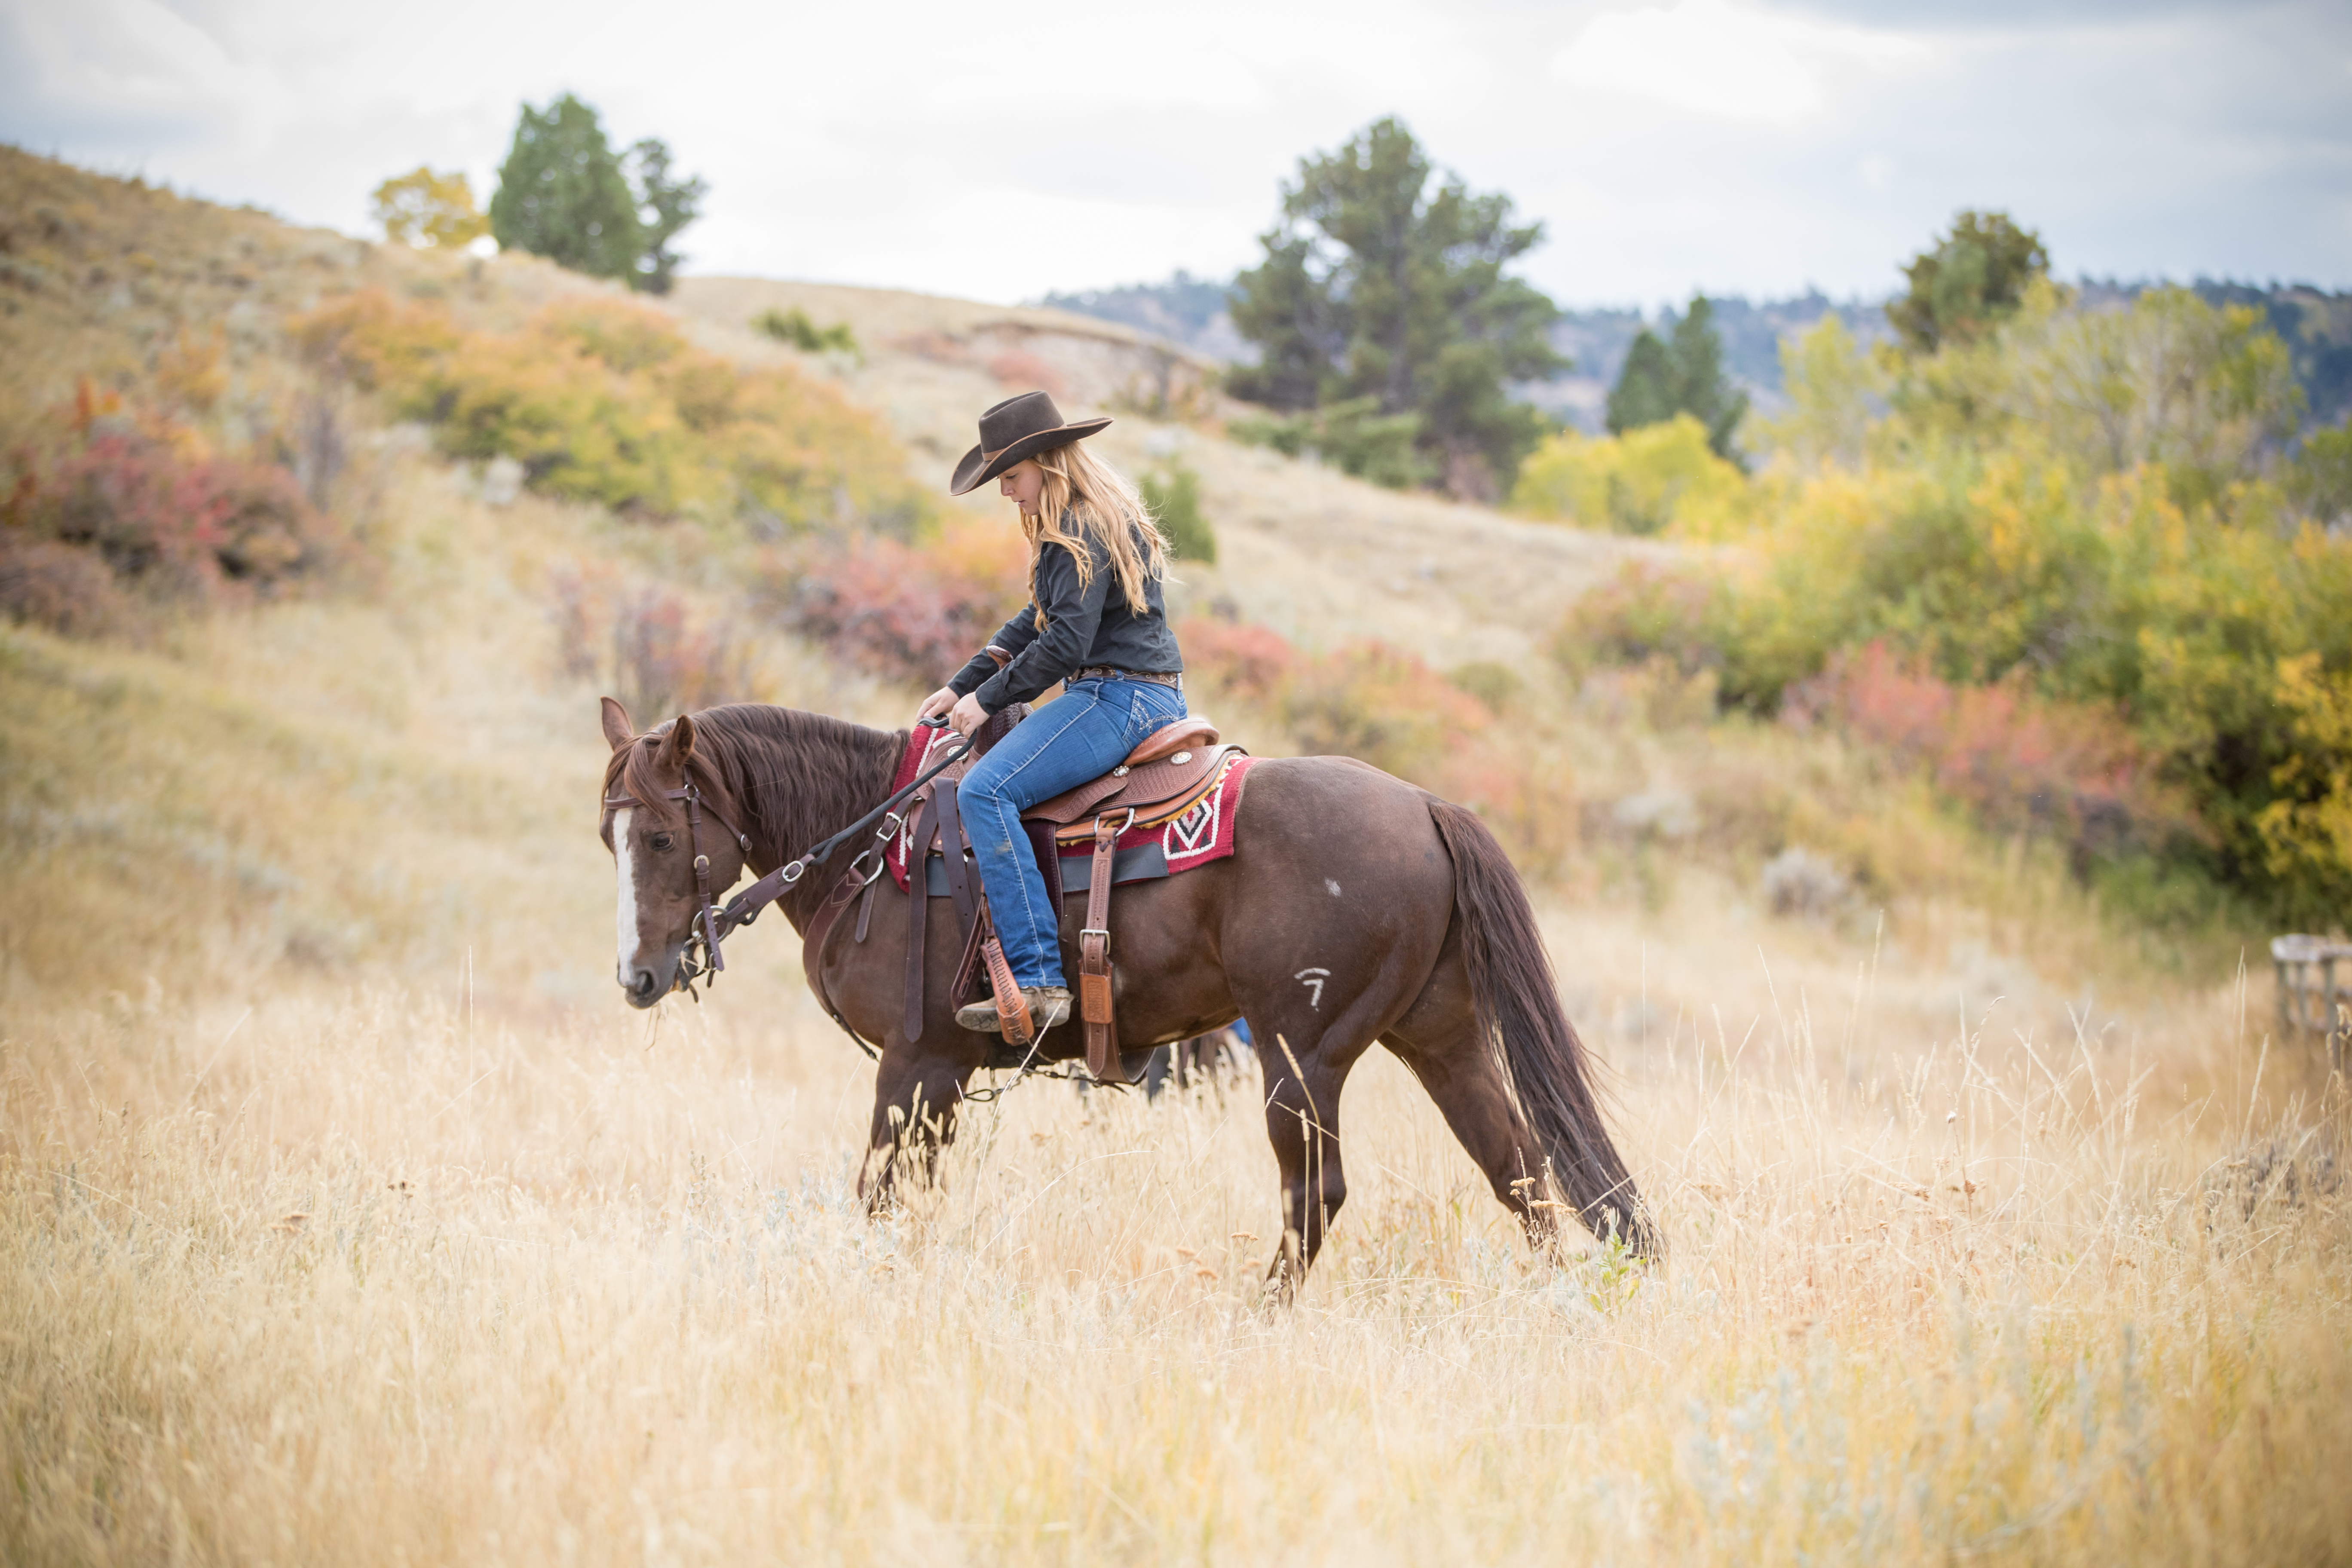
When it comes to trail riding, certain things just come in handy—an extra halter and lead, hobbles, friends to ride with, fly spray, snacks, and, of course, neck reining. While it’s not required, if you teach your horse to neck rein, it allows you to multitask as you ride, sweeping branches aside and managing other trail obstacles, pointing out a nice water feature with your hand instead of a head nod, or reaching down to pat your horse when he handles the sudden approach of wildlife drama-free.
[READ: RIDE WITH SOFT HANDS]
It also gives you the opportunity to relax, resting your reins forward as you move quietly down the trail until it’s time to pick them up for a cue. Transitioning to neck reining isn’t as simple as moving both reins into one hand, however. It requires that your horse first understand and respond to both direct and indirect rein cues.
Here, I’ll share the steps you need to take your horse from two hands to one. I’ll explain the difference between direct and indirect rein cues, plus describe the foot positions you’ll need to complete a series of exercise progressions that’ll train your horse to be soft and responsive to the indirect rein cue.
I’ll then provide easy instruction for five drills you’ll use to help your horse master neck reining.
Prepare for Success
If you’ve used two reins until now, your horse understands the direct rein cue, which makes contact with his mouth on the same side that you apply pressure. When you pick up your right rein, for example, the right side of his mouth feels the slight pressure, and your horse turns his nose to the right. If this is how you’ve always steered him, then his body will follow the cue.
By contrast, the indirect cue places pressure on your horse’s neck opposite the side you plan to turn. So if you’re turning to the right, for example, the pressure of the indirect (left) rein is against the left side of his neck.
It’s possible that even as you cue him with the direct (right) rein, you also unknowingly use the opposing rein—your left—to support the direct cue. While simply using the indirect rein is a first step toward teaching your horse to neck rein, he’ll still need more support to develop full recognition of and responsiveness to the indirect rein pressure.
He also needs to be responsive to your leg cues, which you’ll use to reinforce the neck rein. Three leg positions allow you to control your horse’s body as you teach him to neck rein through a progression of exercises.
Position one places your leg in front of the cinch; this position controls your horse’s shoulders. Position two places your foot in the center of his body in your natural riding position; this position moves your horse’s ribcage. Position three places your foot back toward your back cinch, where it controls your horse’s hind end.
Now, let’s learn the exercises.
Exercise 1: Circle Up
The goal of this exercise is to ensure your horse follows his nose and understands the direct cue, and that he becomes familiar with position-one leg pressure. Use it as you begin to introduce the indirect cue or as a direct-indirect rein refresher each time you ride. Hold the reins in both hands, making sure you have enough space between your hands to move them independently as you cue.
Walk your horse in a circle in either direction, asking him to follow his nose by making contact with your inside (direct) rein. Reinforce the small circles and direct-rein cue with light leg pressure with the outside leg in position one. Allow your outside (indirect) rein to rest on your horse’s neck, familiarizing him with the sensation without asking him to respond.
[READ: CHOOSING THE RIGHT REINS]
Exercise 2: On the Fence
This exercise begins to teach your horse to move his shoulders away from your leg, using an on-the-fence drill. While this is easiest in the arena, if you ride only in open country, you can substitute a sturdy barrier (such as a line of thick bushes, a snow guard, or non-barbed cattle fencing) for the arena fence.
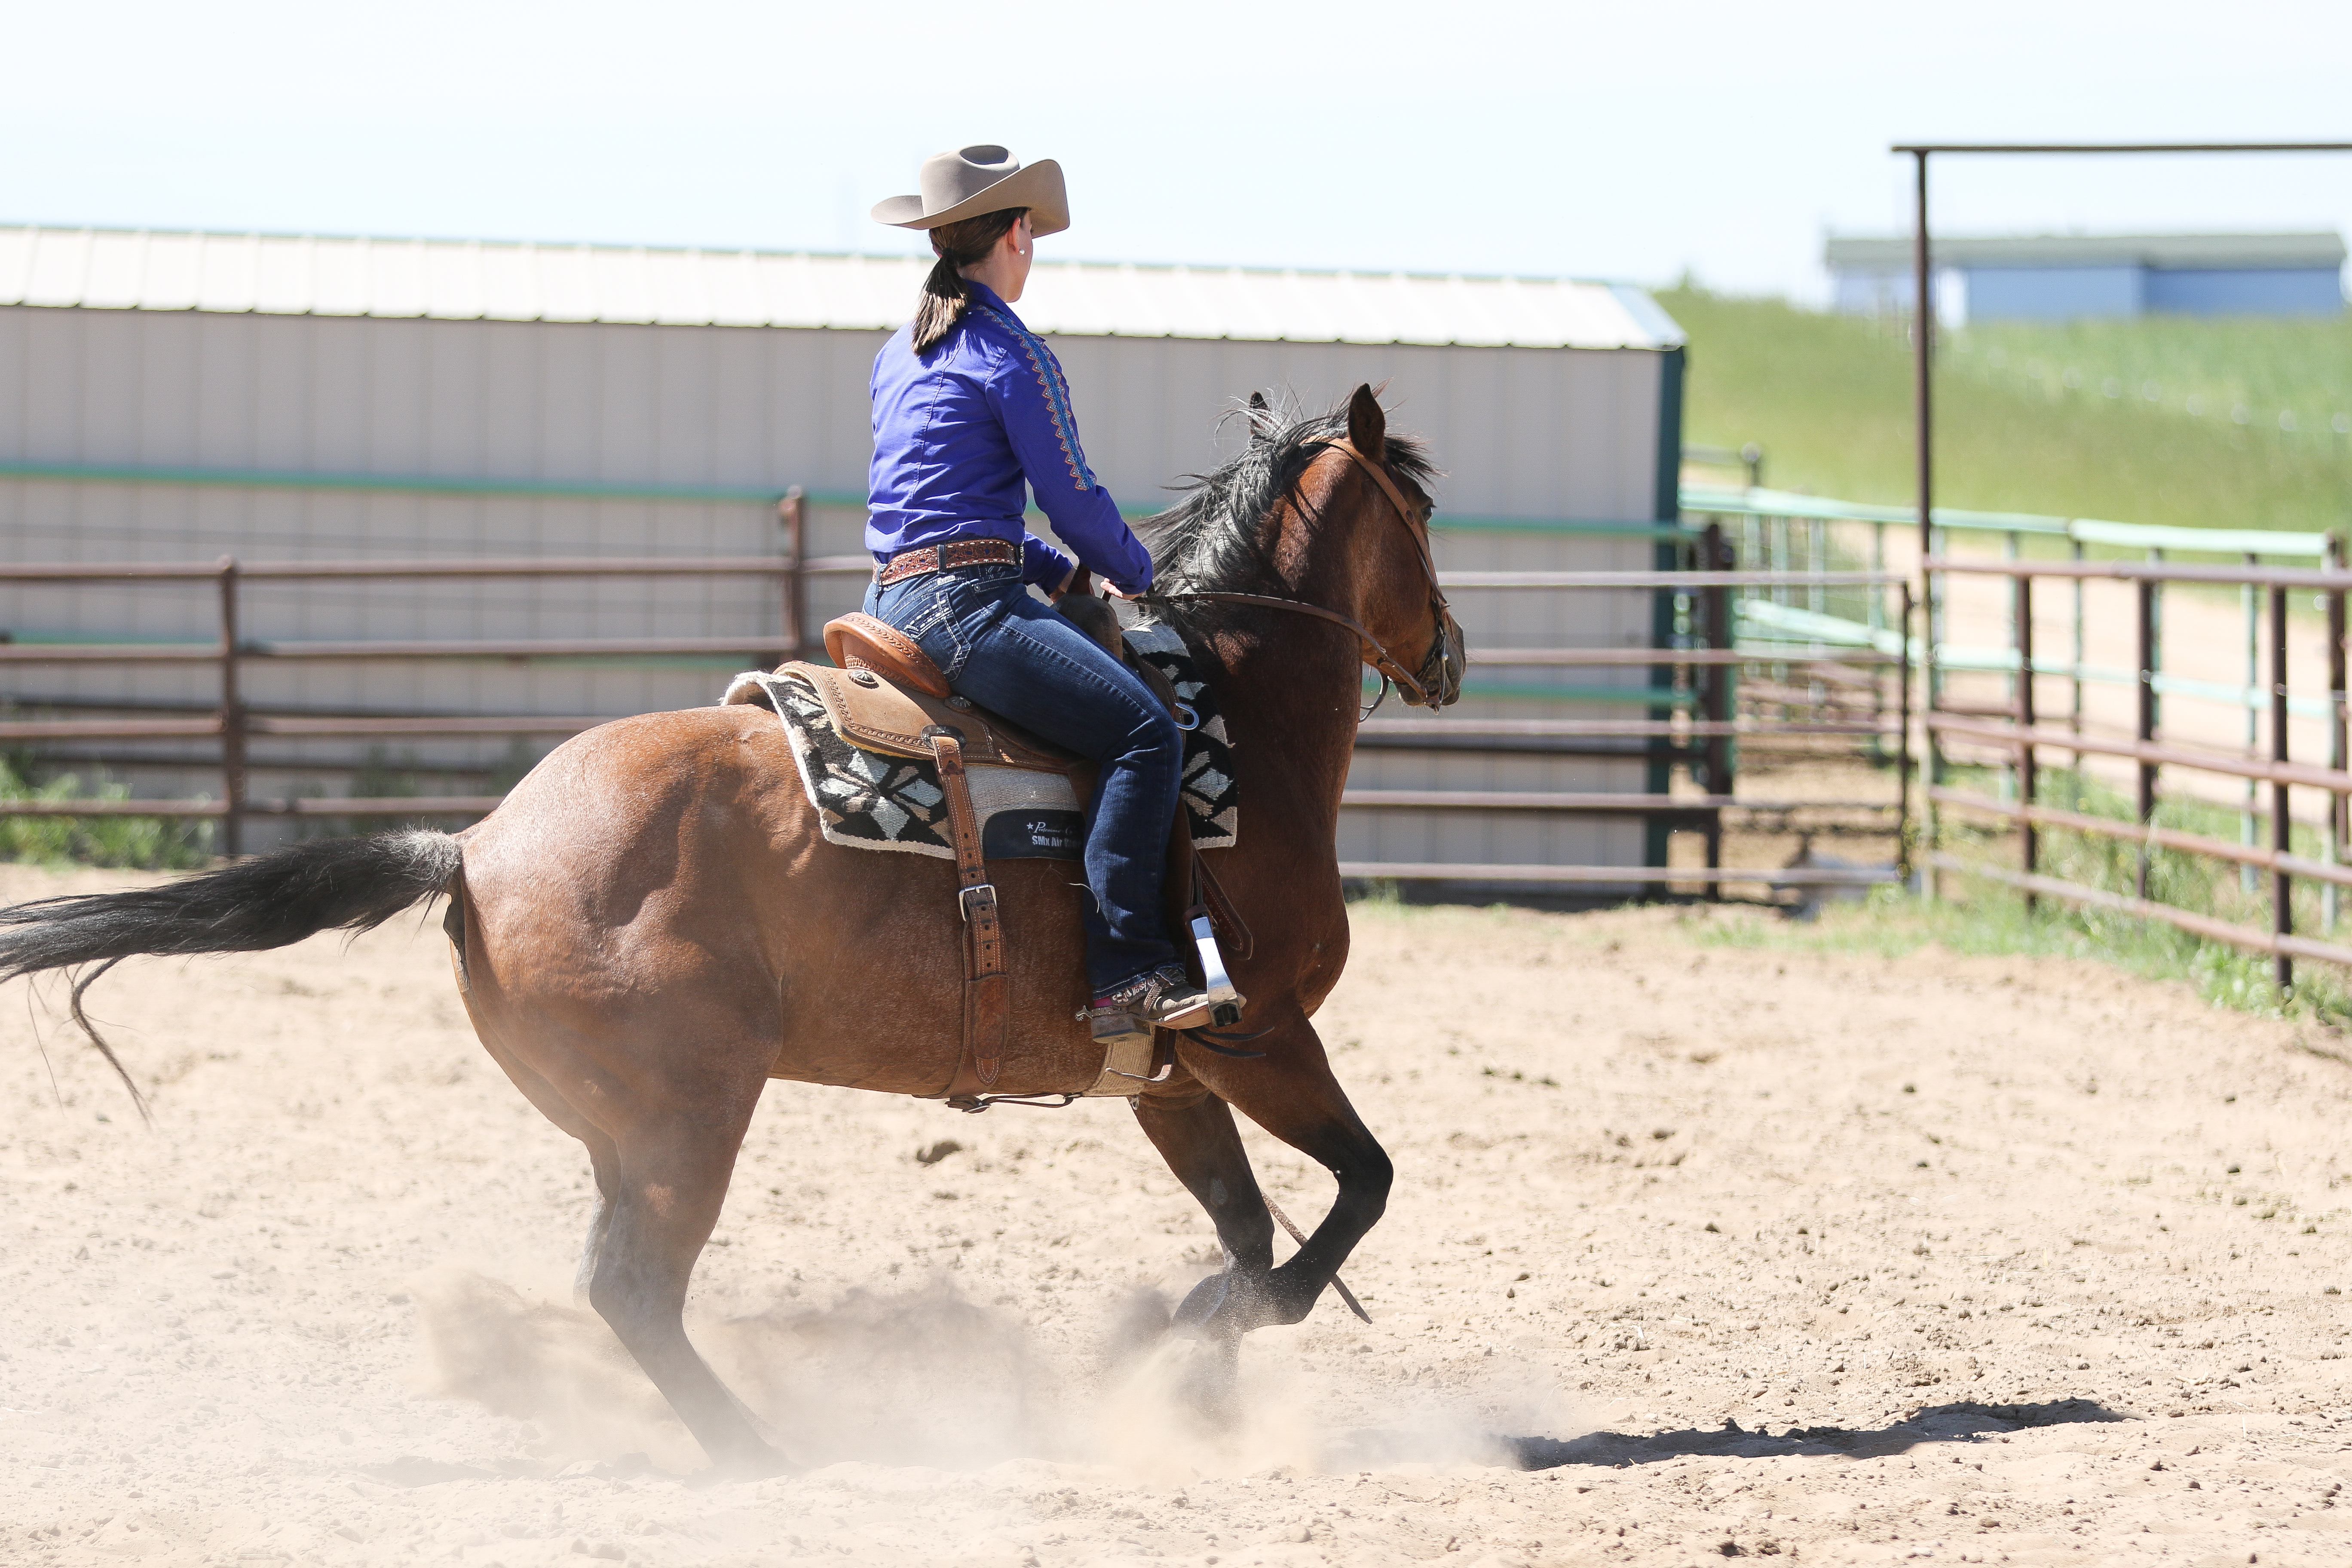
To begin, stand or walk your horse parallel to the fence or barrier, with two to three feet between you and it. Place your outside leg in position one while you simultaneously lift on your direct rein. The goal is for your horse to complete a 180-degree turn toward the barrier or fence. It doesn’t have to be a perfect rollback; he just needs to move off of your leg, changing direction.
As he commits to the turn, responding to your leg and rein pressure, remove your foot from position one. This release rewards him for moving away from the pressure. Continue to practice this exercise to the left and the right until your horse becomes responsive to the combined leg and rein pressure.
He should understand that when you place your leg in position one, he should prepare to turn away from it. This drill teaches him to move his shoulders freely away from your legs as he continues to follow his nose and the direct-rein cue. After he’s mastered this drill, progress to a more challenging exercise.
Exercise 3: Back It Up
Now that your horse understands leg pressure, you’ll begin to actively incorporate the indirect rein, or neck rein. This exercise is similar to Exercise 2, except this time, you’ll back up before the direction change. Prepare to back your horse, this time away from the fence or barrier.
As you back him up, apply leg pressure in position one with the leg opposite the direction you want to turn. Again, if you want to turn right, you’ll apply pressure with your left leg. At the same time, use your direct (right) rein to turn your horse’s nose, but now actively support the cue with your indirect (left) rein, placed at the middle of your horse’s neck. Ask for a 180-degree turn or, at least, a significant change in direction.
The leg pressure and direct-rein cue are the same as in Exercises 1 and 2, so they will feel familiar to your horse. In this exercise, though, you reinforce the cue with the indirect rein, letting him feel a clear sensation of the neck rein.
Practice this in both directions until your horse begins to anticipate the turn. While ordinarily you try to avoid anticipation, in this case, you use it to your advantage. Anticipation is an indication that he’s learning. Framed another way, if your horse moves at the first sign of leg and rein pressure, he’s responsive.
Exercise 4: Walk About
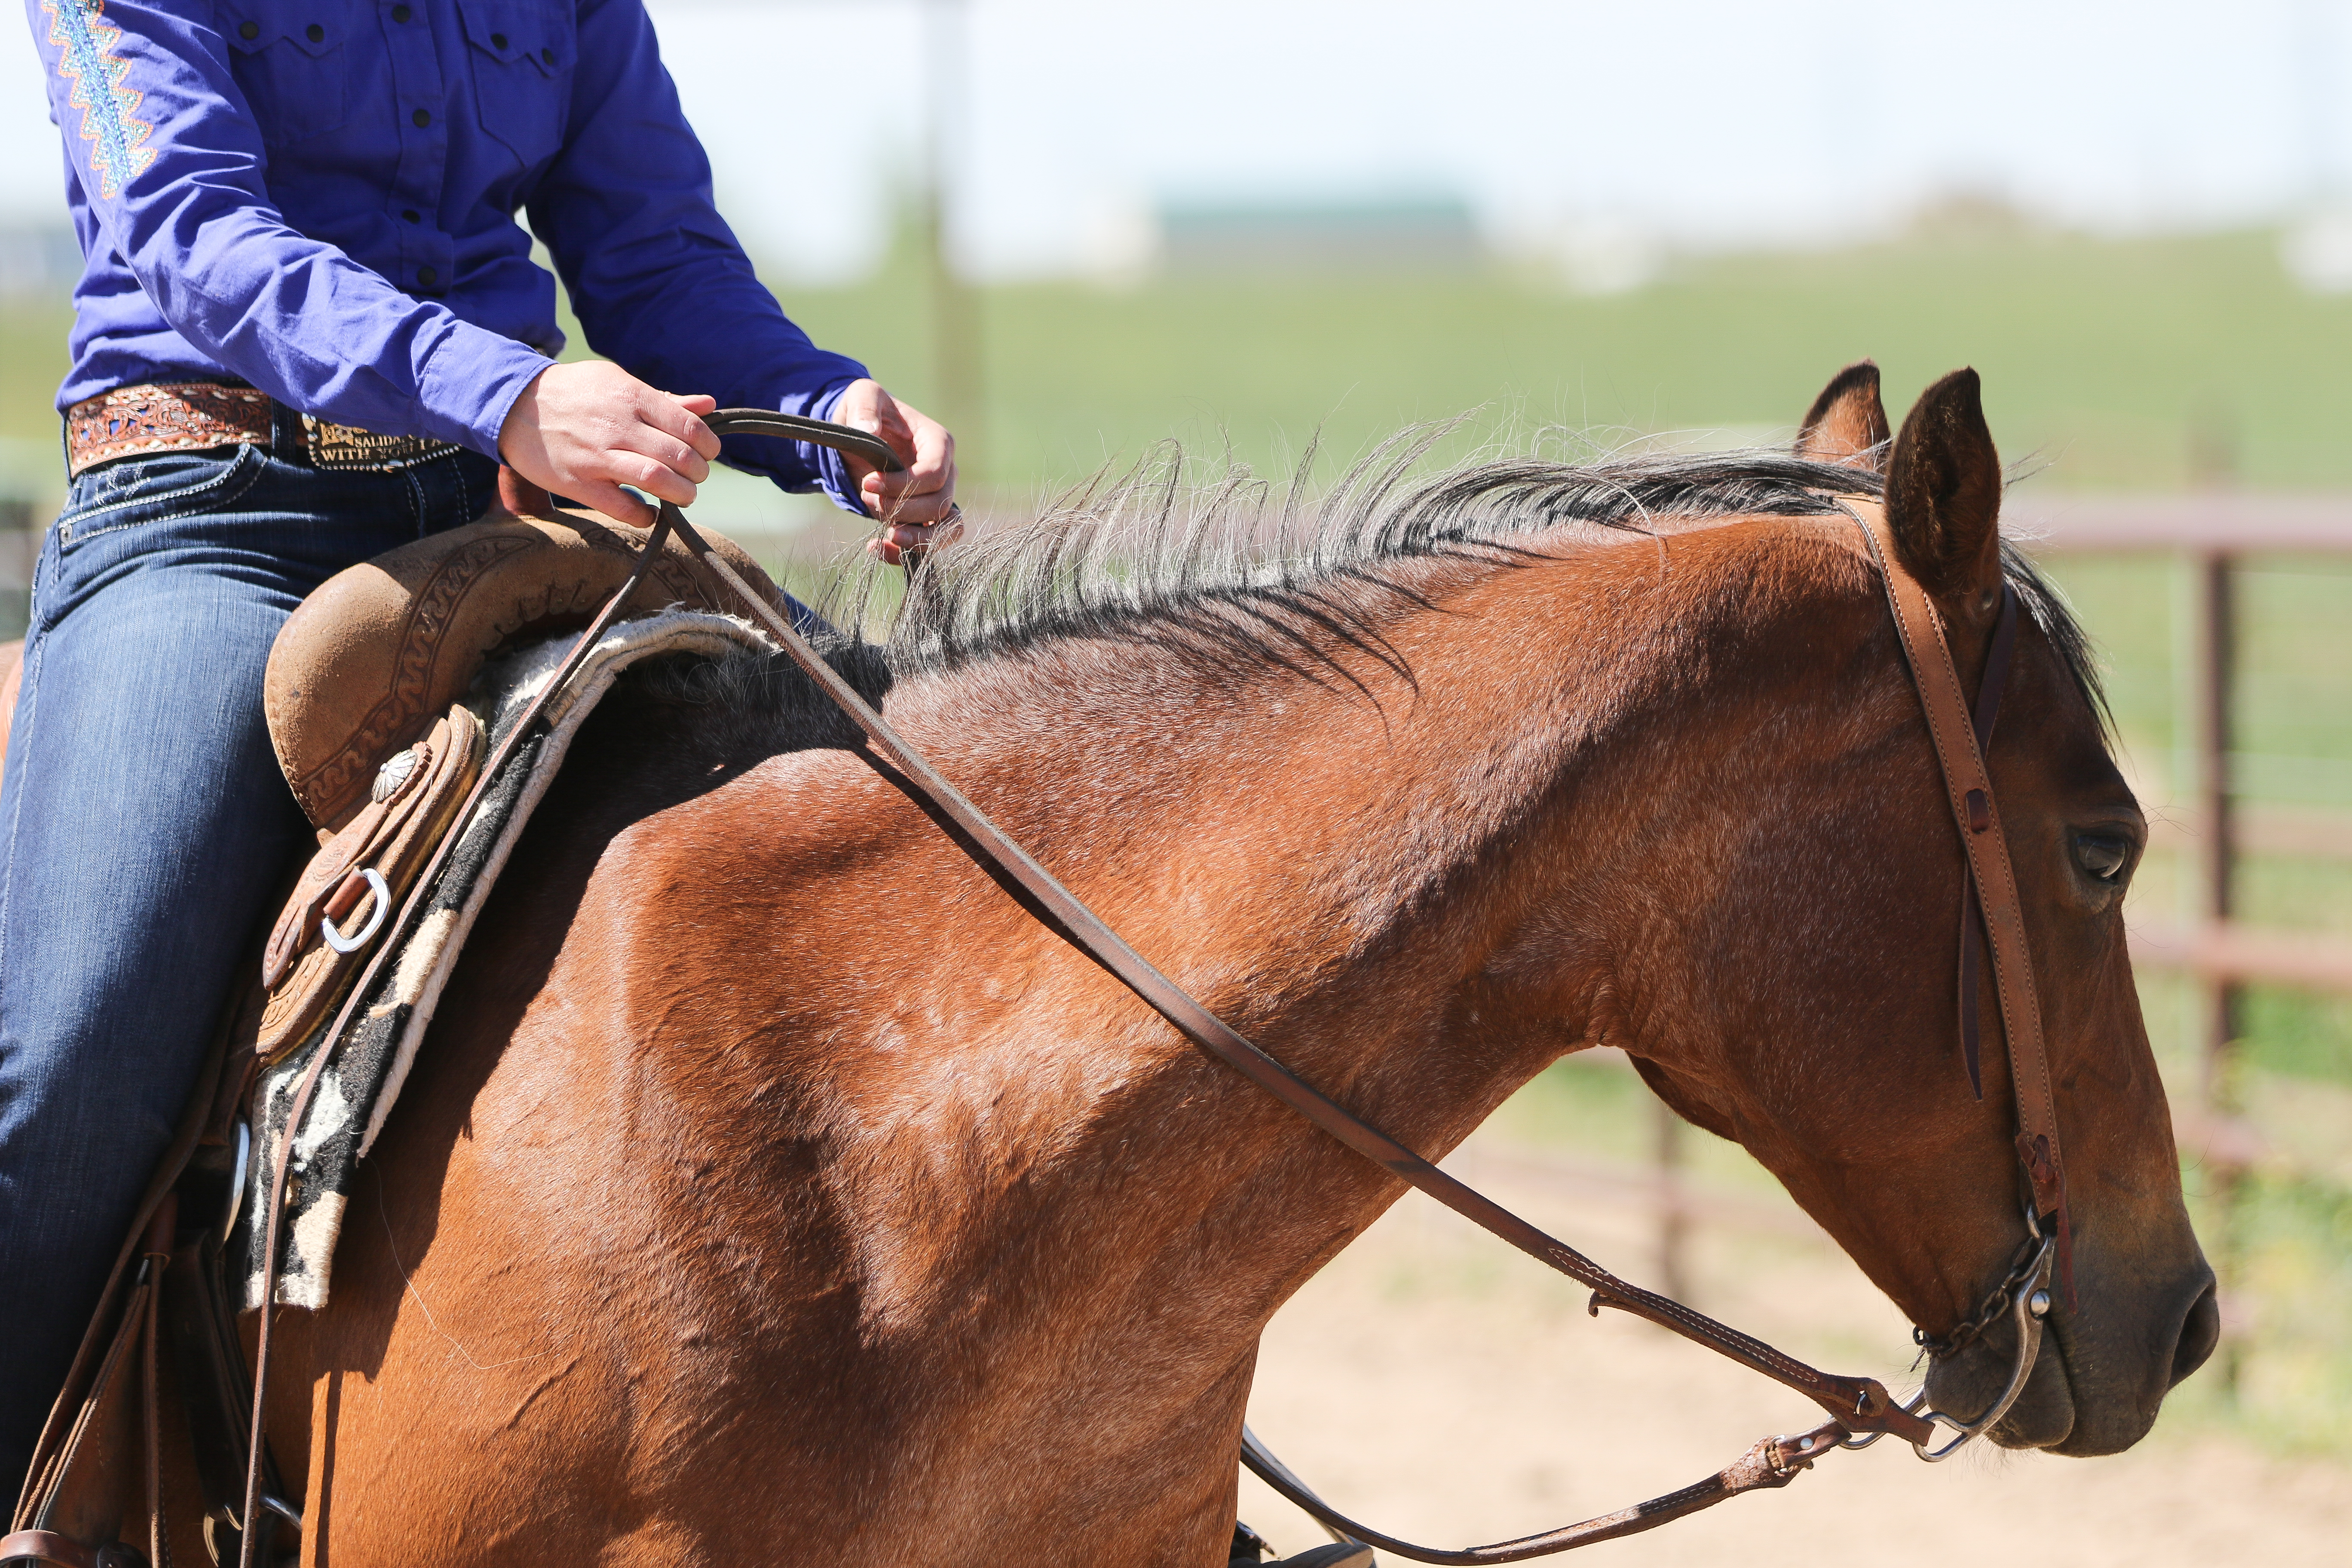
This exercise involves forward movement while continuing to reinforce the indirect rein cue. First, bridge your reins in one hand, in front of your saddle horn. This crosses the reins over the top of one another, such that one rein comes out next to your index finger and the other next to your little finger. If you’re riding with a single rein, bridge them the same way, ensuring that both sides of the reins are even and that they’re short enough that you make contact with your horse’s mouth when you tip your hand.
For this drill, it’s easiest to use the hand that’s on the same side as the direction you’re turning. For example if you’re turning to the right, hold your reins in your right hand. Switch hands when you turn to the left. This gives you a little more freedom of movement with the direct cue.
With your reins bridged in this way, walk your horse in a circle. Begin to turn more tightly. To do this, move your hand slightly in order to place the indirect rein against your horse’s neck as you apply pressure with your outside leg in position one. At the same time, tip your hand slightly to apply light direct-rein pressure even as your indirect rein comes against your horse’s neck. When your horse begins to turn more tightly, release the pressure. Repeat this exercise in the opposite direction.
Note: If you move your hand farther than a short distance from your saddle horn as you cue, you’ll unintentionally pull the indirect rein even as it lays against your horse’s neck. When this happens, you accidentally apply direct-rein pressure with the indirect rein, turning your horse’s nose in the opposite direction than you want him to turn. He’ll receive mixed messages, slowing your progress.
To prevent this, limit your hand movement to fewer than six inches from your saddle horn. Remember, if you can feel pressure in your hand, he feels equal or more pressure in his mouth. The indirect rein is not intended to make contact with your horse’s mouth as you neck rein.
[READ: SOLVE YOUR REIN MANAGEMENT ISSUES]
Exercise 5: Increase Your Skill
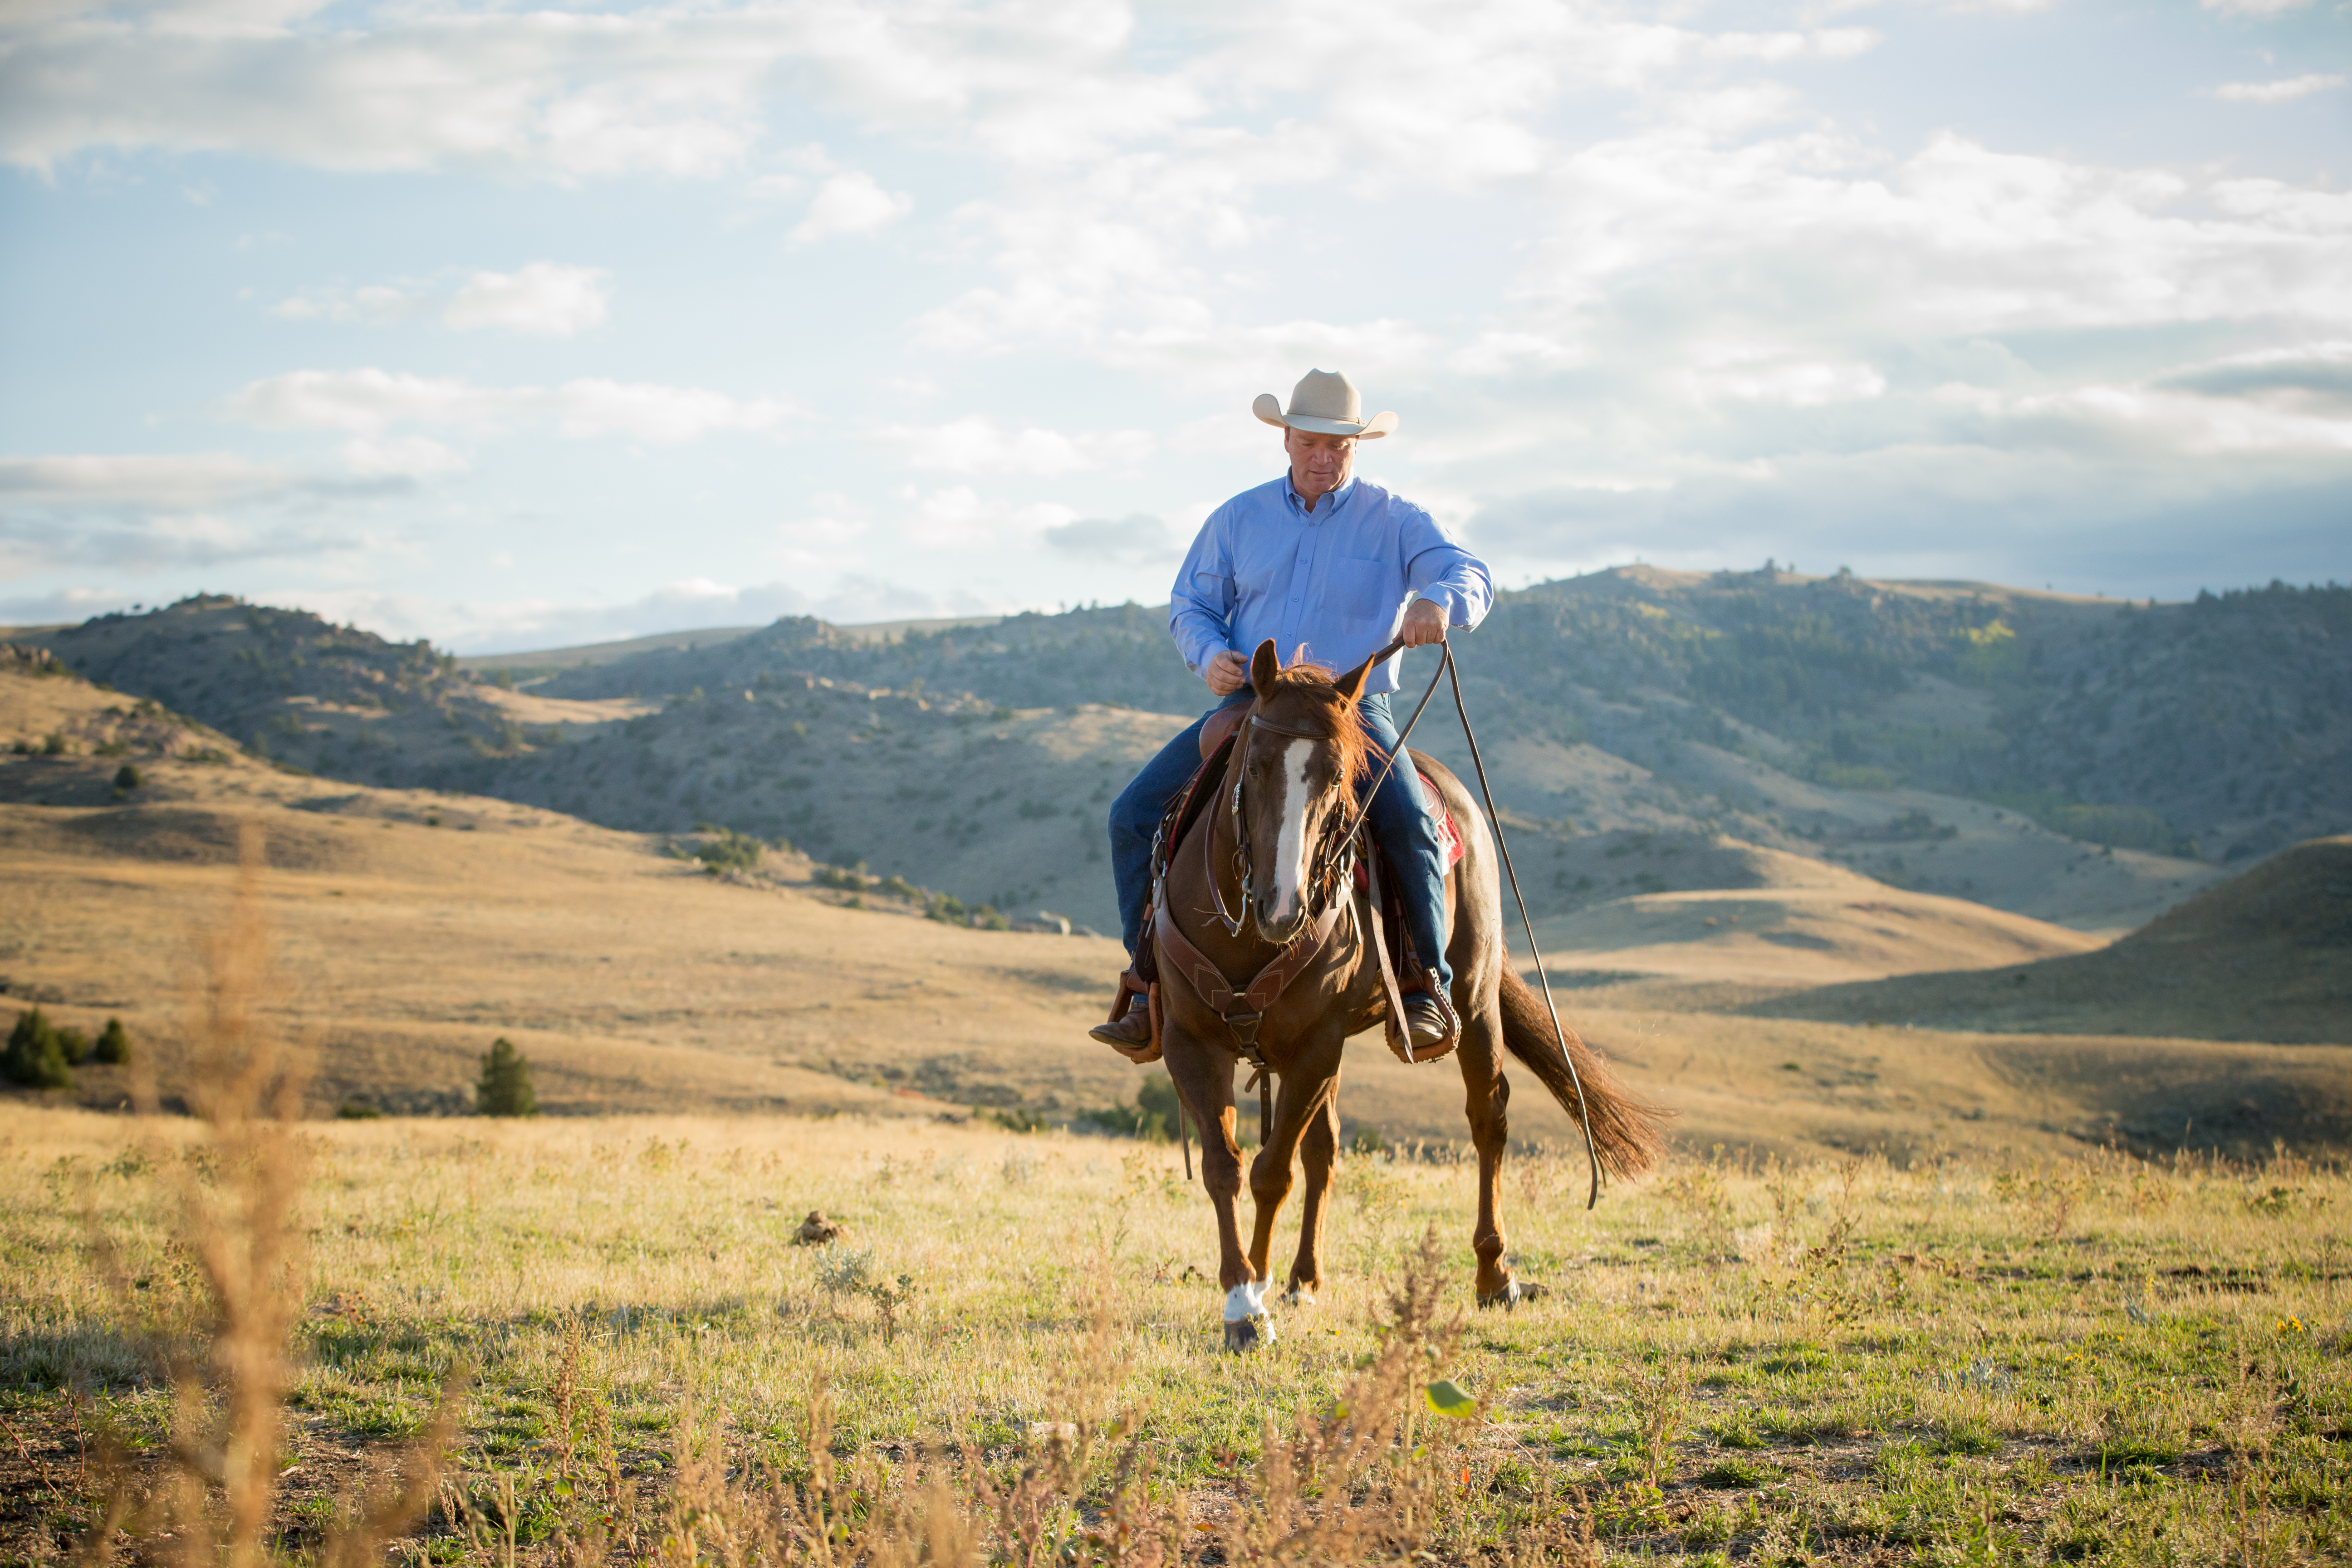
The one-rein turn with bridged reins can be made more difficult by adding obstacles. Circle around cones in the arena or a bush or tree on the trail, aiming to make tighter turns, and gradually limiting your use of the direct-rein cue. Any time you apply the skill in a practical setting, your horse focuses on the task, enabling you to reinforce the neck rein as he makes a tight turn around an arena obstacle or large boulder on the trail.
As your horse becomes more responsive with just the indirect rein and outside leg pressure, you can begin to hold your reins as you normally would in one hand. Your free hand, meanwhile, can be used at any time to reinforce the indirect cue with a direct cue; simply reach down to grasp a single rein.