
Q When I take my horse outside the arena for even a short trail ride, he fusses with the bit and tosses his head. I’ve tried to contain his head-tossing, but even when he gives up, he goes right back to it. What am I doing wrong? His behavior makes it hard to enjoy rides outside the arena.
[Disclaimer: Products we feature have been selected by our editorial staff. If you make a purchase using the links included, we may earn a commission. For more information click here.]
[READ ABOUT: Horse Head Shaking]
Taylor Jones, Mississippi
A Before addressing behavioral causes of head-tossing, I first advise that you have your horse checked for a physical problem, especially something in his mouth like teeth that cause him discomfort or interfere with the bit.
With physical problems ruled out, we can focus on your horse’s behavior. A horse most often tosses his head out of frustration. He wants to go forward, but his rider maintains a firm hold on his face. You hardly ever see a horse on a loose rein toss his head. He might take off running, but he’s not flipping his head up and down. Head-tossing is generally a rider-created problem.
When you pull on your horse with both hands in a firm backward draw, you give him something to lean on and fight against. You must help your horse through his frustration and teach yourself to be soft with your hands and not continually pull on his mouth.
I’ll outline my four-step process to work on eradicating this behavior, as well as explain the “why” behind it. To begin, work in a confined area such as an arena or round pen. Don’t try to work on the solution in an area of additional stress, such as on the trail, until you’ve mastered it in a confined space. Practice this drill often, not just when your horse tosses his head. When he does toss, start the drill at a standstill, then advance to a walk.
Remember to pack your patience; the trickiest part of this process is not losing your cool as your horse learns.
Step 1: At a Standstill
Begin with your horse standing quietly and the slack removed from your reins so you have a soft feel on your horse’s mouth. If you extend your hands in front of your saddle’s horn, there’s no pressure on his mouth. But if you roll your wrists down, there’s slight contact with the corners of his mouth.
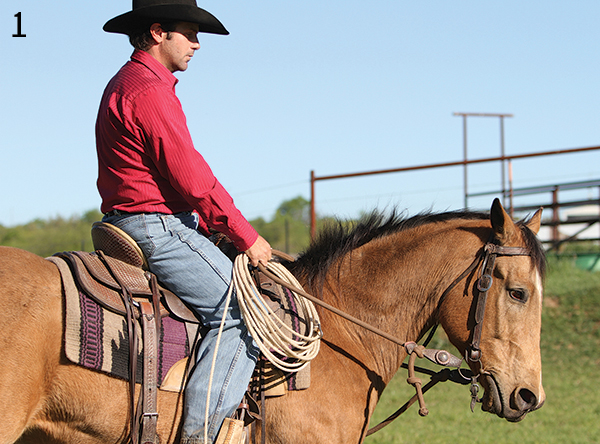
Rotate your wrists downward to make contact, and hold it until your horse breaks at the poll. Remember to hold that position rather than pull. Holding allows your horse to respond to your request. Pulling gives him something to brace against. Hold that position until your horse gives at the poll. The second he gives, release the tension back to the starting position.
Repeat this request. Every time he drops his head, give him immediate relief from the pressure. He’ll learn to “hunt” the release. Continue the request until your horse gives at the slightest amount of pressure. You can go back to this any time your horse gets nervous or anxious. It’ll remind him to relax, give at the poll, and look for the release.
Step 2: At a Walk
This gets more challenging for you and your horse. Move your horse out at a walk, maintaining light contact with the bit on the corners of his mouth, just like the starting position at a standstill. As you ask your horse to give at the poll, in the same manner as Step 1, use leg pressure to urge him forward at the same time. This time, release both your hands and legs the instant your horse gives his face. Once your horse gives for one beat, ask him to hold it for two beats before releasing, and so on. He’ll learn to give and hold whenever you ask for as long as you ask.
[READ: Reform a Jigger]
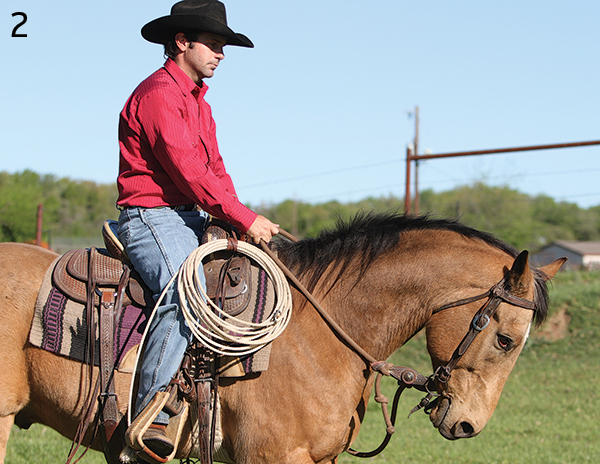
The secret is to release the pressure before your horse starts to fight it. This process uses your horse’s natural collection skills—making contact between your hands and his face and driving him forward with your legs. Get comfortable with this at the walk, jog, and lope before you try it in a situation with more variables and stress—such as out on the trail. If your horse tosses his head in the arena and you can’t control it, you certainly won’t be able to on the trail, either.
Check out some more training resources: A subscription to Horse&Rider Magazine, Horse Speak: The Equine-Human Translation Guide, 101 Ground Training Exercises, or Connection Training.
Step 3: On the Trail
If you’re confident that you can ask your horse to give his face in a controlled setting, give it a try outside the arena. Be sure to set yourself and your horse up for success from the beginning by alerting your riding mates that you’ll be schooling your horse if he starts tossing his head. This way, they won’t ride off in the distance, leaving your horse stressed and alone, and you working against the odds.
Consider beginning in the pasture (a relatively low-anxiety setting), working on the drill there, and then advancing to a trail. Start with your horse at a standstill, and then work your way through his gaits. Then you both should be ready if he tosses his head—you’ll be prepared to take a soft hold on the reins, and he’ll be prepared to respond.
Step 4: End the Fight Before It Starts
If you’re on the trail and your horse tosses his head but won’t respond to your established cues to give his face, don’t give in to a fight with him. Grabbing a tight hold on the bit won’t help your cause. Bruce Lee said the best way to avoid getting hit in a fight is not to be there when someone throws a punch. It’s true in this situation, too!
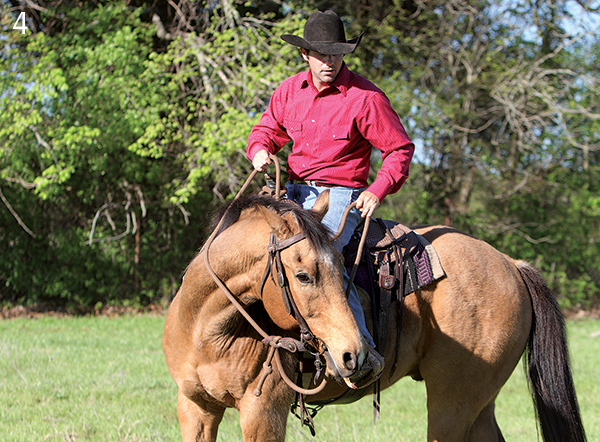
Because your horse isn’t responding to your soft, two-rein pull to lower his head, you’ll ask him to release to one side or the other. Use one rein to guide your horse’s energy in one direction and then the other. Keep his feet busy so it’s almost impossible for him to toss his head up and down.
[Natural Horsemanship Training Tools]
Steve and Amanda Stevens, Weatherford, Texas, train client horses and offer lessons for amateur and youth riders. They strive to keep riding fun, safe, and educational through weekend group lessons that include pattern clinics, trail-ride preparation, and problem-solving. Visit their Facebook page, Stevens Natural Horsemanship, to learn more.